How to Edit a PDF on iPad: Fill Forms, Change Text, and Save a Clean Final Copy from Files, Safari, or Mail
To edit a PDF on iPad, open the file from Files, Safari Downloads, Mail, or Messages and use a browser-based PDF editor for cleaner typed changes, form filling, and placed text; use Markup or Apple Pencil for quick notes, highlights, or a simple signature.
If you need to rewrite full sentences or paragraphs, convert the PDF to Word first; if the file is scanned, run OCR before trying to edit it because an iPad still cannot meaningfully edit text that is only an image.
That is the short answer. The practical part is choosing the right iPad workflow so you do not bounce between Mail previews, Safari downloads, and duplicate copies in Files. The larger screen and optional Apple Pencil make the iPad nicer than a phone for PDF work, but the same rule still applies: a PDF is a final-layout format, so you get the cleanest results when you match the tool to the kind of change you actually need.
Fastest path: save one real source copy into Files, use Markup only for tiny handwritten touches, use a browser tool for typed edits or forms, move bigger rewrites into PDF to Word, then reopen the finished PDF once on your iPad before you send it anywhere.
In a hurry? Jump to Quick start: edit a PDF on iPad in a few minutes.
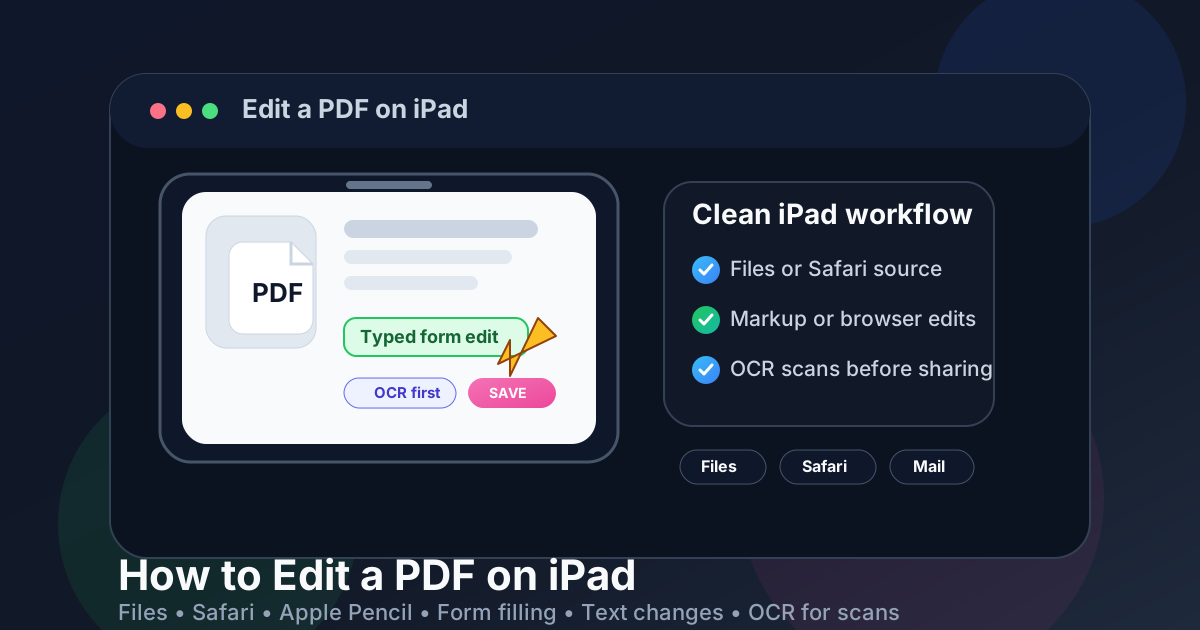
Table of contents
- Quick start: edit a PDF on iPad in a few minutes
- The best iPad workflow for editing PDFs
- Markup, Apple Pencil, or a browser editor: which option fits the job?
- Step-by-step: edit a PDF from Files, Safari, Mail, or Messages
- Text edits, form fields, and signatures on iPad
- How to handle scanned PDFs on iPad
- How to save, share, and secure the final copy
- Common iPad PDF editing problems and quick fixes
- Related LifetimePDF tools and guides
- FAQ
Quick start: edit a PDF on iPad in a few minutes
If the PDF is already on your iPad and you just want the working answer, this is the sequence most people should follow:
- Open the exact file from Files, Mail, Messages, or Safari Downloads.
- Use Markup or Apple Pencil only if the change is a note, highlight, initial, or quick signature.
- Use Edit PDF or PDF Form Filler when you want cleaner typed text, placed text, or form-style edits.
- If you need to rewrite sentences or paragraphs, switch to PDF to Word, make the change there, then export again with Word to PDF.
- If the PDF is really a scan, run OCR PDF first.
- Save the finished file with a clear new name, then reopen it once from Files before sharing it.
The best iPad workflow for editing PDFs
iPad PDF editing gets much easier when you stop treating every job like the same kind of edit. Sometimes you only need to highlight or sign a page with Apple Pencil. Sometimes the document is really a fillable form. Sometimes you want to correct one date, amount, or name. Sometimes you are trying to change a paragraph inside a polished final PDF that was never designed to behave like a word processor.
That is why the best iPad workflow is usually this simple:
- Markup for very light work: highlights, handwritten notes, initials, and quick signatures.
- Browser tools for cleaner placed edits: better when you want typed text, form filling, or a more controlled export workflow.
- PDF to Word for deeper rewrites: safer for clause changes, proposal edits, policy wording, or multi-paragraph updates.
- OCR for scanned PDFs: the first step when the page behaves like a picture instead of selectable text.
The iPad does give you a nicer screen and more room to work side by side. You can keep Files open, drag a document into Safari, or review the finished copy in Split View. That convenience helps, but it does not change the underlying reality of PDFs: the format is good at preserving layout, not at encouraging big messy rewrites.
Markup, Apple Pencil, or a browser editor: which option fits the job?
Most iPad confusion comes from using the wrong path for the task. Markup feels close and convenient because it is built in, but convenience is not the same thing as a clean typed editing workflow.
| What you need to do | Best iPad option | Why it works |
|---|---|---|
| Highlight text, circle an area, or add a quick handwritten note | Markup or Apple Pencil | Fast, built in, and perfect for visual comments or one-off signatures. |
| Fill form fields or place typed text cleanly | Browser-based PDF editor | Usually better for typed changes, form fields, and a tidy save-and-download flow. |
| Rewrite sentences, clauses, or paragraphs | PDF to Word | The moment the change becomes real writing, working outside the final PDF layout is usually easier. |
| Edit a scanned PDF | OCR first | A scan behaves like an image until recognition makes the text searchable and selectable. |
In plain English: use Markup when the PDF only needs a visual touch, use a browser tool when you want cleaner typed results, and leave the PDF layer entirely when you are trying to do serious rewriting.
Step-by-step: edit a PDF from Files, Safari, Mail, or Messages
1) Start with one real source copy
This is where many iPad workflows go sideways. You preview the PDF in Mail, save another copy into Files, then open a third copy from Safari Downloads. Before you make any edits, decide which file is the real one. If the document matters, save it into one obvious folder in Files first.
2) Decide whether the job is markup, form filling, or a content rewrite
If you only need a highlight, short note, or quick signature, Markup is usually enough. If you want cleaner placed text, open Edit PDF or PDF Form Filler in Safari instead.
3) Use the bigger screen to check placement, not to force a bad workflow
The iPad screen is large enough to make edits feel more comfortable than on a phone, especially in landscape mode or Split View. Use that extra space to verify placement, line breaks, and form fields. Do not mistake extra space for a reason to force paragraph rewrites directly inside a final PDF when a Word conversion would still be cleaner.
4) Reopen the saved copy once from Files
A PDF can look fine while you are editing it and then feel different once it is saved and reopened. Always open the finished file once from Files as if you were the recipient. That is where you catch awkward spacing, hidden form values, covered labels, or the wrong version name.
5) Finish the workflow instead of stopping at the edit
If the document is sensitive, protect it. If personal data should not remain, redact it. If the PDF is bulky because it contains scans or screenshots, compress it before sending. Editing is often only one step in the real iPad workflow.
Clean sequence: save one source copy in Files → use Markup for handwritten touches or a browser tool for typed edits → switch to Word for larger rewrites → OCR scans first → reopen the final copy before sharing.
Text edits, form fields, and signatures on iPad
Most iPad PDF editing jobs fall into three buckets. Once you know which one you are in, the best tool becomes obvious.
Light form filling and placed text
If the document is basically a form, use PDF Form Filler for a cleaner browser-based workflow for typed fields, placed text, and a polished save step. This fits contracts, onboarding paperwork, intake forms, school documents, and portal uploads very well.
Small text corrections
If you only need to adjust a name, date, amount, or short phrase, a browser-based editor can work nicely on iPad because the screen is large enough to place the change more confidently than on a phone. Keep the edit modest and always inspect the saved result at normal zoom afterward.
Signatures and handwritten touches
This is where iPad really shines. Markup and Apple Pencil feel natural for initials, signatures, circles, arrows, and handwritten callouts. Just remember that a handwriting-friendly workflow is not the same as a full typed editing workflow. The moment you need clean lines of text or field-by-field input, switch tools.
Bigger text rewrites
If you need to rewrite a clause, fix several paragraphs, update pricing language, or revise a proposal section, do not force the change directly inside the PDF longer than necessary. Convert with PDF to Word, make the rewrite there, then export a fresh PDF with Word to PDF.
If your main job is notes and highlights rather than editing, you may also want how to annotate a PDF on iPad. If the real goal is a signature, how to sign a PDF on iPad is the more specific guide.
How to handle scanned PDFs on iPad
Scanned PDFs are where people waste the most time on iPad. The file looks readable, but every tap acts like you are touching a photo instead of real text. That usually means the PDF is just an image-based scan.
The fix is to run OCR PDF first so the text becomes searchable and selectable. After that, you can decide whether the file only needs better searchability, a few corrections, or a bigger conversion workflow.
- Run OCR first if text cannot be selected normally.
- Check names, totals, dates, and account numbers carefully when scan quality is poor.
- Expect more cleanup if the original scan is crooked, shadowed, low-resolution, or handwritten.
Scanned file shortcut: if the page behaves like a picture, do OCR before anything else. That one step usually saves far more time than trying random editing tools first.
How to save, share, and secure the final copy
A lot of PDF mistakes happen after the edit. The change itself may be fine, but the wrong version gets sent, the file name is unclear, or sensitive information stays inside the document longer than it should.
Rename the finished file clearly
Save the final copy with a name that tells you exactly what it is, such as lease-addendum-signed-final.pdf or application-updated-2026-07-23.pdf. That sounds boring, but boring file names prevent the classic iPad problem of emailing the wrong draft from Recents.
Protect the file if it is sensitive
If the PDF contains financial, legal, HR, medical, or private client information, consider locking the final copy with PDF Protect before sharing it.
Redact anything that should not remain
If the document contains information that truly needs to disappear, use Redact PDF. Do not confuse a black annotation or a Pencil scribble with real removal. If the content must be gone, it needs actual redaction.
Compress the file if it became bulky
If the edited PDF is heavy because of scans, screenshots, or embedded images, shrink it with Compress PDF before attaching it to mail or uploading it to a portal.
Common iPad PDF editing problems and quick fixes
The file lets me draw on it, but not really rewrite the text
That is normal. Markup is made for visual annotation, not for full content replacement. Switch to a browser-based editor for light typed changes or to Word when the change becomes larger.
I edited the wrong copy from Mail, Safari Downloads, or Files
Pick one source file first and keep the working copy in one obvious folder. The iPad is great at surfacing files from multiple apps, which is helpful right up until it creates three equally convincing duplicates.
My Apple Pencil notes look fine in preview but awkward after saving
Reopen the finished PDF from Files and zoom in on the saved version. Preview mode can flatter placement. The saved file is the one the other person will actually receive.
The PDF is scanned and nothing is selectable
OCR comes first. Until recognition happens, you are mostly interacting with an image instead of editable text.
I only needed a form fill or signature, not a full edit
Good. Keep the workflow light. Use a form-focused tool or a signing flow instead of turning every iPad PDF task into a fake desktop publishing project.
Related LifetimePDF tools and guides
Editing a PDF on iPad often turns into one or two related cleanup steps. These are the most useful companion tools:
- Edit PDF — start a cleaner browser-based editing workflow.
- PDF Form Filler — fill fields, place typed text, and complete form-style documents.
- PDF to Word — better for bigger text rewrites.
- Word to PDF — export a fresh clean PDF after editing the source content.
- OCR PDF — turn scans into searchable, selectable documents.
- PDF Protect — add password protection to the final copy.
- Redact PDF — remove sensitive information permanently.
- Compress PDF — shrink a bulky edited file before sending.
Related reading on LifetimePDF: how to fill out a PDF form on iPad, how to fill out an uneditable PDF form on iPad, how to sign a PDF on iPad, how to annotate a PDF on iPad, and how to watermark a PDF on iPad.
iPad shortcut: use Markup or Apple Pencil when the change is visual, use a browser tool when you want cleaner typed edits, move bigger rewrites into Word, and OCR scanned PDFs before trying to change them.
FAQ: How to edit a PDF on iPad
How do I edit a PDF on iPad without installing an app?
Open a browser-based PDF editor in Safari, upload the file from Files or Mail, make the change, download the edited copy, and review it once from Files before sharing it. For tiny notes, highlights, or signatures, Markup can be enough, but typed edits and form filling are usually cleaner in a browser tool.
Can iPad edit the actual text of a PDF?
iPad can handle light typed edits and form-style changes through a browser-based editor, but bigger paragraph rewrites are usually easier after converting the PDF to Word. PDFs are designed to preserve layout, so deep text editing is rarely the smoothest route directly inside the final PDF.
Is Apple Pencil enough to edit a PDF on iPad?
Apple Pencil is excellent for highlights, handwritten notes, quick signatures, and visual comments. It is not the best tool for clean typed text, form workflows, or multi-paragraph edits, so treat it as the right tool for light annotation rather than every kind of edit.
What is the best way to edit a scanned PDF on iPad?
Run OCR first. A scanned PDF usually behaves like an image until OCR makes the text searchable and selectable, which gives you a much better starting point for edits or conversion.
Can I fill out and sign a PDF on iPad in the same workflow?
Yes. Fill the typed fields first with PDF Form Filler, then add the signature afterward with Markup or your signing tool. That keeps the layout cleaner and makes it less likely that the signature will cover nearby fields or labels.
Published by LifetimePDF — Pay once. Use forever.