How to Annotate a PDF on iPad: Highlight, Comment & Mark Up Files Without Printing
To annotate a PDF on iPad, open LifetimePDF's Edit PDF tool in Safari or Chrome, choose the file from Files, Mail, iCloud Drive, Google Drive, or Downloads, then add highlights, comments, notes, arrows, or drawings and save the marked-up copy.
If the file is a scan and the text will not select cleanly, run OCR first so your highlights, comments, and review notes land on a PDF that is easier to read and work with.
That is the short answer. The useful part is knowing when quick iPad markup is enough, when you need a cleaner browser-based annotation workflow, how to keep the original separate from the review copy, and how to handle school readings, contracts, forms, reports, and scanned PDFs without drifting back to a laptop.
Fastest path: open Edit PDF on your iPad, upload the file from Files or Mail, add the highlights and comments you need, then save the annotated copy with a clear new filename.
In a hurry? Jump to Quick start: annotate a PDF on iPad in 3 minutes.
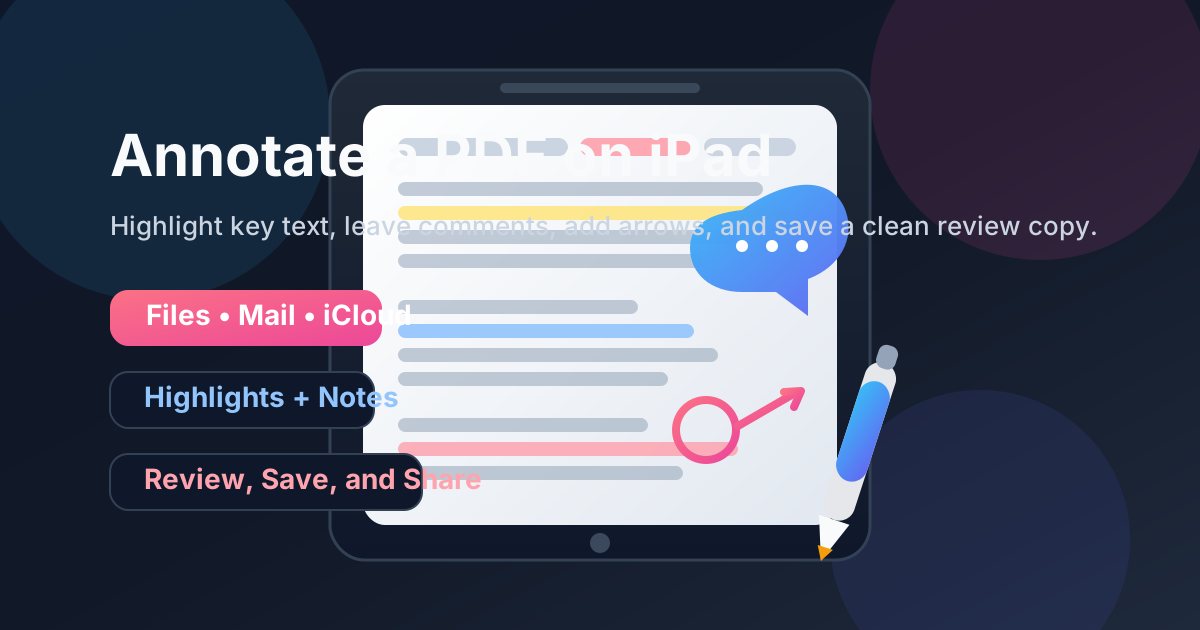
Table of contents
- Quick start: annotate a PDF on iPad in 3 minutes
- The best iPad workflow for PDF annotation
- Step-by-step: annotate a PDF from Files, Mail, iCloud Drive, Google Drive, or Downloads
- Highlights, comments, notes, arrows, and drawings on iPad
- iPad markup vs a dedicated PDF annotation workflow
- Scanned PDFs, OCR, and searchable text on iPad
- How to save, share, and protect the annotated copy
- Common iPad annotation problems and quick fixes
- Related LifetimePDF tools and guides
- FAQ
Quick start: annotate a PDF on iPad in 3 minutes
If you already have the PDF on your iPad and just need to review or mark it up, this is the workflow most people actually want:
- Open Edit PDF in Safari or Chrome on your iPad.
- Choose the file from Files, a saved Mail attachment, iCloud Drive, Google Drive, or Downloads.
- Add the highlights, comments, text boxes, arrows, circles, or freehand notes you need.
- If the file is a scan and you cannot select the text cleanly, use OCR PDF first.
- Download the annotated PDF with a clear new filename and review it once in Files before sharing it.
The best iPad workflow for PDF annotation
On iPad, annotation goes smoothly when you separate three jobs that people often blur together:
- Reading: opening the PDF and understanding what needs attention.
- Marking up: highlighting, commenting, circling, underlining, or adding notes that someone else can act on.
- Sharing: exporting a clean review copy that is easy to identify later.
That sounds obvious, but it matters. The built-in iPad viewer is fine for quick previewing. The moment you need a reliable review copy for a client, class, team, or signature workflow, a dedicated browser-based PDF tool tends to be calmer and easier to control.
| Situation | Best move | Why it works |
|---|---|---|
| You want to highlight a few passages in a reading or report | Use a clean annotation workflow | Your highlights and notes stay attached to the PDF instead of living as vague memory or scattered screenshots. |
| You are reviewing a contract, draft, proposal, or school paper | Add comments and shapes, not just highlights | Comments explain the reason behind the markup, which saves back-and-forth later. |
| The document is a scan | OCR first if you need selectable text | Scanned pages behave like pictures until OCR makes them searchable and easier to annotate precisely. |
| You need to send the reviewed PDF back out | Save a clearly named review copy | That keeps the original safe and makes the right attachment obvious when it is time to share. |
In plain English: your iPad is already capable enough. The trick is using a workflow built for review instead of treating serious markup like a casual screenshot scribble.
Step-by-step: annotate a PDF from Files, Mail, iCloud Drive, Google Drive, or Downloads
Here is the practical iPad workflow most people actually need.
1) Start with the exact file you plan to review
If the PDF is still buried in an email thread, browser preview, or cloud folder, locate it clearly first. Annotation goes better when you know which version is the source and which version will become the marked-up copy.
2) Open Edit PDF in Safari or Chrome
Go to LifetimePDF Edit PDF on your iPad. A browser workflow is often the simplest route because it lets you upload, annotate, export, and verify the finished file without shifting to a desktop app halfway through.
3) Add the markup that actually helps the next person
Good annotation is not decorative. It should tell the other person what matters and why. Highlight the exact passage, add a short note where the decision needs context, and use arrows or circles only when they make the page easier to follow.
4) Keep the page readable while you mark it up
The best review copy is clear, not crowded. If every line is yellow, nothing is really highlighted. If every paragraph gets a giant comment bubble, the page becomes harder to scan. Mark the parts that need attention and let the rest breathe.
5) Save the annotated PDF as a separate copy
Give the file a name you will recognize instantly, such as budget-review-comments.pdf, contract-v2-annotated.pdf, or lecture-notes-marked-up.pdf. This matters more on iPad than people expect because Files, Recents, and Downloads can make similar versions feel identical until the wrong one gets attached.
6) Reopen the final PDF in Files and verify it
Scroll through the saved copy once before sharing it. Check that the comments are legible, the highlights landed on the right text, and your arrows or drawings are not covering something important. That review pass takes seconds and catches a surprising number of avoidable mistakes.
Shortest reliable sequence: choose the right file → annotate clearly → save as a new copy → reopen in Files → send the reviewed version.
Highlights, comments, notes, arrows, and drawings on iPad
Different markup styles are useful for different review jobs. Choosing the right one keeps the PDF readable.
Highlights
Use highlights for the exact text someone should notice first. This is perfect for study notes, clauses in a contract, approval deadlines, figures in a report, or key passages in a draft. A good highlight points attention. It does not replace explanation when explanation is needed.
Comments and notes
Comments are where the real collaboration happens. Use them when the other person needs context, a question, a requested change, or a reason behind the highlight. If you are reviewing something for work or school, comments usually do more practical good than color alone.
Arrows, circles, and shapes
Shapes help when the page layout matters. If you need to point out a misplaced figure, signature box, chart label, typo in a margin, or odd spacing in a design proof, an arrow or circle often says it faster than a paragraph of explanation.
Freehand drawing and Apple Pencil-style markup
Freehand markup works well for quick visual feedback, sketch notes, teaching moments, and signing off on a layout with a human touch. It is especially handy on iPad because the interaction feels natural. Just keep it readable. Handwritten scribbles stop being helpful the moment they become their own decoding puzzle.
| Annotation type | Best for | When not to overuse it |
|---|---|---|
| Highlight | Flagging key text quickly | When every line becomes highlighted and nothing stands out anymore |
| Comment or note | Explaining a change, question, or decision | When the note repeats what the highlight already makes obvious |
| Arrow or circle | Pointing to layout issues, signatures, chart elements, or visual problems | When too many shapes make the page feel noisy |
| Freehand drawing | Quick visual review, teaching, and sketch-style markup | When typed comments would be clearer and easier for others to follow |
iPad markup vs a dedicated PDF annotation workflow
The built-in iPad experience is useful, but it is not always the best answer for serious review work.
| Approach | What it does well | Where it starts to struggle |
|---|---|---|
| Quick built-in markup | Fast notes, rough circles, quick highlights, and casual personal review | Longer review sessions, cleaner comments, structured feedback, and polished files meant for other people |
| Dedicated PDF annotation workflow | Cleaner markup, easier exporting, more deliberate comments, and clearer handoff files | You still need one final review pass so you know the exported copy is the one you meant to send |
My practical take: if you are only underlining something for yourself on the couch, quick markup is fine. If the file is going back to a coworker, client, classmate, or teacher, use the cleaner workflow and save a proper review copy.
Scanned PDFs, OCR, and searchable text on iPad
A lot of iPad frustration comes from scanned PDFs. They look like documents, but the text behaves like a photograph. That means highlighting can feel clumsy, text selection may not work, and precise comments become harder to place.
If you want cleaner text-level review, run the file through OCR PDF first. OCR adds a searchable text layer so the PDF behaves more like a document and less like an image.
- Open OCR PDF.
- Upload the scanned file from your iPad.
- Download the searchable version.
- Return to Edit PDF and annotate the OCR copy.
If the scan is also sideways or messy around the edges, fix that first with Rotate PDF or a cleanup step before you settle into annotation.
How to save, share, and protect the annotated copy
Once your notes are in place, the last mile matters. A useful review copy should be easy to identify, easy to reopen, and safe to send.
Save the marked-up PDF with a new name
This is the easiest way to avoid confusing the source file with the annotated one. On iPad, clear filenames save time and prevent wrong attachments.
Compress the file if it needs to travel
If your marked-up PDF is too large for email, messaging apps, or upload portals, run it through Compress PDF after the review is complete. That is usually faster than trying to rebuild the document smaller from scratch.
Sign the final copy if approval is part of the workflow
Some review loops end with a signature or initials. If that is your case, use Sign PDF after the comments and highlights are already settled.
Protect a private review copy when needed
If the annotated document includes sensitive information, add access control with PDF Protect before sharing it externally. That does not replace good judgment about what you write in comments, but it helps when the file still needs a password-protected handoff.
Best simple handoff: annotate clearly → save the review copy → compress if needed → sign if needed → protect if needed.
Common iPad annotation problems and quick fixes
I cannot select the text I want to highlight
The file is probably scanned or flattened. Run OCR first, then return to annotation.
My comments make the page feel messy
Shorten the comments, keep them close to the issue they explain, and rely on highlights for attention rather than trying to turn every thought into a paragraph.
I keep opening the wrong version
Rename the annotated PDF immediately after export. On iPad, a filename like proposal-comments.pdf is much better than final-v2-new.pdf.
The file is too large to send after annotation
Compress it after the markup is complete. That keeps the comments in place while making the file easier to upload or email.
I need to point out a layout problem, not just a text issue
Use arrows, circles, and short notes instead of only highlighting text. Layout feedback is easier to follow when the visual reference is explicit.
I want the review copy to look more professional
Use fewer colors, keep comments short, check spacing around notes, and review the final exported copy once before you send it anywhere important.
Related LifetimePDF tools and guides
Annotating a PDF on iPad often turns into one or two extra cleanup steps. These are the most useful companion tools:
- Edit PDF — add highlights, comments, notes, shapes, and markup in a cleaner review workflow.
- OCR PDF — make scanned PDFs searchable before you annotate them.
- Sign PDF — add a signature or initials after the review is complete.
- Compress PDF — shrink large reviewed files for email or upload limits.
- PDF Protect — add a password when the reviewed copy still contains private information.
Related reading on LifetimePDF: Annotate PDF Online, How to Sign a PDF on iPad, How to Fill Out a PDF Form on iPad, How to OCR a PDF on iPad, How to Rotate a PDF on iPad, and How to Password Protect a PDF on iPad.
FAQ: How to annotate a PDF on iPad
How do I annotate a PDF on iPad without Adobe Acrobat?
Open a browser-based PDF annotation workflow in Safari or Chrome on your iPad, choose the PDF from Files, Mail, or cloud storage, add the highlights and comments you need, then save the annotated copy back to your device.
Can I highlight and comment on a PDF from the Files app on iPad?
Yes. Start with the PDF stored in Files, then open it in a dedicated annotation workflow so you can add clearer highlights, comments, arrows, notes, or drawings and save a separate marked-up copy when needed.
What if the PDF is scanned and I cannot select any text on my iPad?
That usually means the file is image-only. Run OCR first to make the text searchable and selectable, then come back to annotation if you want cleaner text highlights and easier review.
Can I use Apple Pencil to annotate a PDF on iPad?
Yes. Apple Pencil-style markup is useful for circling, underlining, quick notes, and sketch-style feedback, but structured PDF annotation tools are usually easier when you want cleaner comments and a polished review copy.
How do I save an annotated PDF on iPad without overwriting the original?
Download the finished file with a clear new filename such as contract-review-comments.pdf or lecture-notes-annotated.pdf, then keep the original untouched in Files so you always know which version is the source.
Published by LifetimePDF — Pay once. Use forever.