How to Fill Out an Uneditable PDF Form on iPad: Fix Scanned, Locked, and Flattened Files Fast
To fill out an uneditable PDF form on iPad, open the file in a browser-based PDF form filler, upload it from Files, Mail, Drive, or a portal download, then place text, checkmarks, and signatures directly on top of the page where the original PDF will not let you type.
If the form is scanned, flattened, or locked, the blanks usually are not real fields, so the fastest workflow is fill first, sign last, review at full zoom, and save the finished copy back to Files or Drive before sending it.
That is the answer most people actually need on iPad. The frustration comes from the form looking normal while behaving like a dead image underneath. On iPad, that often shows up as a school form from Mail that ignores taps, a client intake PDF from Drive that only half works, or a portal download that clearly expects digital answers but never got proper fillable fields. The fix is usually not to print the file. It is to use the bigger screen to your advantage, fill in clean passes, and treat the original PDF as the template while your answers sit precisely on top.
Fastest path: open LifetimePDF's PDF Form Filler in Safari, upload the PDF from Files, Mail, or Drive, place your answers where needed, then sign and save the finished copy from your iPad.
In a hurry? Jump to Quick start: fill an uneditable PDF on iPad in 3 minutes.
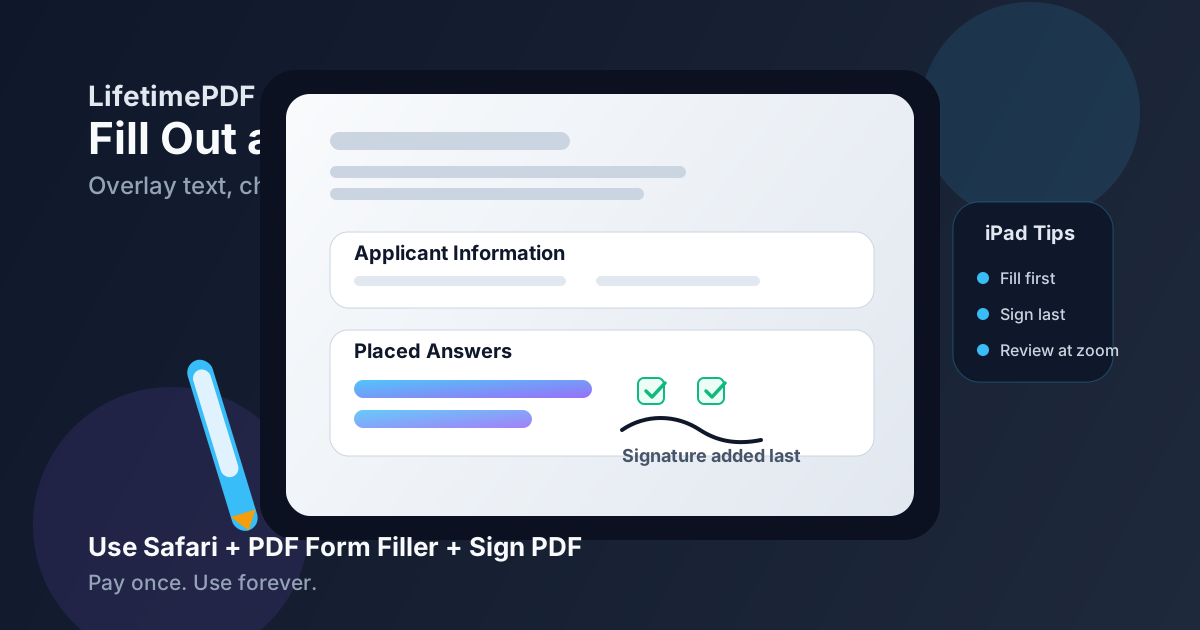
Table of contents
- Quick start: fill an uneditable PDF on iPad in 3 minutes
- Why a PDF form feels uneditable on iPad
- Step-by-step: complete the form from Files, Mail, Drive, or a portal
- Best way to handle scanned and flattened forms
- When to unlock, run OCR, or skip both
- How to sign, save, and send the final copy
- Common iPad mistakes that make forms look messy
- Related LifetimePDF tools for this workflow
- FAQ (People Also Ask)
Quick start: fill an uneditable PDF on iPad in 3 minutes
If the form is already on your iPad and you just need it done, use this order:
- Open PDF Form Filler in Safari.
- Upload the PDF from Files, Mail, Drive, or the iPad share picker.
- Tap where the answer belongs and place text manually if the original blanks do not accept typing.
- Add dates, initials, and checkmarks before you sign anything.
- Use Sign PDF for the signature as the last content step.
- Download the completed file, zoom in once to verify alignment, then send it from Files, Mail, or the portal upload screen.
Why a PDF form feels uneditable on iPad
Most stubborn PDF forms are not broken in the dramatic sense. They are just built in a way that does not give you real editable fields on tablet. On iPad, that turns into taps that do nothing, a cursor that never appears, or only part of the form behaving like a true digital document.
| What you notice on iPad | Likely cause | Best fix |
|---|---|---|
| Tapping the blanks does nothing | The PDF is scanned or never had fillable fields | Place text manually with PDF Form Filler |
| Some fields work, some do not | The form was built inconsistently or flattened later | Use working fields where possible, then overlay the rest |
| The viewer says editing is restricted | The PDF has permissions or protection enabled | Unlock it only if you are authorized to edit it |
| You can read the form but cannot type anywhere | The PDF behaves like a static page image | Fill visually, and use OCR only if you need searchable text later |
That distinction matters because the fix depends on the underlying problem. Unlocking helps with restrictions. OCR helps with image-only pages. But neither one is required every time. For many real forms, the fastest answer is simply to place text where the PDF refuses to cooperate.
Step-by-step: complete the form from Files, Mail, Drive, or a portal
This is the clean iPad workflow that works for most school, HR, healthcare, intake, insurance, and approval forms.
1) Start with the exact PDF you plan to return
If the file came from Mail, Drive, a school LMS, or a portal download, make sure you are working from the right copy. Saving it to Files first often helps because you avoid filling one attachment and uploading a different one later.
2) Open the form filler in Safari
Go to LifetimePDF PDF Form Filler. Safari is usually the cleanest route on iPad because the upload, edit, and download flow stays consistent in one place. If you use Split View, you can keep the instructions or email on one side and the form workflow on the other.
3) Upload from Files, Mail, Drive, or the share picker
Use the iPad picker to choose the PDF. If the form lives in Drive or inside a portal, saving it locally first makes the next steps easier, especially if you need to rename, sign, or re-open the finished document.
4) Fill the document in short passes
Form filling usually goes better when you separate the job into quick layers:
- Pass 1: names, addresses, dates, and longer answer fields
- Pass 2: checkmarks, yes/no boxes, initials, and short codes
- Pass 3: spacing and alignment on small boxes or lines
The bigger iPad screen helps, but it also makes it easy to feel "done" too early. A short second pass usually catches the date box, initials field, or one tight checkbox row that needs a cleaner placement.
5) Review before you sign
Make sure the text sits where it belongs, especially around dates, ZIP codes, ID numbers, initials, and narrow boxes. The signature should come after the answers look settled.
Simple iPad rule: fill first, sign last, save once.
Best way to handle scanned and flattened forms
Scanned and flattened forms are where iPad users lose the most time. They look like regular forms, but the visible blanks are just part of the page artwork. That is why tapping does nothing in normal viewers.
Scanned forms
A scanned PDF is usually a photo of paper inside a PDF shell. It may be perfectly readable to your eyes while still offering zero real fields. For completion alone, do not overcomplicate it. Place your answers on top of the page and move on.
Flattened forms
A flattened PDF often started life as a fillable form, then someone saved it in a way that merged the field layer into the page. That is common with forms that have already been reviewed, partially completed, or exported through old office workflows. Again, the practical tablet answer is usually overlay text rather than trying to revive the original fields.
Where iPad helps
On iPad, you have more room to zoom, pan, and line up small fields without feeling cramped. If you use an Apple Pencil, it can also make signatures, initials, and tight checkbox placement feel more controlled. That extra precision is useful, but it does not change the underlying problem: if the PDF has no real fields, you still need to place the content manually.
When to unlock, run OCR, or skip both
These tools solve different problems, so it helps to use them only when they actually earn their place in the workflow.
Use Unlock PDF when
- the file explicitly blocks editing or commenting,
- you are authorized to modify the document, and
- the restriction itself is the reason the form is stuck.
If the PDF is simply scanned or flattened, unlocking will not magically create working fields.
Use OCR when
- you need searchable text,
- you want to copy instructions or extract parts of the form,
- the file will be archived and should behave like a real digital document later, or
- you plan to reuse the text after the form is complete.
If your goal is just finish the form and send it back, OCR is often optional. It is helpful, but not always the fastest first move.
How to sign, save, and send the final copy
Finishing the form well matters just as much as filling it. A clean iPad workflow makes the last mile much easier.
Add the signature last
Once the fields, dates, and checkmarks are done, use Sign PDF. This avoids the annoying cycle of moving a signature twice because one line of text still needed adjustment.
Save the file with a useful name
Rename the finished PDF in Files or Drive to something clear, such as completed-school-form-jane-doe.pdf or signed-client-intake.pdf.
That small step matters on iPad because "download.pdf" is how confusion spreads across tabs, share sheets, and portal uploads.
Review at full zoom once
Before you send the file, zoom in on the pages with the tightest layout. Check dates, initials, checkboxes, signatures, and any section where the form has narrow lines or small boxes. One quick review is usually enough to catch the tiny mistakes that make a PDF look rushed.
Send or upload the final copy
- Mail: attach the saved PDF directly from Files or Drive.
- Upload portals: choose the renamed final copy, not a random earlier download.
- Large file? use Compress PDF before sending.
- Sensitive form? apply PDF Protect if you need password protection.
Recommended finish: sign the completed form, save a clearly named copy, then compress or protect it only if the destination actually requires that extra step.
Common iPad mistakes that make forms look messy
Most ugly finished PDFs come from a few repeat mistakes, not from the tablet itself.
- Trying to force dead fields to work: if the form is clearly uneditable, switch to placed text early.
- Signing too soon: the signature is harder to place cleanly if you still need to adjust other answers.
- Working from the wrong copy: saving one version and uploading another is one of the most common portal mistakes.
- Trusting the bigger screen too much: an answer can look fine in landscape and still be slightly off when zoomed in.
- Saving vague filenames: this is how the wrong PDF gets attached or uploaded.
- Skipping the final zoom review: one pass catches most alignment problems.
- Unlocking files you are not authorized to change: restrictions still matter even when the workflow is frustrating.
The good news is that all of these are easy to avoid once you know the order: upload, fill, review, sign, save, send.
Related LifetimePDF tools for this workflow
If you fill stubborn forms on iPad regularly, these are the most useful companion tools:
- PDF Form Filler - place text, dates, and checkmarks on forms that will not accept typing
- Sign PDF - add a signature or initials after the rest of the form is complete
- Unlock PDF - remove restrictions when you are authorized to edit the file
- OCR PDF - make a scanned form searchable when you need reusable text
- Compress PDF - reduce file size before email or portal upload
- PDF Protect - password-protect a sensitive final copy
Useful nearby reading: How to Fill Out a PDF Form on iPad, How to Fill Out an Uneditable PDF Form, How to OCR a PDF on iPad, and How to Check if a PDF Has Fillable Fields on iPad.
FAQ (People Also Ask)
How do I fill out an uneditable PDF form on iPad?
Open the PDF in a browser-based PDF form filler on your iPad, upload it from Files, Mail, Drive, or a portal download folder, then place text, checkmarks, and signatures directly on top of the page where the original PDF will not let you type.
Why will a PDF not let me type on iPad?
Usually the file is scanned, flattened, or restricted, which means the visible blanks are not real interactive fields. In that case, manually placed text is usually the fastest practical fix.
Should I use OCR before filling out an uneditable PDF on iPad?
Only if you need searchable text or want to reuse the content later. If you just need to complete and return the form, placing your answers on top of the page is often faster.
Can I sign an uneditable PDF form on iPad too?
Yes. Fill the form first, then add the signature last so the layout is already settled and the finished copy looks cleaner.
How do I save and send the completed form from iPad?
Download the finished PDF to Files or Drive, rename it clearly, review it at full zoom, then attach it in Mail or upload it to the required portal. If it is too large, compress it first.
Published by LifetimePDF - Pay once. Use forever.