How to Check PDF Resolution on Linux: Okular, Evince, and Sharp-Image Checks Before You Share
To check PDF resolution on Linux, save the final PDF locally, open it at 100% in Okular or Evince, and zoom into the scans, screenshots, logos, and signatures that actually matter.
If those image-heavy areas look soft, fall apart into visible pixels, or print muddy details, the real problem is usually weak raster content inside the PDF rather than Linux itself.
That is the fast answer. The useful Linux answer is that a PDF can look calm in Okular, Evince, Firefox, Chromium, or a file-manager preview and still disappoint the moment someone enlarges a screenshot, prints a scan, or needs to read tiny labels trapped inside an image. A quick resolution check helps you catch those failures before the file leaves your machine and becomes someone else's cleanup job.
Fastest practical path: inspect the final Linux copy at real reading size, zoom into raster-heavy areas, inspect the embedded images when needed, and fix the source before more compression or OCR hides the real quality issue.
In a hurry? Jump to quick start: check PDF resolution on Linux in about 6 minutes.
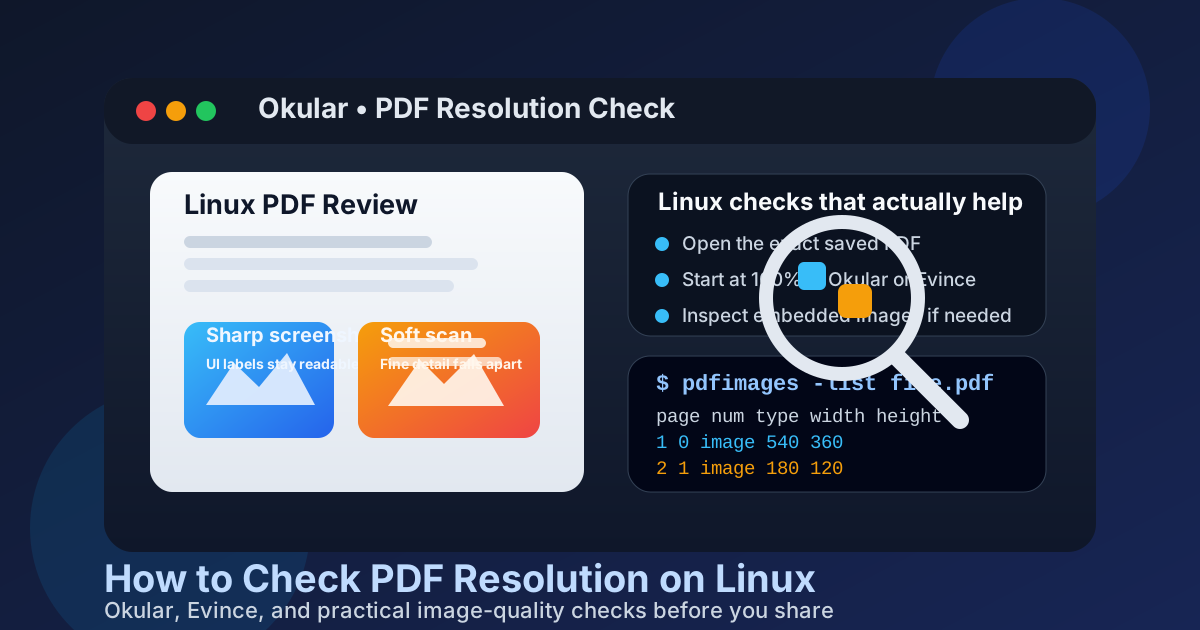
Table of contents
- Quick start: check PDF resolution on Linux in about 6 minutes
- Why Linux users get fooled by PDF resolution problems
- Where to inspect resolution on Linux
- Step-by-step: how to review PDF resolution on Linux
- Common Linux resolution problems and what to do next
- When to rescan, re-export, compress less, or use OCR
- Related LifetimePDF tools and guides
- FAQ
Quick start: check PDF resolution on Linux in about 6 minutes
If your real question is is this Linux PDF sharp enough to trust before I send it, use this order:
- Save the exact PDF you plan to email, print, upload, archive, or share into a normal Linux folder.
- Open it in Okular or Evince and look at it at 100% before you chase microscopic detail.
- Zoom in on the pages that contain screenshots, scanned text, signatures, photos, receipts, labels, or charts instead of judging the whole file by ordinary body text.
- If the answer is still unclear, use Extract Images from PDF, PDF to Image, or a Linux utility such as
pdfimages -listto see what quality the document is really carrying. - If the weak area came from a scan or screenshot, replace the source or rescan it before you rely on OCR or more compression.
- Reopen the final Linux copy once more before it leaves your machine so you know the fixed file is the one you actually share.
Why Linux users get fooled by PDF resolution problems
Resolution problems are sneaky because Linux makes it easy to answer the wrong question. Okular, Evince, file-manager previews, and browser tabs answer does this file open and feel normal. They do not automatically answer does this file still contain enough detail for print, proofing, receipts, screenshots, scanned evidence, or tiny labels inside images.
That gap matters most when a PDF came from a phone scan, a compressed export, a screenshot-heavy report, or a document that bounced through several apps before landing on your Linux machine. The typed text may still look crisp because it is vector content, while the actual proof inside the file is already soft. By the time somebody notices, the PDF is often already in a portal, already attached to an email, or already halfway to a printer queue.
Calm preview
The page opens cleanly in Okular or Evince, so the file feels safe even though the image-heavy sections have already lost detail.
Sharp text, weak images
Vector body text can stay crisp while embedded screenshots, scans, or logos turn muddy inside the same PDF.
Command-line false comfort
File facts from pdfinfo or pdfimages are useful, but they do not replace visually checking the pages that actually matter.
Too many saves
Repeated exports, forwarding, screenshot reuse, and compression can quietly lower image quality before the final Linux copy is reviewed.
Common false assumption
If the PDF opens and the typed text looks fine, many people assume the whole document is high quality. In reality, the weak spot is often a scan, screenshot, chart, logo, or signature that only reveals itself when you zoom in or print it.
Where to inspect resolution on Linux
Different Linux viewing paths answer different questions. The best result comes from using the right one for the right job instead of trusting one preview path to tell you everything.
| Linux path | What it is good for | What it cannot safely prove |
|---|---|---|
| Files, Downloads, or a synced folder | Confirming you saved the right PDF and opening the exact outgoing copy instead of a mail or browser preview. | That the screenshots, scans, or embedded images still hold enough detail for the job ahead. |
| Okular or Evince at 100% | Seeing how the final saved file reads under normal viewing conditions on Linux. | Whether the embedded images are truly sharp when the preview answer still feels ambiguous. |
| Firefox or Chromium preview | Quickly checking the exact browser-delivered copy when the PDF came from the web or a portal download. | Whether Linux browser smoothness is hiding weak underlying screenshots, scans, or flattened image content. |
pdfimages -list or similar Poppler checks |
Inspecting embedded image facts and spotting whether the file is image-heavy or carrying weak extracted assets. | How the sensitive pages actually feel to a human reader when the file is viewed or printed. |
| Extract Images from PDF or PDF to Image | Judging the actual embedded objects or rendered pages when the viewer answer is still unclear. | Why the weakness happened in the source workflow unless you compare the results with the original inputs. |
Step-by-step: how to review PDF resolution on Linux
This workflow gives you a dependable answer without turning a quick Linux quality check into a giant production audit.
1) Save the exact Linux copy first
Do not judge only a browser attachment preview, portal tab, or cloud thumbnail if another file is the one really going to the printer, archive, or recipient. Review the real outgoing copy on disk.
2) Start at 100%, not 500%
A lot of PDFs look worse than they really are when people zoom far past the normal reading size. Start with the practical view first, then inspect the sensitive areas closely.
3) Check the image-heavy areas deliberately
Put your attention on scanned text, screenshots, signatures, receipts, labels, charts, photos, and logos. Those usually reveal the true quality of the document faster than ordinary body text does.
4) Separate vector sharpness from raster softness
If the typed text remains crisp but the pictures or scans go muddy, the viewer is not the main issue. The weakness is probably inside the embedded image content.
5) Extract or render when the answer is unclear
Use Extract Images from PDF to inspect the actual image objects, PDF to Image to judge the whole page as output, or pdfimages -list when you want Linux-friendly file facts.
6) Fix the cause, then reopen the final file
Replace bad screenshots, rescan weak pages, compress less aggressively, or run OCR after cleanup, then open the final saved Linux copy one more time before sharing or printing it.
Reliable sequence: save the real Linux copy → inspect it at reading size → zoom into the weak spots → extract images or inspect embedded-image facts if needed → fix the true source of softness → reopen the final file.
Common Linux resolution problems and what to do next
Most resolution trouble on Linux falls into a few repeat patterns. Once you recognize which pattern you have, the next move gets much easier.
| What you notice | What it usually means | Best next move |
|---|---|---|
| Typed text looks sharp but screenshots look muddy | The PDF mixes crisp vector text with weak raster screenshots | Replace the screenshots or inspect them with Extract Images from PDF or pdfimages -list |
| The scan is readable at a glance but breaks at closer zoom | The source scan did not capture enough real detail | Rescan or request a cleaner source before you rely on OCR |
| The compressed copy looks worse than the earlier version | Compression or export settings softened the image-heavy pages | Re-export or recompress less aggressively |
| The PDF seems acceptable on screen but prints muddy labels or lines | Print reveals weak image detail faster than casual desktop viewing | Judge the file against the real print use case and inspect the embedded images more closely |
| Only one page or one section looks weak | The problem is local to one inserted scan, exhibit, or screenshot block | Fix or replace the weak section instead of rebuilding the whole PDF blindly |
Source problem
The original scan, photo, or screenshot never had enough detail, so the PDF can only carry weakness forward.
Workflow problem
The source was decent, but a save, export, flattening step, or compression pass degraded the PDF later.
Review problem
The file might be acceptable, but the wrong preview path made it hard to judge until someone tried to use the PDF for a real task.
When to rescan, re-export, compress less, or use OCR
The smartest fix depends on where the detail was lost. Not every weak-looking PDF should be treated the same way.
Rescan when the original capture is weak
If the page was fuzzy, shadowy, or tiny from the start, no later PDF trick can honestly recreate the missing detail. A fresh scan or a cleaner source image is usually the best answer.
Re-export when the source looked better than the final PDF
If the original document or earlier copy looked cleaner and the final PDF became soft later, the damage probably happened during export, flattening, or saving. Rebuild the file intentionally instead of stacking more conversions on top of it.
Compress less when file size is the goal but detail still matters
Compress PDF is useful when the file is too large, but it should not quietly destroy the screenshots, scans, receipts, or diagrams that make the document useful. If the compressed copy is clearly softer, the balance is wrong.
Use OCR after the visuals are acceptable
OCR PDF adds searchability and text selection after the scan is good enough to keep. It does not fix blurry image quality on its own.
Easy mistake to avoid
Do not let OCR, a tidy filename, or a successful preview fool you into thinking the visual quality is settled. If the underlying image detail is weak, the PDF is still weak no matter how searchable or convenient it becomes.
Before the PDF leaves your Linux machine, run this short sanity check:
- Did you inspect the exact final Linux copy instead of an earlier master or a browser preview?
- Did you look at the image-heavy sections, not only the sharp body text?
- Did you compare normal reading size with a closer zoom where the risky detail lives?
- If print matters, did you judge the file against the print outcome rather than screen comfort alone?
- If compression or OCR was involved, did you reopen the finished file and make sure the visuals still hold up?
Ready to verify the file? Inspect the embedded images, render a page if needed, and fix weak source material before the PDF gets forwarded, uploaded, printed, or archived.
Best workflow: check the final Linux PDF → inspect the image-heavy areas → extract images when needed → fix the source → compress or OCR only after the visual quality is good enough.
FAQ
How do I check PDF resolution on Linux?
Save the final PDF locally, open it in Okular or Evince at 100%, and zoom into scans, screenshots, logos, signatures, and other image-heavy areas. If those sections still look uncertain, extract the images, render the pages, or inspect the embedded image facts so you can confirm the real quality more directly.
Can Okular or Evince tell me whether a PDF is low resolution?
They are a good first pass because they show the real saved file quickly, but they are not the whole story. If the answer still feels fuzzy, compare the PDF with extracted images, rendered pages, or Linux-friendly embedded-image checks so you can judge what quality the document truly contains.
Is pdfimages enough to check PDF resolution on Linux?
It is very useful, especially when you want to inspect embedded image facts, but it should not replace looking at the real pages that matter. The best answer comes from combining file facts with a visual review of screenshots, scans, logos, and small image-based text.
Why does the text look sharp while pictures still look blurry in my Linux PDF?
Because PDFs often mix vector text with raster images. Vector text can stay crisp at almost any zoom, while screenshots, scans, logos, and photos may already be low resolution inside the same document.
Should I use OCR if my PDF scan is blurry?
Use OCR after the scan is visually acceptable and you need searchable text. OCR improves the text layer, but it does not create image detail that the original scan failed to capture.
Published by LifetimePDF — Pay once. Use forever.