Check PDF Resolution: Spot Blurry Scans, Soft Images, and Print Problems Before You Share
To check PDF resolution, review the final file at 100%, zoom in on scans, screenshots, photos, and logos, and if needed extract the images to see whether the PDF contains genuinely sharp source material or only a soft copy.
If the document looks fuzzy on screen, falls apart when enlarged, or prints muddy details, the real problem is usually weak raster content inside the PDF rather than the viewer alone.
That distinction matters because “PDF resolution” is not one simple number stamped across the whole file. A PDF can contain crisp vector text, mediocre screenshots, heavily compressed photos, and a blurry scanned signature all at once. A quick resolution check helps you find the part that is actually weak before you email the file, upload it to a portal, print it for a client, or archive a bad scan that will never look better later.
Fastest practical path: inspect the final PDF at real size, test the sections that matter most, extract images when the quality is unclear, and fix the source before compression or OCR hides the real issue.
In a hurry? Jump to quick start: check PDF resolution in about 6 minutes.
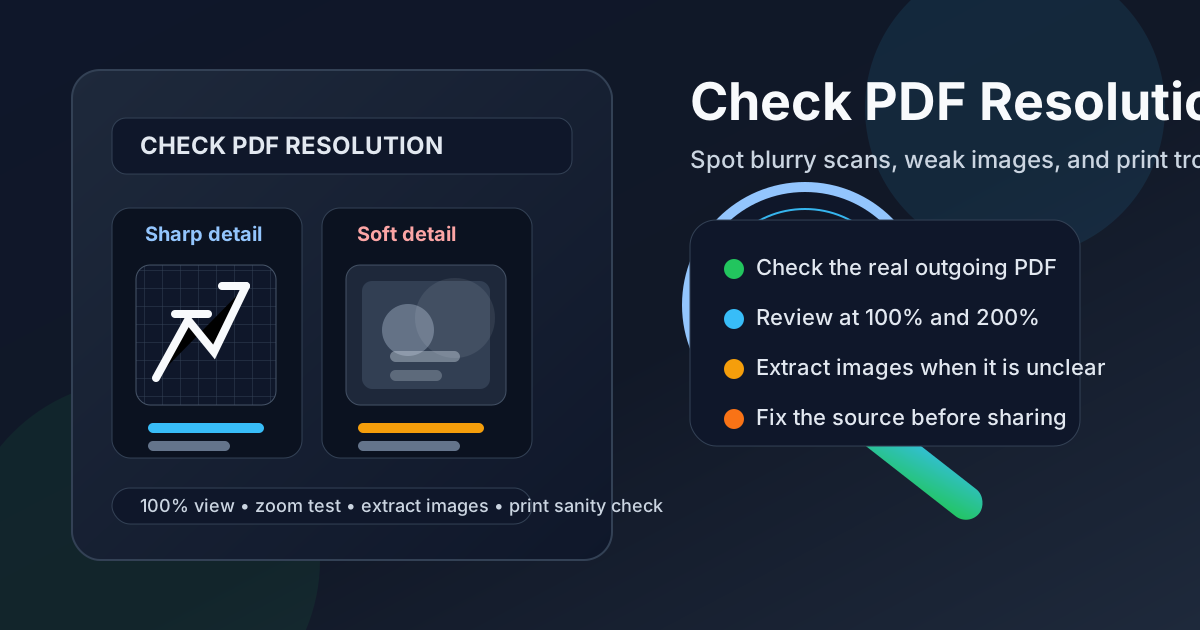
Table of contents
- Quick start: check PDF resolution in about 6 minutes
- What PDF resolution actually means
- Fast signs the PDF really has a resolution problem
- Step-by-step: practical PDF resolution review workflow
- When to rescan, re-export, compress less, or use OCR
- When a fresh source file is the smarter answer
- Final checklist before you share or print the file
- Related LifetimePDF tools and guides
- FAQ
Quick start: check PDF resolution in about 6 minutes
If your real goal is simply tell me whether this PDF is sharp enough to trust, use this order:
- Open the exact PDF you plan to share, print, upload, or archive.
- Look at the file at 100% first, then zoom in on the most image-heavy sections such as scans, signatures, screenshots, charts, photos, and logos.
- If text stays crisp but the images go soft, assume the PDF mixes vector content with weaker raster content instead of assuming the whole file is healthy.
- Use Extract Images from PDF or PDF to Image when you need a clearer look at what quality the document is truly carrying.
- If the PDF came from a scan, improve the scan or request a better source before you rely on OCR.
- If a compressed copy looks weaker than the original, rerun the export or compression step more carefully before the damage becomes permanent in downstream workflows.
What PDF resolution actually means
When people say they need to check PDF resolution, they usually mean one of two things: is the visible detail sharp enough for the job, and which part of the PDF is actually causing the softness. That matters because PDFs often mix different kinds of content.
| Content type inside the PDF | What healthy quality looks like | What a problem looks like |
|---|---|---|
| Vector text and line art | Stays crisp at almost any zoom | Usually not the real resolution problem unless the source export is badly damaged |
| Scans and photos | Edges stay readable and details survive normal enlargement or printing | Textures smear, edges look blocky, and small text inside the image becomes unreadable |
| Screenshots and UI captures | Buttons, labels, and icons remain legible | Small labels blur together and interface elements look muddy |
| Compressed image-heavy pages | File size falls without obvious visual damage | The PDF becomes lighter but also visibly softer, especially in logos, charts, and thin text |
This is why one blanket “DPI answer” rarely solves the problem on its own. A PDF can be partly sharp and partly weak. The useful check is not just what number do I have? but which pages, images, or scans are actually limiting the quality?
Fast signs the PDF really has a resolution problem
Not every awkward PDF is a true resolution failure. Sometimes the issue is page size, bad OCR, or a low-quality source image that never had enough detail to begin with. These clues point more strongly to a real resolution problem.
Small text inside images breaks first
Signatures, screenshots, charts, labels, and stamped notes become hard to read before the rest of the PDF looks obviously bad.
Zoom reveals blocky edges
As you zoom in, photos and scans turn into mush or visible squares instead of revealing clean detail.
Print output looks worse than the screen
The PDF seems acceptable on a laptop but prints soft logos, muddy fine lines, or unreadable image-based text.
One saved copy is clearly weaker
A later export, share copy, or compressed version looks softer than the earlier original, which usually means quality was lost in the workflow.
One subtle clue matters more than people expect: if the body text is crisp but embedded images are weak, that is actually good diagnostic news. It means the viewer is probably not the main culprit. The real issue is localized to the raster content, so you can focus on the source image, scan settings, screenshot size, or compression path instead of chasing random PDF myths.
Easy misread to avoid
Do not mistake searchable text quality for image quality. OCR can make a fuzzy scan selectable, but it does not magically restore missing visual detail in the underlying page image.
Step-by-step: practical PDF resolution review workflow
1) Start with the final outgoing PDF
Resolution checks matter only on the file that is actually about to leave your workflow. If you inspect a local master but send a compressed copy from chat, export a flattened version for a portal, or archive a later scan, the quality decision belongs to that final copy instead.
2) Review the file at 100% before you chase microscopic detail
A lot of PDFs look “bad” only because somebody zoomed to 500% and expected magic. Start at the reading size people will actually use. Then zoom closer to test the sensitive areas deliberately. For most business, legal, operations, and support documents, the risky areas are screenshots, charts, stamps, signatures, receipts, photographed pages, and small text trapped inside an image.
3) Separate vector content from raster content
Crisp typed text can hide the fact that the embedded images are already weak. If you are evaluating a scan, a screenshot-based report, or a photo-heavy PDF, inspect the real image objects rather than assuming the whole document shares one consistent quality level. This is also why font quality and image quality are different checks.
4) Extract images when the answer is not obvious
Use Extract Images from PDF if you want to see what the file is actually carrying as embedded image content. Use PDF to Image when you want to judge how whole pages render outside the PDF container. Those two checks reveal slightly different things:
- Extract Images is better when the problem may live in a specific embedded photo, logo, chart, or screenshot.
- PDF to Image is better when you want to evaluate how the final page looks as a rendered output, including flattening, transparency, and whole-page softness.
5) Compare screen behavior with the real destination
Resolution is never abstract. It is tied to a job. A PDF that looks acceptable for casual phone reading may be too soft for print, court evidence, client-facing marketing, engineering diagrams, or invoices that need legible small details. Check the PDF against the actual use case instead of chasing perfect quality for no reason.
6) Use OCR after the visual quality is good enough
If the document is a scan and you need search, highlight, or copy-paste, run OCR PDF after you decide the scan is visually acceptable. OCR improves the text layer. It does not replace lost pixels, unreadable handwriting, or a bad original capture.
7) Compress carefully, not blindly
Compress PDF is useful when file size is the real problem, but aggressive compression can be the very step that destroys image detail. If the PDF becomes shareable but noticeably softer, the workflow needs a better balance rather than more compression by reflex.
Reliable sequence: inspect the final file, review at real size, zoom in on image-heavy sections, extract images if the answer is unclear, then fix the source before you compress or OCR the document again.
When to rescan, re-export, compress less, or use OCR
The right fix depends on where the quality loss happened. Most PDF resolution problems fall into a few predictable patterns.
| If you see this problem | Best first response | Why |
|---|---|---|
| Scanned pages are soft from the start | Rescan or request a better source | No later PDF trick can invent detail that never existed in the original scan |
| Screenshots look muddy but typed text stays crisp | Replace the screenshots with cleaner captures | The weakness lives in the embedded raster images, not the whole PDF |
| The compressed copy looks worse than the original | Re-export or recompress less aggressively | Downsampling or lossy compression likely damaged the detail |
| The scan is readable but not searchable | Run OCR after confirming the pages are visually good enough | OCR helps usability, but only after the image quality is worth keeping |
| The file prints badly even though it seems okay on screen | Judge it against the print use case and inspect the image-heavy pages more closely | Print exposes weak raster detail faster than casual screen reading does |
The pattern behind these fixes is simple: do not ask downstream tools to rescue missing detail if the upstream source is already weak. Good PDFs usually come from good source material, sensible export choices, and compression that solves the real problem without quietly wrecking the visuals.
When a fresh source file is the smarter answer
Sometimes the best PDF resolution fix is not inside the PDF at all. If the source screenshot is tiny, the phone photo is badly focused, the scan is shadowy, or the sender already exported the file three times through different apps, repair work quickly becomes cosmetic.
Ask for a better source file or a fresh export when:
- small text inside screenshots or scans is unreadable,
- signatures, receipts, labels, or evidence images need to hold up under closer review,
- print quality matters commercially, legally, or operationally,
- the PDF went through repeated compression, forwarding, or chat-app saving,
- important details are already lost and no amount of sharpening would be honest or reliable.
Practical truth
If an important image is already blurry, a polished PDF wrapper does not make the evidence, contract exhibit, invoice, or client deliverable more trustworthy. It only hides the weakness until somebody else has to depend on it.
Final checklist before you share or print the file
Before the PDF leaves your hands, run this short check:
- Did you inspect the exact final PDF instead of an earlier source or draft?
- Did you review the sensitive raster content, not just the crisp typed text?
- Does the file still look acceptable at normal reading size and under a closer zoom where details matter?
- If print matters, did you judge the PDF against the print outcome instead of screen appearance alone?
- If the document is scanned, did you separate visual quality from OCR quality?
- If compression was involved, did you confirm it reduced size without making the PDF obviously softer?
- If the source material was already weak, did you stop and request a cleaner copy instead of pretending the PDF is fine?
You do not need a forensic imaging lab for this. You just need a sane review process that catches the common ways detail gets lost before the next person opens, prints, converts, or challenges the document.
Ready to sanity-check the file? Inspect the embedded images, render a page if needed, and fix weak source material before you compress, OCR, or send the PDF anywhere important.
Best workflow: check the final PDF → review the image-heavy areas → extract images if needed → fix the source → compress or OCR only after the visual quality is solid.
Related LifetimePDF tools and guides
Resolution checks work best as part of a small cleanup workflow. These are the most useful follow-up tools and reads:
Inspect what the PDF is really carrying
- Extract Images from PDF to inspect the embedded image content directly
- PDF to Image to judge whole-page rendering outside the original container
- Extract Images from PDF guide for a fuller workflow
Fix adjacent quality problems
- OCR PDF after the scan quality is visually acceptable
- Compress PDF when file size matters but image detail still needs protection
- Check PDF Page Size if print trouble may be size-related rather than purely resolution-related
- What Happens to Images When Converting PDF to Word when reuse and conversion quality also matter
FAQ
1) How do I check PDF resolution?
Open the final PDF at normal reading size, then zoom in on scans, screenshots, logos, photos, and any small text trapped inside images. If the result is still unclear, extract the images or render the pages to confirm whether the PDF contains sharp source material or a softer copy.
2) Why does typed text look sharp while pictures still look blurry?
Because many PDFs mix vector text with raster images. Vector text can stay crisp at almost any zoom, while screenshots, scans, and photos may already be low resolution inside the same file.
3) Can PDF compression reduce image resolution?
Yes. Aggressive compression can soften or downsample images, especially in scans, receipts, screenshots, and photo-heavy files. That is why it helps to inspect the compressed PDF itself instead of assuming the original quality survived.
4) Should I run OCR if my scanned PDF looks blurry?
OCR is useful after the scan is visually acceptable and you need search or text selection. It improves the text layer, but it does not recreate visual detail that was never captured clearly in the scan.
5) When should I stop fixing the PDF and ask for a better source file?
Ask for a cleaner source when important graphics are already blurry, image-based text is unreadable, or the document must hold up for printing, legal review, compliance, or client delivery. A better source almost always beats endless downstream patching.
Published by LifetimePDF — Pay once. Use forever.