How to Sign a PDF in Preview: Use Markup, Keep the Signature Clean, and Save One Signed Copy You Can Trust
To sign a PDF in Preview, open the file in Preview, show the Markup toolbar, insert your saved signature, place it on the correct page, then save a clearly named signed copy.
If the PDF is scanned, field-heavy, or headed back to a portal, Preview is still fine for simple jobs, but a browser-based Sign PDF workflow is often cleaner and easier to manage.
That is the short answer. The part that actually saves time on Mac is knowing how to keep the signature neat, when Preview is genuinely enough, and how to avoid the classic mistake where the unsigned original, the Mail attachment, and the signed copy all start looking like the same file.
Fastest path: open the real PDF in Preview, add the signature with Markup, save the signed version with an obvious new name, then reopen that finished copy once before you send it anywhere important.
In a hurry? Jump to Quick start: sign a PDF in Preview in a few minutes.
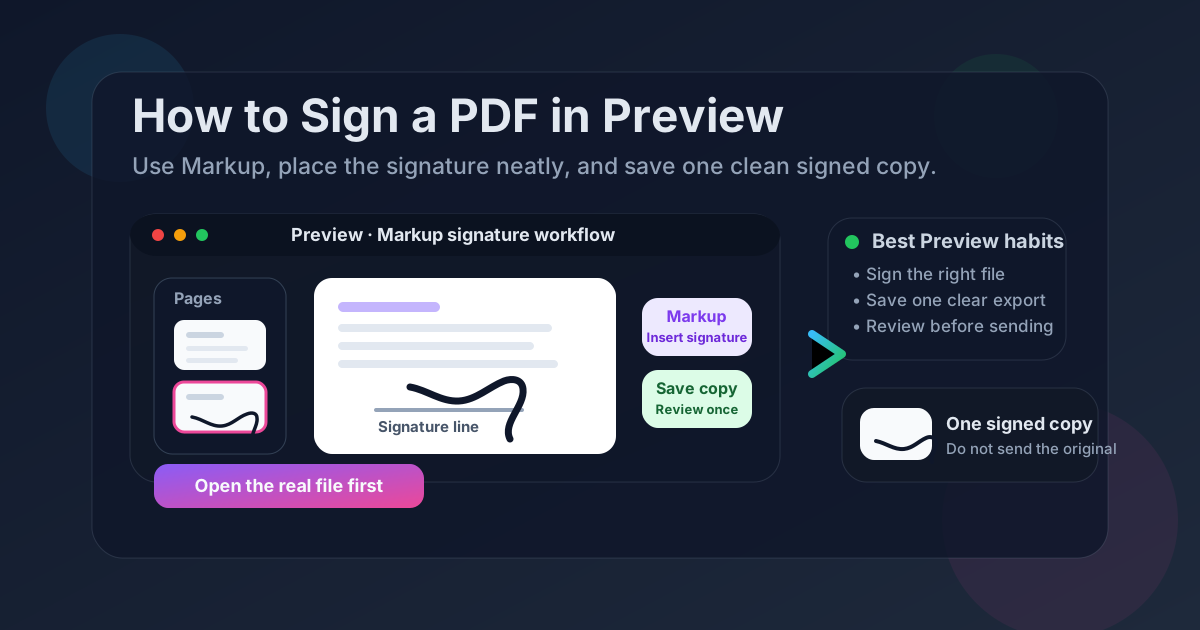
Table of contents
- Quick start: sign a PDF in Preview in a few minutes
- When Preview is actually good for signing
- Step-by-step: sign a PDF in Preview
- How to create or reuse your signature in Preview
- When Preview becomes awkward and another tool is easier
- Common Preview signing problems and quick fixes
- Related LifetimePDF tools and Preview guides
- FAQ
Quick start: sign a PDF in Preview in a few minutes
If you just need to sign a contract, lease, permission form, NDA, school packet, or client document on your Mac, this is the shortest reliable Preview workflow:
- Open the exact PDF in Preview.
- Show the Markup toolbar.
- Insert your signature or create one if you have not saved it yet.
- Place the signature on the correct page and resize it so it looks natural.
- Save the finished file with a clear name like agreement-signed.pdf.
- Reopen that signed copy once and make sure the signature is on the right page before you email or upload it.
When Preview is actually good for signing
Preview has one huge advantage: it is already there. If the PDF is local, straightforward, and mostly finished, Preview can be the fastest route from “I need to sign this” to “done.”
It works especially well when the job is simple: one signer, one Mac, one document, one return path. Open the file, place the signature, save the copy, and move on with your day.
Where people get into trouble is assuming Preview should do everything. It is good at simple signing, quick review, and light markup. It is not always the cleanest place for messy scans, field-heavy forms, or workflows where the PDF still needs other edits first.
| Situation | Best move | Why it works |
|---|---|---|
| One local PDF that only needs a signature | Use Preview | Fast, built in, and perfectly fine when the document is already ready to sign. |
| The PDF also needs typed answers | Fill fields first, then sign | The page stays cleaner and you lower the chance of covering labels or boxes with the signature. |
| The file is scanned, flattened, or slightly awkward | Preview may work, but Sign PDF is often easier | You usually get cleaner placement and a simpler export path. |
| You are juggling Mail, Downloads, Finder, and portal copies | Use the workflow that makes the final file easiest to track | Version confusion causes more signing mistakes than the tool itself. |
In plain English: Preview is good when the document is calm. Real life is not always calm.
Step-by-step: sign a PDF in Preview
Here is the practical workflow most Mac users actually need.
1) Open the real source file
Start with the PDF you really intend to return. If it came from Mail, save it first. If it came from a portal, confirm whether the downloaded file is the one you want. If Finder already contains several nearly identical copies, pause for ten seconds and choose the correct one now instead of regretting it later.
2) Show Preview's Markup tools
Once the file is open, show the Markup toolbar. This is the part of Preview that matters for signing. You do not need to invent a weird print-and-scan workaround if the PDF only needs a normal visual signature.
3) Insert the signature and place it carefully
Add your saved signature, then drag it onto the correct line or signature area. Resize it so it looks believable. A signature should look like a person signed the document, not like someone pasted a billboard onto the page.
4) Check nearby dates, initials, and labels
The most common visual mistake is not a crooked signature. It is covering something next to it: a date, a checkbox, a printed name line, or a small instruction line that only becomes obvious after export.
5) Save one clearly named finished copy
This matters more than people think. If the document is important, save the signed version with a filename that tells the truth. offer-letter-signed.pdf is good. final-final-2.pdf is how people accidentally attach the wrong thing with confidence.
6) Reopen the signed PDF once before sending
Open the saved export again and check three things: the signature is on the correct page, it looks the right size, and the file you reopened is the signed copy, not the original. That tiny review step prevents a lot of embarrassment.
Simple Mac sequence: open the real file → sign once in Preview → save the signed copy with a clear name → reopen that exact copy → send it back.
How to create or reuse your signature in Preview
Preview is convenient because you do not have to rebuild your signature every time. Once you create one, you can usually reuse it for later documents on the same Mac workflow.
Create the signature once
In Preview's Markup controls, create the signature using the method you prefer. The point is not to chase perfection. The point is to create a signature that looks natural and is easy to place consistently.
Reuse it for simple documents
For routine paperwork, a saved signature is genuinely useful. It turns Preview into a fast local signing tool instead of making you repeat the setup every single time.
Resize with restraint
People tend to oversize signatures because the line looks small at first glance. Zoom in and make it proportional to the surrounding text. A slightly smaller signature usually looks more professional than an oversized one.
Keep the final review in the exported file
Do not assume the editing view is the whole truth. The saved PDF is what the other person will actually open. Check the finished file, not just the moment before you clicked save.
When Preview becomes awkward and another tool is easier
Preview is helpful, but it is not sacred. Sometimes it is simply not the cleanest route.
Switch when the PDF also needs form filling
If the document needs more than a signature, complete the typed fields first with PDF Form Filler, then sign after the page is structurally finished. That sequence produces calmer results.
Switch when the file is scanned or portal-generated
Preview can still handle these files, but scanned and flattened PDFs often feel less cooperative. A dedicated Sign PDF workflow is often easier when placement needs to be cleaner or when the document did not start life as a nice interactive PDF.
Switch when version control is already messy
If the PDF exists in Mail, Finder, Downloads, and a browser tab all at once, the real problem is not Preview. The real problem is keeping track of the final file. Use the route that leaves you with one obvious export you can trust.
Switch when the final file is too big
Once the signature is correct, reduce the file size with Compress PDF if email or upload limits complain. Do not redo the signature just because the finished file is bulky.
In short: Preview is great for tidy jobs. Use a browser workflow when the document or the handoff starts getting messy.
Common Preview signing problems and quick fixes
The signature looks too large or too dark
Resize it until it feels like it belongs with the rest of the document. Most signatures look better slightly smaller than your first instinct.
I signed the wrong file
This is painfully normal. Go back to the real source file, sign that version, and save it with a clearer filename. Good naming fixes a lot of document chaos.
The document also needs answers, dates, or initials
Finish those first if possible. Use PDF Form Filler for typed entries, then add the signature after the page content is settled.
The PDF behaves like an image
That usually means it is scanned or flattened. Preview might still work for a simple visual signature, but if placement feels clumsy, switch to Sign PDF and keep the export path simple.
The signed file is too large to send
Once the signature is correct, use Compress PDF on the finished file. That is usually faster and cleaner than rebuilding the whole workflow.
I am worried I will send the unsigned original
Rename the signed export clearly and reopen that exact file once before attaching it. That single habit prevents a lot of Mac signing mistakes.
Related LifetimePDF tools and Preview guides
Signing is often only one step in the larger PDF workflow. These tools and guides pair especially well with Preview on Mac:
- Sign PDF — cleaner browser-based signing when Preview stops feeling convenient.
- PDF Form Filler — add typed answers before you sign.
- Compress PDF — shrink the final signed file if it is too large for email or a portal.
- Unlock PDF — remove permission barriers when you are authorized to work with the file.
Related reading on LifetimePDF: how to sign a PDF on Mac, how to sign a PDF in Safari, how to sign a PDF in Chrome, how to fill out a PDF form on Mac, how to edit a PDF in Preview, and how to add text to a PDF on Mac.
Easy rule of thumb: if the PDF is simple and local, Preview is fine. If the workflow is messy, scanned, or heading through a portal, sign it with a cleaner browser-based tool and keep one obvious final export.
FAQ: How to sign a PDF in Preview
Can I sign a PDF directly in Preview on Mac?
Yes. Preview can handle simple signatures very well. Open the file, show the Markup toolbar, insert your signature, place it neatly, and save a clearly named signed copy.
Is Preview enough for signing every PDF?
Not always. Preview is excellent for straightforward local signing, but scanned PDFs, field-heavy forms, and portal-driven workflows are often easier in a browser-based signing tool.
What should I do if the PDF also needs typed answers?
Usually fill the form first and sign last. That keeps the page cleaner and reduces the chance of covering labels, dates, or checkboxes with the signature.
Why do people send the wrong signed PDF from Preview?
Because the original file, the signed export, a Mail attachment, and a Finder duplicate can all look nearly identical. Save the final version with a clearly different name and reopen that exact file once before sending it.
What if the signed PDF is too large to upload or email?
Once the signature is correct, compress the finished file. It is usually much cleaner to optimize the final signed PDF than to redo the whole signing process.
Published by LifetimePDF — Pay once. Use forever.