How to Extract Images from PDF on Linux: Use Firefox, Chrome, and Save Original Graphics Cleanly
To extract images from PDF on Linux, open a browser-based Extract Images tool in Firefox or Chrome, choose the PDF from your file manager, and download the embedded photos, logos, charts, or graphics you need.
If the PDF already contains reusable source images, extraction is usually cleaner than taking screenshots because you are not limited by display scaling, zoom level, or manual crop quality loss.
That is the short answer. The useful Linux answer is knowing when a PDF actually contains extractable images, when you should switch to PDF to Image instead, and how to avoid the classic desktop mistakes where the file still lives in a browser preview, the exported graphics disappear into a messy Downloads folder, or a flat scanned page gets treated like a collection of separate assets. A good workflow keeps the quality high and the result easy to reuse.
Fastest path: save the source PDF locally, open LifetimePDF's Extract Images tool in Firefox or Chrome, export the embedded graphics, then open one or two results to confirm you recovered the real images instead of page fragments or scan leftovers.
In a hurry? Jump to Quick start: extract PDF images on Linux in a few minutes.
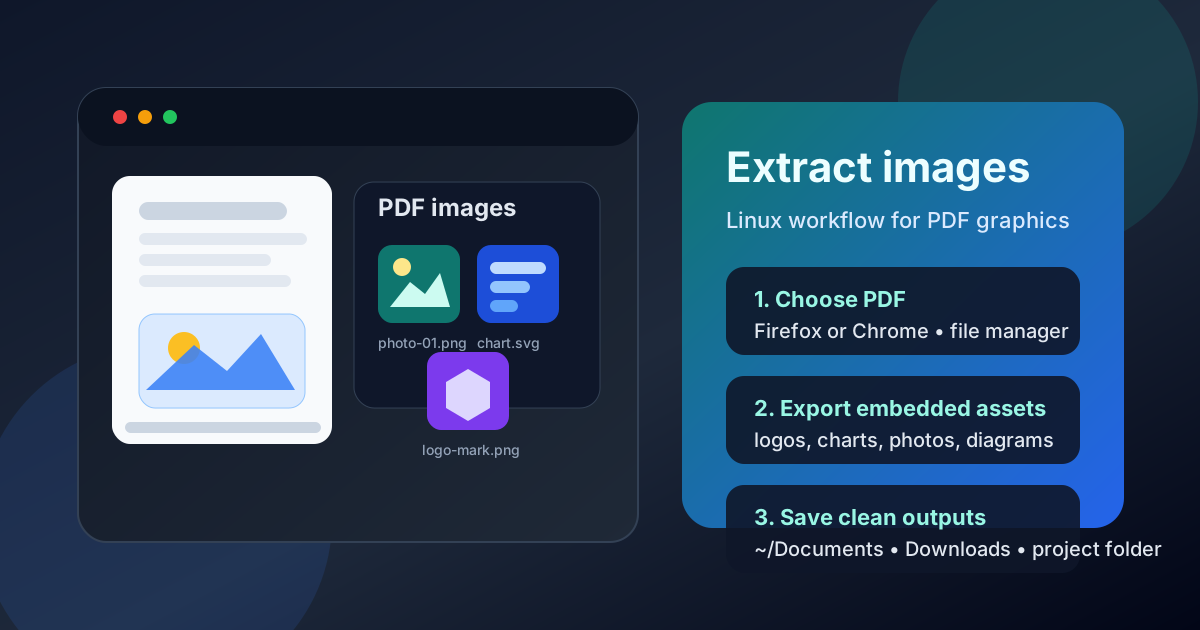
Table of contents
- Quick start: extract PDF images on Linux in a few minutes
- The easiest Linux workflow for extracting images
- Step-by-step: pull images out of a PDF on Linux
- Extract Images vs PDF to Image vs screenshots
- Working with PDFs from email, cloud storage, and local folders
- Common Linux problems and quick fixes
- Quality, naming, and reuse tips
- Related LifetimePDF tools and guides
- FAQ (People Also Ask)
Quick start: extract PDF images on Linux in a few minutes
If you already know the PDF contains pictures, logos, diagrams, screenshots, or charts you want to reuse, this is the fastest dependable workflow:
- Save the PDF from Gmail, Outlook Web, Slack, Nextcloud, Google Drive, or another browser tab into a folder you can find quickly.
- Open Extract Images in Firefox or Chrome.
- Choose the PDF from Downloads, Documents, your home folder, or another file-manager location.
- Export the images and save the results with a clear folder name.
- Open one or two files to confirm you got the real graphics you wanted.
If the result is disappointing, do not assume the tool failed. Often the PDF simply does not contain separate reusable images. Many Linux PDFs are mostly text, vector artwork, or one big scanned page. In that case, PDF to Image is usually the better move.
The easiest Linux workflow for extracting images
The best Linux workflow is usually: save the source locally, run extraction in the browser, review the output once, and rename the results clearly before you reuse them. That sounds basic, but most real desktop mistakes happen around the task, not during it.
- Save the source first. Work from a real file, not a browser preview or mail attachment pane.
- Use extraction when the PDF already contains embedded graphics. This is where you often keep better quality than screenshots.
- Switch tools when the PDF is really a page image. If the whole page behaves like one flat scan, you probably want page conversion, not embedded-asset extraction.
- Name the output clearly. Linux folders get messy fast when everything is called image1, export, final, or download.
Think of it this way: extraction is not about making a picture of the page. It is about recovering the picture that may already be inside the PDF. That is why the result can look cleaner than a screenshot when the document was built from real source assets.
Practical rule: if you want the original embedded logo, chart, or photo, try Extract Images first. If you want the whole page exactly as it looks on screen, use PDF to Image instead.
Step-by-step: pull images out of a PDF on Linux
1) Save the PDF somewhere easy to find
If the file came from webmail, a support portal, Slack, or cloud storage, save it before you start. Your file manager is your friend here. A saved local copy is easier to trust than a temporary preview, and it reduces the chance that you accidentally run extraction on the wrong version.
For quick Linux PDF jobs, the most practical locations are:
- Downloads for a fast one-off task
- Documents if you want the source and output kept together neatly
- Your home folder if you prefer one predictable place for active document work
- A synced project folder if the exported images need to show up on another device afterward
2) Open Extract Images in Firefox or Chrome
Go to LifetimePDF Extract Images in Firefox or Chrome. On Linux, this is usually the cleanest no-install workflow when your goal is to recover graphics from a PDF without opening heavy desktop publishing software just to rescue one chart or logo.
3) Choose the PDF from your file manager
Select the source PDF from the folder where it actually lives. If the document came from Gmail, Outlook Web, Nextcloud, or Google Drive, make sure you are using the saved copy rather than a stale preview. That sounds minor, but it is a common Linux mistake when several versions of the same document are floating around.
Whether you browse files through GNOME Files, Dolphin, Nemo, or Thunar, the principle is the same: work from the real file and keep the output clearly separated from the source.
4) Export the images and review the result once
After extraction, open a couple of the exported files before you move on. You are checking two things:
- Did you get the actual pictures, charts, or logos you wanted?
- Did the PDF contain reusable embedded assets, or did it mostly contain page-level graphics that call for a different workflow?
That quick review prevents the usual frustration where somebody assumes extraction failed, when the real issue is that the PDF never contained separate extractable images in the first place.
5) Use Extract Pages first if the document is huge
If the PDF is a long report, brochure, or presentation and only one or two pages matter, use Extract Pages first. A smaller working copy is easier to inspect, easier to name clearly, and less likely to produce confusing exports from pages you never cared about.
6) Switch to PDF to Image if you really need the whole page
If the PDF is a flyer, scanned handout, photographed form, or one-page poster and you want the full page as a picture, extraction is not always the right tool. In that case, use PDF to Image so you get a page-level export instead of hoping separate image assets are hiding inside the file.
Extract Images vs PDF to Image vs screenshots
These three approaches sound similar, but they solve different problems.
| Method | Best for | What to expect on Linux |
|---|---|---|
| Extract Images | Pulling logos, photos, charts, diagrams, or other embedded graphics out of a PDF | Often cleaner than screenshots when the PDF contains real source images |
| PDF to Image | Turning a whole page into a PNG or JPG | Best when you want the page exactly as rendered, or when the PDF is basically one flat scan |
| Screenshot | Fast casual captures when quality is not critical | Easy, but limited by zoom, scaling, visible screen area, and manual cropping |
If the goal is “I need the original product photo from this brochure PDF,” extraction is usually the smartest first try. If the goal is “I need this whole certificate page as an image,” page conversion is usually better. If the goal is “I just need a quick visual for chat,” a screenshot may be fine.
Working with PDFs from email, cloud storage, and local folders
Email attachments
Save the PDF first instead of relying on preview mode. That keeps the extraction workflow cleaner and makes it much easier to tell the original attachment apart from the exported images later.
Cloud folders
If the PDF lives in Dropbox, Nextcloud, Google Drive, or another synced folder, it is often fine to extract images from that location. Just give the exported graphics a distinct folder name so they do not get mixed up with the original file after sync finishes.
Downloads clutter
Downloads is fine for quick work, but it gets messy fast when multiple files share generic names like attachment.pdf or download.pdf. If you are doing more than one extraction job, create a small temporary folder first so the source PDF and exported graphics stay together.
Useful file-manager habits
- Sort by Date modified after extraction so the newest output is obvious.
- Use list or details view when filenames are similar.
- Create a folder named after the job, such as proposal-graphics or report-charts.
- Rename the exported ZIP or folder immediately if the default name is vague.
Common Linux problems and quick fixes
The extracted results are not the images I expected
This usually means the PDF is structured differently than you assumed. Some documents contain decorative fragments, masks, tiny icons, or page pieces instead of one clean full-size photo. If the real goal is the full page, switch to PDF to Image.
No useful images came out at all
That often means the PDF is mostly text, vector artwork, or one flat scanned page. Extraction is not broken in that situation. The PDF simply does not contain separate embedded images worth pulling out.
The image quality still looks disappointing
Sometimes the PDF itself only contains a low-resolution source image. Extraction cannot invent detail that was never there. It can preserve the asset more honestly than a screenshot, but it cannot turn a weak source into a sharp original.
I cannot find the exported files
Check Downloads first, then sort by Date modified in your file manager. If this happens often, set up a dedicated working folder before you start the task.
I only need one page's visual, not every image in the PDF
Use PDF to Image instead. Extraction is better for asset recovery. Page conversion is better for a finished page snapshot.
Need the cleanest next step? If you recovered the embedded graphics, keep them. If the PDF is really a scan or poster-style page, convert the page itself instead.
Quality, naming, and reuse tips
The main quality advantage of extraction is that you are not photographing your monitor. When a PDF contains real embedded graphics, extracting them can preserve a cleaner version than what you would get from a zoomed-in screenshot.
Good naming also matters more than people think. Linux folders become chaotic quickly when every export is called image1, image2, final, or output. If you are reusing the result in LibreOffice, Google Slides, documentation, or a design handoff, a folder structure like this is much easier to live with:
- source-pdf/ for the original file
- extracted-images/ for the exported graphics
- page-renders/ only if you also used PDF to Image
If the PDF contains sensitive material, remember that extracting images is not the same as redacting the document. If you need to share a sanitized PDF afterward, clean the document itself before sending it anywhere.
Related LifetimePDF tools and guides
If extracting images is just one part of the job, these tools and guides usually fit naturally around the workflow:
- Extract Images for pulling embedded graphics out of the PDF
- PDF to Image for full-page PNG or JPG exports
- Extract Pages if the PDF is huge and you only want to work with a few relevant pages first
- OCR PDF if the file is really a scan and you need searchable text after dealing with the visuals
- Extract Images from PDF for the broader non-Linux guide
- PDF to Image if your end goal is page conversion rather than asset recovery
- How to Extract Pages from PDF on Linux if you want to isolate specific pages before extracting graphics
- How to OCR a PDF on Linux if the file first needs to become searchable
- Lifetime Access if you want a durable PDF toolkit without recurring subscription pressure
If you do this kind of task often, the real win is building a repeatable habit: save the source, choose extraction or page conversion deliberately, and name the result clearly before you drop it into another Linux workflow.
FAQ (People Also Ask)
How do I extract images from PDF on Linux without installing an app?
Open a browser-based Extract Images tool in Firefox or Chrome, choose the PDF from your file manager or another saved folder, export the images, and save the output with a clear name. That is usually the quickest no-install workflow on Linux.
Will extracting images from a PDF keep better quality than screenshots?
Often yes. If the PDF contains embedded source images, extraction can preserve those graphics more cleanly than a screenshot, which depends on zoom level, scaling, and visible screen area.
Why does my Linux PDF not give me any useful images to extract?
Some PDFs are mostly text, vector drawings, or one flat scanned page rather than separate image assets. In that case, PDF to Image or OCR may be a better fit than image extraction.
What is the difference between Extract Images and PDF to Image on Linux?
Extract Images pulls out pictures already stored inside the PDF. PDF to Image creates a new image from the whole page. If you want the original embedded logo, chart, or photo, extraction is usually better. If you want the full page exactly as rendered, use PDF to Image.
Can I extract images from PDFs saved from email or cloud storage on Linux?
Yes. Save the PDF first, run extraction in Firefox or Chrome, then store the exported images in a clearly named folder so you do not mix them up with the source attachment or synced document later.
Ready to pull reusable graphics out of a PDF? Use LifetimePDF to recover embedded images cleanly, or convert the whole page when that is the result you actually need.