How to Annotate a PDF on Windows: Highlight, Comment & Mark Up Files Without Printing
To annotate a PDF on Windows, open LifetimePDF's Edit PDF tool in Microsoft Edge or Google Chrome, choose the file from File Explorer, Outlook, OneDrive, Teams, or Downloads, then add highlights, comments, notes, arrows, or drawings and save the marked-up copy.
If the file is a scan and the text will not select cleanly, run OCR first so your highlights, comments, and review notes land on a PDF that is easier to read and work with.
That is the short answer. The useful part is knowing when a quick built-in Windows preview is enough, when you need a cleaner browser-based annotation workflow, how to keep the original separate from the review copy, and how to handle contracts, forms, school readings, invoices, plans, and scanned PDFs without installing another heavyweight desktop app.
Fastest path: open Edit PDF in Edge or Chrome on Windows, upload the file from File Explorer, Outlook, OneDrive, Teams, or Downloads, add the highlights and comments you need, then save the annotated copy with a clear new filename.
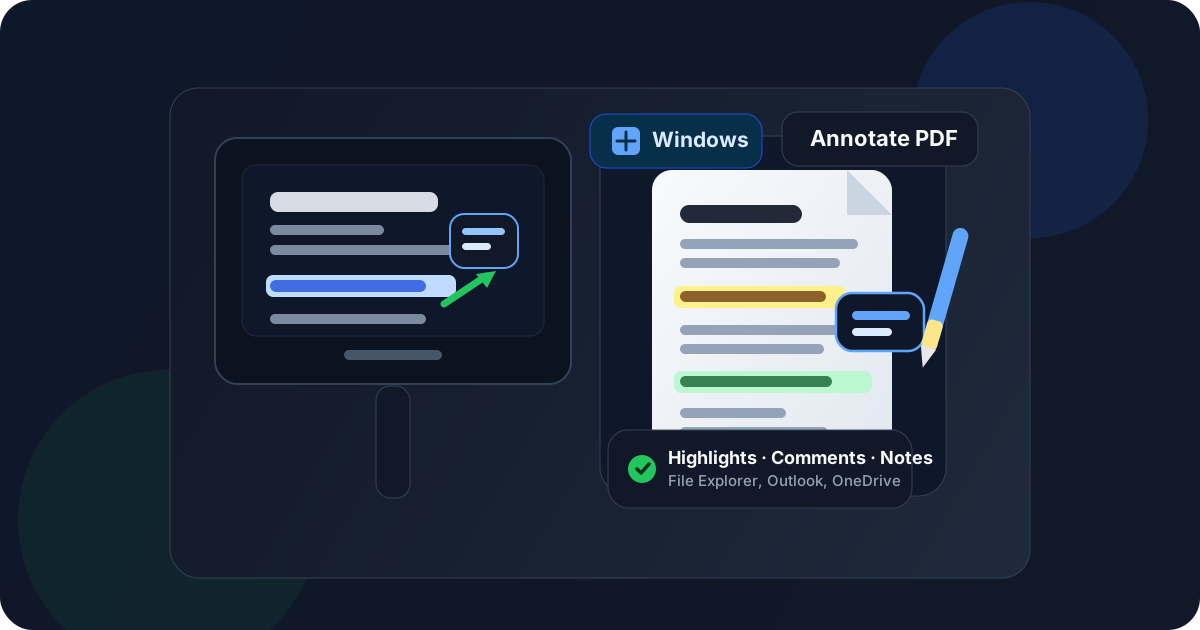
Table of contents
- Quick start: annotate a PDF on Windows in 3 minutes
- The best Windows workflow for PDF annotation
- Step-by-step: annotate a PDF from File Explorer, Outlook, OneDrive, Teams, or Downloads
- Highlights, comments, notes, arrows, and drawings on Windows
- Microsoft Edge vs a dedicated PDF annotation workflow
- Scanned PDFs, OCR, and searchable text on Windows
- Working with PDFs from Outlook, File Explorer, OneDrive, Teams, and Downloads
- How to save, share, and protect the annotated copy
- Common Windows annotation problems and quick fixes
- Related LifetimePDF tools and guides
- FAQ
Quick start: annotate a PDF on Windows in 3 minutes
If the PDF is already on your PC and you just need to review or mark it up, this is the workflow most people actually want:
- Open Edit PDF in Microsoft Edge or Google Chrome on Windows.
- Choose the file from File Explorer, a saved Outlook attachment, OneDrive, Teams, or Downloads.
- Add the highlights, comments, text boxes, arrows, circles, or freehand notes you need.
- If the file is a scan and you cannot select the text cleanly, use OCR PDF first.
- Download the annotated PDF with a clear new filename and review it once from File Explorer before sending it back.
The best Windows workflow for PDF annotation
On Windows, annotation goes smoothly when you separate three jobs that people often blur together:
- Reading: opening the PDF and understanding what needs attention.
- Marking up: highlighting, commenting, circling, underlining, or adding notes that someone else can act on.
- Sharing: saving the reviewed copy with a filename and folder location that make sense later.
Windows gives you plenty of ways to open a PDF quickly, but speed is not the same thing as control. If you are reviewing a contract, a bid package, a school reading, a drawing set, a client proof, or a form that needs feedback, a dedicated annotation workflow usually feels calmer than trying to force every note into whatever built-in preview happened to open first.
The cleanest setup is simple: start with the exact source file, annotate in a browser tool that gives you better control over comments and placement, then save a separate reviewed copy before the file goes back to email, chat, or cloud storage.
Step-by-step: annotate a PDF from File Explorer, Outlook, OneDrive, Teams, or Downloads
1) Start with the exact file you plan to review
Before you add a single comment, make sure you are working on the real source file. On Windows, it is common to open a PDF from Outlook, make notes, then discover later that the edited copy never made it back to the folder or thread where everyone else is looking.
If the file arrived by email or chat, save it somewhere obvious first. A named project folder in File Explorer is better than trusting a temporary download list you will forget about two hours later.
2) Open Edit PDF in Edge or Chrome
Open Edit PDF in Microsoft Edge or Google Chrome. Both work well for a browser-based PDF workflow on Windows and avoid the friction of switching into a big desktop app just to leave a few practical notes.
Upload the PDF from the folder where you deliberately saved it. If you are working from a OneDrive or Teams-backed folder, let the sync settle before you reopen or resend the annotated version.
3) Add the markup that actually helps the next person
Good annotation is not about decorating the page. It is about making the next action obvious. Highlight the sentence that matters. Add a short note that explains the problem. Use an arrow when the issue is visual or layout-based. Keep comments specific enough that someone else can resolve them without needing a follow-up call.
If you are reviewing a draft, try to keep each note focused on one fix. That makes long PDFs much easier to work through when the recipient opens the file later on another computer.
4) Zoom in and work page by page on desktop
Windows gives you the screen space to be more precise than on a phone. Use that advantage. Zoom in before placing arrows, text boxes, or small highlight ranges, especially on contracts, tables, engineering sheets, invoices, and packed academic PDFs.
A note that lands neatly beside the issue is much easier to trust than one floating halfway across the page.
5) Save the annotated PDF as a separate copy
When you finish, save the reviewed version with a filename that says what changed. Examples like proposal-review-comments.pdf, lease-redlines-round-2.pdf, or chapter-4-notes.pdf are much better than another vague document-final.pdf.
That naming habit is especially useful on Windows because desktop folders tend to accumulate versions fast.
6) Reopen the final PDF in File Explorer and verify it
Open the saved copy once before sharing it. Confirm the comments are present, the arrows landed where you intended, and the file opens from the location you expect. This last check catches a surprising number of avoidable mistakes.
Highlights, comments, notes, arrows, and drawings on Windows
Different annotation types solve different problems. The fastest workflow usually mixes only the ones you actually need:
Highlights
Highlights are best when the text itself is the issue. Use them for clauses that need review, figures that look wrong, deadlines, payment terms, missing words, or passages a teammate should answer.
Comments and notes
Comments are where the real value lives. A short note like “Please update this amount to match the revised quote” is more useful than a bright highlight with no explanation.
Arrows, circles, and shapes
Visual markup helps when the problem is layout rather than text: a logo too close to the edge, a cropped chart label, a missing signature box, a table row that broke awkwardly, or a figure that belongs elsewhere.
Freehand drawing on Windows
Freehand notes can work well on touch-enabled Windows devices or when you are using a pen, but typed comments are usually easier for coworkers, clients, and teachers to read. Use drawing when it truly clarifies the issue, not as the default for every note.
Microsoft Edge vs a dedicated PDF annotation workflow
Microsoft Edge is genuinely convenient. If you only need to read a PDF and leave one or two quick marks for yourself, it may be enough. The friction stays low because the file often opens there by default on Windows.
The limits show up when the review matters to someone else. Dense comment threads, multiple note types, cleaner placement, and a more controlled save path usually feel better in a dedicated annotation workflow.
- Use Edge for quick personal review and a few simple marks.
- Use a dedicated PDF annotation workflow when the file is going back to a client, teacher, vendor, team, or signer.
In other words, Edge is handy for convenience. A dedicated tool is better when clarity, consistency, and a presentable review copy actually matter.
Scanned PDFs, OCR, and searchable text on Windows
If you try to highlight text and nothing behaves like text, the PDF is probably image-only. That is common with scanned contracts, receipts, forms, old handouts, printed packets, and camera-made copies saved as PDF.
In that case, run the file through OCR PDF first. OCR makes the text searchable and usually much easier to highlight, quote, and review cleanly.
Even when you can technically draw on a scan, OCR often makes the final result feel far more usable because your highlights and comments are anchored to text instead of fighting against a flat picture of a page.
Working with PDFs from Outlook, File Explorer, OneDrive, Teams, and Downloads
The source of the file changes how disciplined you need to be:
- Outlook: save the attachment first so you know where the annotated copy lives later.
- File Explorer: start from the project folder and keep both original and reviewed copies together.
- OneDrive: wait for sync after saving if the file is shared across devices or coworkers.
- Teams: double-check whether the file is tied to a channel folder that other people will revisit.
- Downloads: move important PDFs out of the generic Downloads folder before the versions start blurring together.
Most Windows annotation mistakes are not really annotation mistakes. They are file-location mistakes. A good folder habit solves half the problem before you even start marking pages.
How to save, share, and protect the annotated copy
Save the marked-up PDF with a new name
Keep the original untouched whenever possible. Save the reviewed file with a name that signals status, such as draft-commented.pdf, invoice-review.pdf, or notes-for-approval.pdf.
Compress the file if it needs to travel
If the PDF grew after annotation or already started large because of scans or images, use Compress PDF before you attach it to email, upload it to a portal, or send it through a chat app with size limits.
Sign the final copy if approval is part of the workflow
Some review cycles end with a signature rather than another comment round. If that is your situation, move from annotation into Sign PDF after the comments are settled.
Protect a private review copy when needed
If the file includes sensitive pricing, legal notes, HR details, or personal information, add a password with PDF Protect before you send the reviewed copy onward.
Common Windows annotation problems and quick fixes
I cannot select the text I want to highlight
The PDF is probably scanned or flattened. Run OCR first, then try again.
My comments looked fine on my PC but messy on someone else's
That usually means the note placement was too cramped or the page was not checked after saving. Reopen the final file yourself once before sending it, especially if you used arrows, shapes, or tight margin notes.
I keep opening the wrong copy from Downloads or Outlook
Create a single named working folder in File Explorer and move the real source PDF there first. Do not rely on a browser download tray or an email temp path if the file matters.
The file is too large to send after annotation
Compress it before sharing. Large files are especially common when the PDF contains scans, photos, or presentation-style pages.
I need to point out a layout problem, not just a text issue
Use arrows, boxes, circles, or a short note placed close to the visual problem. Highlights alone are usually not enough for design or formatting feedback.
I accidentally overwrote the original or lost track of versions
Go back to a new naming convention immediately. Original file plus reviewed copy plus date or round number is much easier to manage on Windows than vague filenames that keep getting reused.
Related LifetimePDF tools and guides
Annotating a PDF on Windows often turns into one or two extra cleanup steps. These are the most useful companion tools:
- Edit PDF — add highlights, comments, notes, shapes, and markup in a cleaner review workflow.
- OCR PDF — make scanned PDFs searchable before you annotate them.
- Sign PDF — add a signature or initials after the review is complete.
- Compress PDF — shrink large reviewed files for email or upload limits.
- PDF Protect — add a password when the reviewed copy still contains private information.
Related reading on LifetimePDF: Annotate PDF, How to Sign a PDF on Windows, How to Fill Out a PDF Form on Windows, How to OCR a PDF on Windows, How to Rotate a PDF on Windows, and How to Password Protect a PDF on Windows.
FAQ: How to annotate a PDF on Windows
How do I annotate a PDF on Windows without Adobe Acrobat?
Open a browser-based PDF annotation workflow in Edge or Chrome on your Windows PC, choose the PDF from File Explorer, Outlook, OneDrive, Teams, or Downloads, add the highlights and comments you need, then save the annotated copy back to your computer.
Can I highlight and comment on a PDF from File Explorer on Windows?
Yes. Start with the PDF stored in File Explorer, then open it in a dedicated annotation workflow so you can add clearer highlights, comments, arrows, notes, or drawings and save a separate marked-up copy when needed.
What if the PDF is scanned and I cannot select any text on Windows?
That usually means the file is image-only. Run OCR first to make the text searchable and selectable, then come back to annotation if you want cleaner text highlights and easier review.
Is Microsoft Edge enough for annotating PDFs on Windows?
Edge is fine for quick reading and a few light notes, but a dedicated PDF annotation workflow is usually easier when you want cleaner comments, more precise placement, or a review copy meant for another person.
How do I save an annotated PDF on Windows without overwriting the original?
Download the finished file with a clear new filename such as proposal-review-comments.pdf or contract-v2-annotated.pdf, then keep the original untouched in its folder so you always know which version is the source.
Published by LifetimePDF — Pay once. Use forever.