Compress PDF for Xodo: Open Smaller Study Files, Contracts, and Marked-Up PDFs Faster Across Devices
To compress a PDF for Xodo, upload the final file to LifetimePDF's Compress PDF tool, start with Medium compression, and keep the smaller copy only if text, comments, page thumbnails, and annotation targets still look clean in Xodo.
For most Xodo workflows, aim for under 5MB for ordinary text-heavy PDFs and roughly 5MB to 20MB for heavier manuals, scan-heavy files, textbooks, or image-rich packets that still need smooth reading and markup.
Xodo is the kind of app people use when a PDF is not just sitting there but actively getting opened, read, highlighted, commented on, signed, or shared between phone, tablet, laptop, and browser. That is exactly why oversized PDFs become annoying fast. A bloated file takes longer to open, feels heavier to scroll, gets clumsier on mobile, and turns normal review into more work than it should be. The goal is not to crush every PDF until it looks cheap. The goal is to make it lighter while preserving the pages you actually need to read, comment on, fill out, or send.
Fastest path: run the PDF through LifetimePDF's Compress PDF tool on Medium, open the smaller copy in Xodo, then check one text-heavy page, one page with comments or highlights, and one zoomed-in detail before you keep it.
Need the short version? Jump to Quick start: compress a PDF for Xodo in under 2 minutes.
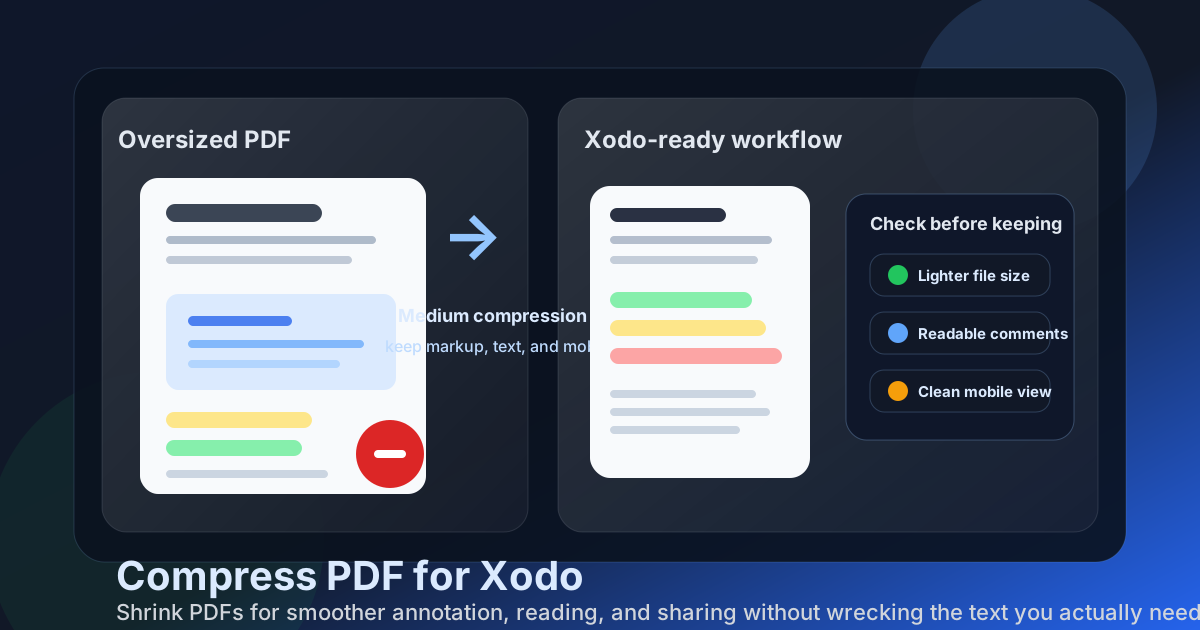
Table of contents
- Quick start: compress a PDF for Xodo in under 2 minutes
- Why smaller PDFs help in Xodo
- What file size should you aim for?
- Which compression level should you choose?
- Step-by-step: shrink a Xodo PDF with LifetimePDF
- Best strategy for common Xodo file types
- What if the PDF is still too large?
- How to keep reading, comments, and markup comfortable
- When to compress before or after annotating
- Related LifetimePDF tools and useful internal links
- FAQ (People Also Ask)
Quick start: compress a PDF for Xodo in under 2 minutes
If your real goal is simply make this file lighter so it opens and behaves better in Xodo, this workflow is usually enough:
- Open Compress PDF.
- Upload the final contract, report, worksheet, textbook chapter, scanned handout, or marked-up PDF you actually plan to keep.
- Choose Medium compression first.
- Download the smaller PDF and compare the size with the original.
- Open it in Xodo and check the places that matter most: small text, page thumbnails, comments, highlights, signatures, or one zoomed-in detail page.
- If the file is still too bulky, use Extract Pages, Delete Pages, or Crop PDF before trying a harsher setting.
Why smaller PDFs help in Xodo
Xodo is often part of active PDF work rather than passive storage. People use it to review homework packets, comment on draft contracts, sign forms, highlight study notes, or carry big documents between devices. When the PDF is heavier than it needs to be, the friction shows up in ordinary moments rather than dramatic failures. The file still opens, but it opens slower. It still scrolls, but it feels more awkward on a phone. It still works, but you notice the weight every time you revisit it.
Why lighter PDFs usually feel better in Xodo
- Faster opening: especially noticeable with scan-heavy files, long reports, and image-rich packets.
- Smoother mobile reading: oversized PDFs feel much more annoying on phones and tablets than on a desktop monitor.
- Calmer annotation: comments, highlights, and form review feel less clunky when the file is not dragging extra weight around.
- Better sharing comfort: smaller files are easier to upload, send, or move between devices and cloud storage.
- Less storage bloat: repeated copies of bulky PDFs add up quickly when you keep study files, contracts, or scanned records around.
- More practical reuse: a lighter working copy is easier to keep, reopen, and send later without dreading the file itself.
In other words, compression is not only about saving space. It is about making the PDF behave like a usable document instead of a heavy attachment that keeps quietly slowing the workflow down.
What file size should you aim for?
There is no single magic number because a two-page form behaves very differently from a 200-page manual, a mark-up-heavy study packet, or a scan-heavy archive file. Still, practical targets help. The goal is to make the file light enough that it stops feeling wasteful while preserving the parts you actually care about in Xodo.
| Xodo file type | Comfortable target | Notes |
|---|---|---|
| Contracts, forms, invoices, short reports, and class handouts | Under 5MB | Usually light enough for quick opening, reading, signing, and sharing while keeping text sharp. |
| Manuals, textbooks, image-mixed reports, and annotated study files | 5MB to 15MB | Often realistic when screenshots, diagrams, tables, or comments matter. |
| Scan-heavy packets, copied handouts, and image-based documents | 10MB to 20MB | These often benefit more from cleanup, cropping, and OCR than from aggressive compression alone. |
| Huge archive bundles or multi-part packets | Split into smaller parts if possible | One giant PDF is rarely the cleanest working copy when you only need one section at a time. |
If a PDF stays slightly larger but remains comfortable to read, comment on, and share, that is fine. The goal is not to win a file-size contest. The goal is to keep the document genuinely usable.
Which compression level should you choose?
Most people do not need a complicated decision tree. Start with Medium, then only go harder if the file is still clearly bulkier than the real job requires.
Low compression
Use Low when the file contains very fine print, faint scans, engineering details, tiny table labels, or screenshots you do not want to soften. You save less space, but you give the document more room to stay visually trustworthy.
Medium compression
Use Medium as your default. It usually cuts enough size to matter while keeping ordinary reading, thumbnails, comments, highlights, and zoomed-in review comfortable in Xodo.
High compression
Use High only when the file is still awkwardly large after smarter cleanup or when the PDF is mainly a convenience copy rather than a precision working copy. Small labels, weak scans, and screenshot text are usually the first things to suffer.
Step-by-step: shrink a Xodo PDF with LifetimePDF
- Start with the final file. Use the exact PDF you plan to open in Xodo, not an earlier draft or export.
- Open Compress PDF.
- Choose Medium compression first. This is usually the safest balance for everyday Xodo work.
- Download the smaller copy. Compare the result with the original so you know whether the reduction was meaningful.
- Open the new PDF in Xodo. Do not stop at the download step. Check the file where it will actually be used.
- Review one real task. Open a comment thread, zoom into fine print, highlight a sentence, or inspect the page you would normally sign, study, or mark up.
- Adjust only if necessary. If the file is still too heavy, extract the useful pages, delete dead pages, crop blank borders, or split the PDF before trying stronger compression.
- Keep the original until you are sure. Once the smaller copy passes a real reading or review test, use it as the working version and archive the heavier source if needed.
Most of the time, the best workflow is boring in a good way: compress once, test once, keep moving.
Best strategy for common Xodo file types
Contracts, forms, and signed documents
These usually compress well, but they deserve a quick review afterward. You want crisp text, clear signature areas, readable dates, and stable comments. If the file already contains important signatures or markup, keep the original and treat the smaller copy as a tested working version until you confirm everything still looks right.
Study files, class handouts, and textbook chapters
These often carry highlights, comments, and repeated reopening across devices. Medium compression is usually enough. The real test is whether the file still feels pleasant to scroll, search, and annotate on the device you actually use.
Reports, manuals, and image-mixed PDFs
These often include screenshots, tables, and diagrams. Compression helps, but a slightly larger PDF is often better than a smaller one that makes labels or chart text annoying to read. Test the hardest page, not just the cleanest one.
Scan-heavy files and camera captures
These are usually the troublemakers. Compression helps, but the bigger win often comes from trimming blank edges, deleting duplicate pages, straightening the document structure, or running OCR PDF so the file stays searchable after it becomes smaller.
Large multi-part packets
If one PDF contains the main document plus appendices, duplicate scans, or sections you rarely revisit, do not force the entire bundle through one aggressive compression pass. A shorter, cleaner PDF often works better than a brutally compressed all-in-one file.
What if the PDF is still too large?
If one compression pass was not enough, do not assume the next answer is simply harsher compression. Usually the real problem is too many pages, too much scan waste, or a giant bundle that should have been split into cleaner parts.
- Keep only the useful pages: use Extract Pages when you only need one chapter, section, appendix, or packet.
- Remove dead weight: use Delete Pages for blanks, duplicate scans, covers, or irrelevant attachments.
- Trim dead space: use Crop PDF for large margins and scanner borders.
- Split giant bundles: use Split PDF if one huge file would work better as smaller parts.
- Fix scan-heavy files: use OCR PDF when the document is image-based and you also want searchable text.
- Re-export from the source: sometimes the cleanest result comes from a better export instead of more post-processing.
In many workflows, a cleaner PDF beats a more aggressively compressed PDF. Removing noise usually helps more than squeezing every remaining page harder.
How to keep reading, comments, and markup comfortable
Xodo users notice quality loss quickly because the app is often part of active work. If the PDF gets fuzzy, the pain shows up exactly where you care about it: small text, comments, signatures, form fields, highlights, and zoomed-in review on a smaller screen.
Check these before you keep the smaller copy
- Fine print and small labels: zoom into the densest page, not just the cover or title page.
- Comments and highlights: verify that the page still feels easy to review and mark up with normal precision.
- Signatures and forms: if the document involves signing or filling fields, inspect the page where clarity matters most.
- Screenshot text and diagrams: these reveal over-compression faster than ordinary body text.
- Phone reading: a file that looks fine on a laptop can still feel rough on a phone.
- Searchable scans: if the document was OCR'd, run one real search query after compression and confirm the result still behaves normally.
The simplest rule is this: test the smallest meaningful detail and one real task you would perform in Xodo. If both still feel good, the rest of the file is usually fine.
When to compress before or after annotating
If possible, compress the PDF before it becomes deeply annotated. That gives you a cleaner working copy from the start. But real life is messy, and sometimes the heavy file already carries comments, highlights, or signatures.
| Situation | Better move |
|---|---|
| Fresh file you have not touched yet | Compress first, then open and annotate the lighter working copy. |
| Document already contains meaningful comments or highlights | Keep the original, create a smaller copy, and test a few annotated pages before replacing anything. |
| Signed or legally important PDF | Archive the original untouched file and treat the compressed version as a convenience copy unless you have verified it carefully. |
| Huge scan you only need for reference | Trim, OCR, or split the file first, then compress the smaller working version. |
The best Xodo setup is usually simple: preserve the original when it matters, then create a lighter copy that is easier to open, browse, and work with every day.
Related LifetimePDF tools and useful internal links
Compressing the PDF is usually the main fix, but some Xodo files benefit from one or two supporting tools first. These are the most useful follow-up options:
- Compress PDF - shrink the final working copy.
- Extract Pages - keep only the relevant section.
- Delete Pages - remove blanks, duplicates, and dead matter.
- Crop PDF - trim scanner waste and oversized margins.
- Split PDF - break giant bundles into cleaner parts.
- OCR PDF - make scan-heavy documents more searchable.
- PDF Metadata Editor - clean document properties before archiving or sharing.
If you want related reading around the same workflow, these guides fit naturally next: Compress PDF for Xodo Sign, Compress PDF for PDF Expert, Compress PDF for GoodNotes, How to Annotate a PDF on Android, and OCR PDF.
Best workflow for most Xodo files: start with a clean PDF, compress it once on Medium, test one real reading or markup task, and keep the smaller copy only if it still feels trustworthy.
FAQ (People Also Ask)
1) How do I compress a PDF for Xodo?
Upload the final PDF to a compressor, start with Medium compression, and keep the smaller copy only if text, comments, highlights, page thumbnails, and small details still look clean when you open it in Xodo. For most everyday files, Medium is the safest first step because it reduces size without making the document rough to read or annotate.
2) What PDF size should I aim for in Xodo?
Under 5MB is a strong target for ordinary text-heavy PDFs like forms, short reports, contracts, and study handouts. Larger manuals, textbooks, scan-heavy files, and image-rich packets often land around 5MB to 20MB and can still feel practical if small text and markup remain comfortable.
3) Will compression ruin comments or highlights in Xodo?
Usually not if you start with Medium compression and the source PDF is already clean, but you should keep the original if the file already contains important comments, highlights, or signatures. Test one annotated page and one dense-text page before replacing a working copy you care about.
4) What if my PDF is still too large after compression?
If one pass is not enough, the better answer is often trimming the file rather than squeezing it harder. Extract the useful pages, delete blanks or duplicates, crop large margins, split giant bundles, or OCR scan-heavy documents before you try stronger compression.
5) Which LifetimePDF tools pair best with Xodo?
Compress PDF is the main starting point. Extract Pages, Delete Pages, Split PDF, Crop PDF, OCR PDF, Merge PDF, and PDF Metadata Editor are the most useful companions when you want smaller, cleaner PDFs that still behave well in Xodo across mobile, desktop, and browser workflows.
Ready to shrink a heavy PDF for Xodo?
Best workflow: Compress - Test once - Keep the lighter working copy.
Published by LifetimePDF - Pay once. Use forever.