Compress PDF for GoodNotes: Import Smaller Planners, Lecture Notes, and Handouts Faster
To compress a PDF for GoodNotes, upload your final planner, lecture notes, workbook, or handout to LifetimePDF's Compress PDF tool, start with Medium compression, and keep the smaller copy only if handwriting, text, highlights, and links still look clean.
For most GoodNotes imports, aim for under 5MB for ordinary text-heavy files and roughly 5MB to 15MB for heavier planners, scanned notes, slide decks, or image-rich study packs.
GoodNotes can handle big PDFs, but that does not mean every big PDF feels good to use. A digital planner with heavy graphics, a scan-heavy notebook, or a lecture packet exported at oversized settings can create laggy imports, slower page turns, bulkier backups, and a generally clunkier note-taking experience than you wanted. The goal is not to crush the file until it looks sad. The goal is to make it lighter while preserving the details that actually matter when you write, zoom, search, and study.
Fastest path: run the GoodNotes file through LifetimePDF's Compress PDF tool on Medium, then import the smaller copy and check handwriting clarity plus any planner tabs or hyperlinks once.
Need the short version? Jump to Quick start: compress a PDF for GoodNotes in under 2 minutes.
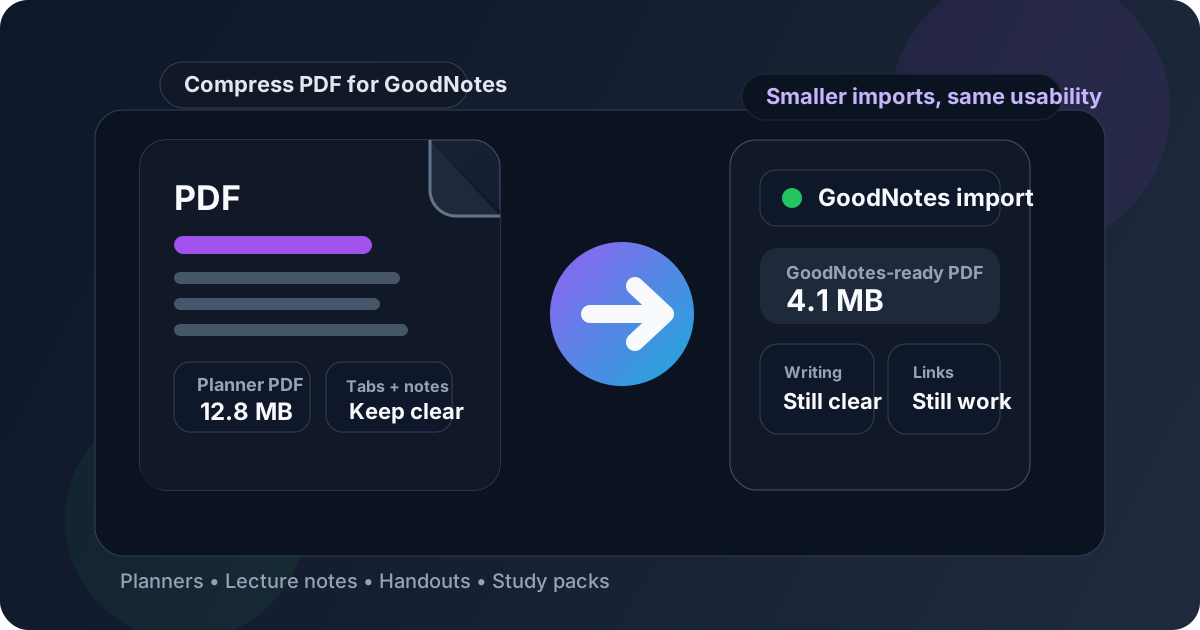
Table of contents
- Quick start: compress a PDF for GoodNotes in under 2 minutes
- Why smaller PDFs help in GoodNotes
- What file size should you aim for?
- Which compression level should you choose?
- Step-by-step: shrink a GoodNotes PDF with LifetimePDF
- Best strategy for common GoodNotes file types
- What if the PDF is still too large?
- How to keep handwriting, highlights, and planner links readable
- Privacy and organization habits before you import
- Related LifetimePDF tools and useful internal links
- FAQ (People Also Ask)
Quick start: compress a PDF for GoodNotes in under 2 minutes
If your real goal is simply make this PDF lighter so it imports and feels better in GoodNotes, this workflow is usually enough:
- Open Compress PDF.
- Upload the final planner, lecture notes, worksheet, slide deck, workbook, textbook excerpt, or scanned notebook you actually plan to use.
- Choose Medium compression first.
- Download the smaller PDF and compare the size with the original.
- Import it into GoodNotes and check the details that matter most: handwriting, highlights, small labels, thin lines, zoomed text, and any clickable planner tabs or internal links.
- If the file is still bulkier than you want, use Extract Pages, Delete Pages, or Crop PDF before trying a stronger compression level.
Why smaller PDFs help in GoodNotes
Even when a PDF technically imports, that does not mean the original file is ideal for GoodNotes. Oversized files create friction in the places people actually notice: slower imports, clunkier page turns, fatter backups, heavier syncing, and an annoying feeling when you pinch to zoom into a page that should have felt simple. That matters whether the file is a hyperlinked digital planner, lecture slides, a marked-up reading packet, sheet music, a client workbook, or a scan of handwritten notes.
Why smaller PDFs work better in GoodNotes
- Faster imports: especially helpful when you are juggling multiple notebooks, study packs, or semester materials.
- Smoother page turns: lighter PDFs usually feel better when you move through long notebooks or planners.
- Cleaner zooming: smaller, cleaner files are easier to review during annotation sessions.
- Better device comfort: older iPads and smaller storage budgets appreciate lighter files.
- Less backup and sync bloat: bulky PDFs multiply quickly once they live inside a real note-taking workflow.
- Easier reuse elsewhere: once the PDF is smaller, it is easier to email, upload, archive, or share in class and work tools too.
In short, compression is not just about saving a few megabytes for sport. It is about making the PDF behave more like a note-taking asset and less like a heavy attachment that sneaks friction into every session.
What file size should you aim for?
There is no single magic number because a 12-page typed handout behaves very differently from a 500-page hyperlinked planner or a scan-heavy class binder. Still, practical targets are useful. The goal is to make the PDF feel light enough for everyday use while preserving the details you actually care about once the file is in GoodNotes.
| Use case | Recommended target | Why it works |
|---|---|---|
| Quick handouts, typed notes, short worksheets | < 5MB | Usually easy to import, annotate, and keep around without unnecessary weight |
| Lecture slide decks, study packets, planner sections | 5MB to 15MB | Often a realistic balance for documents with diagrams, page art, and some image content |
| Large digital planners or workbooks | As small as possible while preserving links | Planner tabs and page navigation matter more than chasing the tiniest number |
| Scanned notebooks or textbook excerpts | Varies widely | These files benefit most from cleanup, cropping, OCR, and page reduction before harder compression |
If you want a simple rule, aim for the smallest version that still feels comfortable when you read, zoom, and annotate inside GoodNotes. Once the file starts looking fuzzy, muddy, or stripped of useful navigation, you have gone too far.
Which compression level should you choose?
The best compression level depends on what the PDF contains. GoodNotes files are not all the same. A text-heavy class handout can handle more shrinking than a planner full of tab labels, while a scan of handwriting behaves differently from a clean digital export.
Low compression
Best when the PDF already feels reasonably optimized and you only want to shave off a little weight. This is useful for polished planners, design-heavy workbooks, and documents where tiny labels or decorative elements matter.
Medium compression
This is the best first choice for most people. It usually reduces size enough to improve imports and everyday use without doing obvious damage to handwriting, typed notes, highlights, charts, and planner structure.
High compression
Use this only when the PDF is still awkwardly heavy and you already know the less aggressive option did not go far enough. It can be helpful for bulky scans or reference packets, but it deserves a careful review afterward.
Step-by-step: shrink a GoodNotes PDF with LifetimePDF
- Export or locate the final PDF. Do not compress an old draft if you are going to replace it later anyway.
- Open Compress PDF.
- Upload the file. This could be a digital planner, workbook, lecture notes, sheet music, scanned article, or an annotated packet you want in GoodNotes.
- Choose Medium compression first. This is usually the safest starting point.
- Download the smaller result.
- Import it into GoodNotes.
- Review once, not endlessly. Check the cover, a text-heavy page, an image-heavy page, a zoomed section, and a few internal links if the file has them.
- Only escalate if there is still a real problem. If the PDF remains bulkier than it should be, trim extra pages, crop wasted margins, or split the file instead of immediately over-compressing the whole thing.
Most of the time, the best workflow is boring in the good way: Export clean PDF - Compress - Import - Check once - Keep moving. You do not need a giant ritual every time.
Best strategy for common GoodNotes file types
Digital planners
Planner PDFs often include tabs, internal links, decorative elements, and a lot of pages. Start gently. Medium compression is usually fine, but your real test is whether the planner still feels pleasant to navigate. Open a few monthly tabs, jump to a weekly page, and check whether labels remain readable at normal zoom.
Lecture slides and study packets
These usually compress well. You mainly want smaller imports and easier scrolling while preserving chart labels, formulas, and small text inside screenshots. If a professor exported slides as images instead of text, you may need a second pass of cleanup rather than simply more compression.
Scanned handwritten notes
These are often the biggest troublemakers because every page behaves like an image. Compressing helps, but the bigger win often comes from cropping empty borders, rotating crooked pages, deleting duplicate sheets, or running OCR when you also want searchable text.
Textbook excerpts or reading chapters
If you only need a chapter or selected pages, do not keep hauling the whole book around. Extract the pages you actually plan to read and annotate. A shorter PDF usually feels much better than a brutally compressed full-volume export.
Client packets, worksheets, or printable handouts
These are usually simple. Compress them once, check text clarity, and make sure there is enough contrast to annotate comfortably with a stylus. If the pages have giant white margins, cropping can improve both size and reading comfort.
What if the PDF is still too large?
If one compression pass does not solve the problem, the answer is not always more compression. Sometimes the smarter fix is changing the shape of the document.
- Keep only what you need: use Extract Pages for chapters, planner sections, or selected handouts.
- Remove waste: use Delete Pages for duplicates, blank sheets, and irrelevant appendices.
- Trim dead space: use Crop PDF for scanner borders and giant empty margins.
- Split giant notebooks: use Split PDF if one monster file is making the whole workflow heavier than it needs to be.
- Fix scan-heavy files: use OCR PDF when you also want better searchability and a cleaner scan workflow.
In many cases, a leaner and more focused PDF is better than a single giant file that has been squeezed so hard it stops being pleasant to use.
How to keep handwriting, highlights, and planner links readable
GoodNotes is not just a storage bin. People actually write on these pages, zoom into tiny corners, tap links, and revisit the same notebook again and again. That means your quality check should match real use, not just a casual glance at the cover page.
What to review after compression
- Small handwriting: zoom into dense handwritten sections and confirm they still look clean.
- Thin lines and graph paper: make sure faint structure lines did not disappear.
- Highlights and annotations: check whether color-coded study marks still feel distinct enough to be useful.
- Planner tabs and hyperlinks: tap a few internal links if the PDF uses them.
- Screenshot text: this is often the first thing to degrade when a file is compressed too aggressively.
- Page turns at normal use speed: the file should feel better, not just smaller on paper.
If you are stuck between two versions, choose the one you would rather study from for an hour. That is the real test.
Privacy and organization habits before you import
Compression is also a nice moment to clean the file before it becomes part of a long-lived notebook workflow. A few small habits help:
- Remove extra pages: old title pages, answer keys, duplicate scans, or blank sheets create clutter and wasted size.
- Check for hidden metadata: titles, authors, and other properties are sometimes worth cleaning before archiving or sharing.
- Think about searchability: if the PDF is scan-heavy, OCR can make it easier to find later.
- Name the file clearly: lighter PDFs are more useful when the filename also makes sense six weeks from now.
- Split mixed-purpose bundles: class notes, admin forms, and personal reference material do not always belong in one huge notebook.
A good workflow is usually simple: Export clean PDF - Compress - Review - Import. Add cropping, splitting, OCR, or metadata cleanup only when the file actually needs it.
Related LifetimePDF tools and useful internal links
Compressing the PDF is often the main fix, but some GoodNotes imports benefit from one or two supporting tools first. These are the most useful follow-up options:
- Compress PDF - shrink the final file before importing.
- Extract Pages - keep only the chapters or sections that matter.
- Delete Pages - remove blanks, duplicates, and dead weight.
- Crop PDF - trim scanner borders and oversized margins.
- Split PDF - break giant notebooks into cleaner parts.
- OCR PDF - make scanned study material more searchable.
- PDF Metadata Editor - clean document properties before archiving or sharing.
If you want related reading around the same workflow, these guides fit naturally next: How to Compress a PDF on iPad, Compress PDF for Google Classroom, Scan to PDF on iPad, How to Check If a PDF Is Searchable on iPad, How to Extract Pages from PDF on iPad, and OCR PDF.
Best workflow for most GoodNotes files: export a clean PDF, compress it once, import it once, and confirm that writing plus links still feel right.
FAQ (People Also Ask)
1) How do I compress a PDF for GoodNotes?
Upload the final PDF to a compressor, start with Medium compression, and keep the smaller copy only if handwriting, typed text, highlights, diagrams, and planner links still look clean. For most GoodNotes workflows, Medium is the safest first step because it reduces size without making the file feel rough or hard to use.
2) What PDF size should I aim for in GoodNotes?
Under 5MB is a strong target for ordinary notes, short handouts, and text-heavy worksheets. Heavier planners, slide decks, or scan-heavy packets often land around 5MB to 15MB and can still feel practical if page turns stay smooth and the text remains readable.
3) Will compression ruin handwriting or hyperlinks in a GoodNotes planner?
Usually not if you start with Medium compression and the source PDF is already clean. The bigger risk is using an overly aggressive workflow or flattening the file in a way that strips useful structure. After compressing, test a few handwritten pages and tap a few planner links before you commit to the smaller version.
4) What if my GoodNotes PDF is still too large after compression?
If one pass is not enough, keep only the pages you really need, crop blank margins, split giant notebooks into smaller sections, or clean scanner waste before compressing again. In many cases, a shorter and cleaner PDF works better than crushing the entire file harder.
5) Which LifetimePDF tools pair best with GoodNotes imports?
Compress PDF is the main starting point. Extract Pages, Delete Pages, Crop PDF, Split PDF, OCR PDF, Rotate PDF, and PDF Metadata Editor are all useful when you need smaller, cleaner PDFs that still behave well inside GoodNotes.
Ready to shrink your GoodNotes PDF?
Best workflow: Export clean PDF - Compress - Import - Review.
Published by LifetimePDF - Pay once. Use forever.