Compress PDF for LiquidText: Import Smaller Research Papers, Textbooks, and Casebooks Faster
To compress a PDF for LiquidText, upload the final paper, textbook, casebook, or reading packet to LifetimePDF's Compress PDF tool, start with Medium compression, and keep the smaller copy only if footnotes, figure labels, dense paragraphs, and excerpt targets still look clean after import.
For most LiquidText projects, aim for under 5MB for ordinary text-heavy PDFs and roughly 5MB to 20MB for heavier textbooks, casebooks, or scan-heavy reading bundles that still need comfortable zooming and annotation.
LiquidText is built for active reading, not passive file hoarding. When a PDF is heavier than it needs to be, the friction shows up in the parts people actually care about: slower imports, clunkier navigation, fussier zooming, bigger project files, and a generally heavier feeling when you are trying to excerpt, compare, and think. The goal is not to crush the document until it looks cheap. The goal is to make it lighter while preserving the details that matter when you read, highlight, excerpt, and revisit the same material later.
Fastest path: run the LiquidText PDF through LifetimePDF's Compress PDF tool on Medium, then import the smaller copy and test one footnote, one diagram, and one passage you would actually excerpt.
Need the short version? Jump to Quick start: compress a PDF for LiquidText in under 2 minutes.
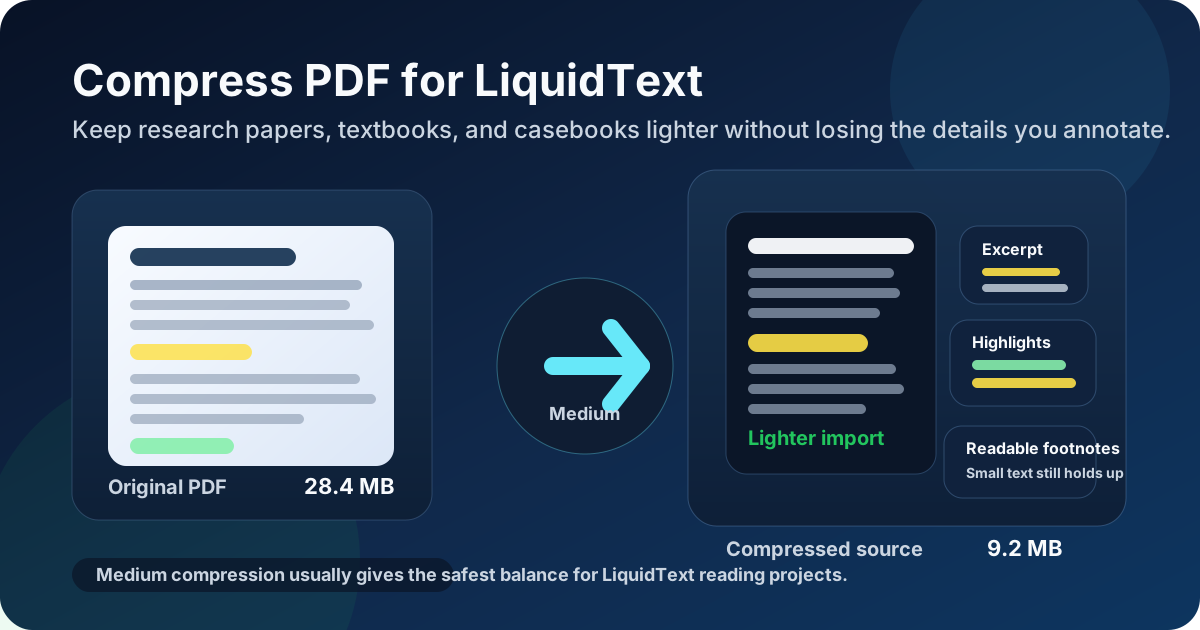
Table of contents
- Quick start: compress a PDF for LiquidText in under 2 minutes
- Why smaller PDFs help in LiquidText
- What file size should you aim for?
- Which compression level should you choose?
- Step-by-step: shrink a LiquidText PDF with LifetimePDF
- Best strategy for common LiquidText file types
- What if the PDF is still too large?
- How to keep footnotes, excerpts, and small text usable
- Workflow habits that make LiquidText projects cleaner
- Related LifetimePDF tools and useful internal links
- FAQ (People Also Ask)
Quick start: compress a PDF for LiquidText in under 2 minutes
If your real goal is simply make this PDF lighter before it goes into LiquidText, this workflow is usually enough:
- Open Compress PDF.
- Upload the final research paper, textbook chapter, casebook section, expert report, or scanned reading packet you actually plan to import.
- Choose Medium compression first.
- Download the smaller PDF and compare the file size with the original.
- Import it into LiquidText and test the exact pain points that matter most: tiny footnotes, figure labels, citations, zoomed paragraphs, and excerpt handles.
- If the file still feels bulky, use Extract Pages, Split PDF, or Crop PDF before trying stronger compression.
Why smaller PDFs help in LiquidText
LiquidText shines when you are doing real thinking on top of documents. You are pulling excerpts, comparing sources, linking ideas, and bouncing between pages that need to feel responsive enough to stay out of the way. A bloated PDF gets in the way of that rhythm faster than people expect.
Why lighter PDFs usually behave better in LiquidText
- Faster imports: especially noticeable when you are loading multiple papers, long textbooks, or semester reading packets.
- Smoother zooming and movement: lighter files tend to feel calmer when you jump between pages, pinch into a footnote, or skim dense sections.
- Cleaner excerpting: when page rendering stays comfortable, it is easier to grab the passages you actually want without fighting the document.
- Less project bloat: giant source PDFs can make a reading workspace feel heavier than the intellectual job actually requires.
- Better tablet comfort: long reading sessions on an iPad feel less annoying when the document itself is not oversized for no good reason.
- Easier reuse elsewhere: once the PDF is smaller, it is easier to archive, email, upload, or move into another tool later.
In other words, compression is not just about saving space. It is about making the source file behave like a working document instead of a heavy attachment that quietly adds friction to every reading session.
What file size should you aim for?
There is no single perfect number because a 14-page journal article behaves very differently from a scan-heavy casebook appendix or a full textbook chapter full of diagrams. Still, practical targets help. The goal is to make the PDF light enough that it stops feeling cumbersome while preserving the details you actually need in LiquidText.
| LiquidText PDF type | Comfortable target | Notes |
|---|---|---|
| Text-heavy papers, memos, court opinions, and short readings | Under 5MB | Usually light enough for smooth imports and easy footnote review while keeping dense text readable. |
| Textbooks, casebook chapters, reports, and image-mixed readings | 5MB to 20MB | Still practical if small labels, citations, and zoomed paragraphs stay comfortable to read. |
| Scanned packets, copied articles, and scan-heavy binders | 10MB to 25MB | These usually benefit more from cropping, OCR, and splitting than from aggressive compression alone. |
| Very large multi-part books or giant course readers | Split into sections if possible | One massive file is rarely the cleanest LiquidText workflow when you only need part of the content at a time. |
If a document stays slightly larger but still feels easy to read and excerpt, that is fine. The goal is not to win a smallest-file contest. The goal is to keep the document genuinely usable.
Which compression level should you choose?
Most people do not need to overthink this. For LiquidText workflows, the safest answer is simple: start with Medium and only go harder if the file is still noticeably heavier than the reading job requires.
Low compression
Use Low when the PDF is already pretty clean and you only want a modest size reduction without risking tiny footnotes, screenshot labels, or fine diagrams. It is a good choice for visual-heavy material and documents where small details are doing real work.
Medium compression
Medium is the best default for most LiquidText imports. It usually cuts enough weight to matter while keeping ordinary reading, highlighting, excerpting, and compare-against-another-source work comfortable. If you do not have a strong reason to choose something else, start here.
High compression
Use High only when the file is still annoyingly bulky after smarter cleanup or when the source PDF is far larger than the task actually demands. High can be fine for casual reading copies, but it deserves a quick quality check afterward. Tiny footnotes, faint scan marks, thin chart labels, and dense legal citations are where trouble usually shows up first.
Step-by-step: shrink a LiquidText PDF with LifetimePDF
- Start with the final file. Use the exact PDF you plan to read and mark up, not an earlier export or rough draft.
- Open Compress PDF.
- Choose Medium compression first. This is usually the safest balance for reading-heavy source material.
- Download the smaller copy. Compare the new size with the original so you know whether the reduction was meaningful.
- Import the smaller copy into LiquidText. Test the real file that will actually live in the project.
- Review the hard parts. Check a footnote, figure label, formula, citation-dense paragraph, margin note, or scan edge where clarity matters.
- Adjust only if necessary. If the file is still too heavy, split it, crop blank space, remove unused pages, or OCR the scan before trying a stronger compression level.
- Keep the original until you are sure. Once the lighter copy passes the real reading test, use it as the working version and archive the heavier source if you still need it.
Best strategy for common LiquidText file types
Not every LiquidText PDF deserves the same treatment. The right workflow depends on what kind of reading project you are actually doing.
Research papers and journal articles
These often compress well. Prioritize readability of abstracts, figure captions, footnotes, citations, and any tables you may want to excerpt later. If the paper is mostly text and already clean, Medium compression is usually enough.
Textbooks and casebook chapters
These are often bigger because they contain images, sidebars, and lots of pages. They usually benefit from a combination of compression plus chapter-level splitting. If you only need one chapter or one unit, importing the whole book is often unnecessary overhead.
Scanned readings and copied article packets
These are the troublemakers. Compression helps, but the bigger win often comes from trimming blank borders, removing duplicate scan pages, and running OCR PDF so the document becomes more searchable before it enters a reading project.
Reports, slide decks, and expert exhibits
Be careful with overly aggressive settings. Small chart labels, screenshot text, and footnotes disappear faster than people expect. A slightly larger file is usually better than a lighter one that becomes annoying every time you zoom in to understand a figure.
Already annotated or highlighted source files
If the PDF already contains meaningful markup, treat it gently. Compress the source only if the comments, highlights, stamps, and page objects still behave normally afterward. When possible, compress before import rather than after building a giant annotated workflow on top of an oversized file.
What if the PDF is still too large?
If one compression pass was not enough, do not immediately jump to the harshest setting. First ask what is making the file heavy. Very often the answer is too many pages, scanner waste, or a document that should have been split into cleaner parts.
- Use Extract Pages when you only need part of the book, report, or packet.
- Use Delete Pages to remove blank scans, duplicates, cover sheets, or dead appendices.
- Use Split PDF for giant textbooks, casebooks, or multi-topic bundles that work better as sections.
- Use Crop PDF if empty margins or scanner borders are inflating the file.
- Use OCR PDF if the real problem is a scan that needs better searchability, not just a smaller size.
- Keep a heavier archive copy only if the full untouched source actually matters; otherwise, a cleaner working copy is often the better research tool.
In many real reading workflows, a cleaner PDF beats a more aggressively compressed PDF. Removing noise usually helps more than squeezing every remaining page harder.
How to keep footnotes, excerpts, and small text usable
LiquidText users tend to notice damage faster than casual readers because the app encourages close reading. If the file gets fuzzy, you will feel it when you try to zoom into a footnote, clip a paragraph, or compare two pages side by side.
Check these before you keep the smaller copy
- Footnotes and citations: zoom into the smallest text on a dense page, not just the title page.
- Figure labels and tables: chart annotations and axis labels are easy to damage with over-compression.
- Excerpt targets: grab one or two passages you would realistically pull into the workspace and make sure the text still feels precise.
- Scanned paragraphs: faint letters and gray scan noise often reveal problems before larger text does.
- Two-column layouts: academic PDFs with narrow columns can look fine at first glance and still become annoying during real reading.
The simplest rule is this: test the smallest important detail, not the prettiest page. If that hard case still looks good, the rest of the document is usually fine.
Workflow habits that make LiquidText projects cleaner
Compression works best when it sits inside a sane reading workflow. A few habits make a bigger difference than people expect.
- Compress before import when possible: it is cleaner to start with a right-sized source file than to fix a bloated one after the project grows around it.
- Name files clearly: keep obvious versions like chapter-03-compressed.pdf instead of collecting mystery duplicates.
- Split giant sources by the way you actually study: by chapter, week, topic, case, or report section.
- OCR scans before serious annotation work: searchable text and cleaner page recognition make the document more useful than raw image bulk.
- Keep the archive copy only when it matters: if the original giant file adds no real value, let the lighter working copy do the job.
- Test on the device you really use: a PDF that feels fine on a large desktop display may still feel clumsy on an iPad during an actual reading session.
This matters because the best LiquidText setup is not the one with the most files. It is the one where the documents stay responsive enough that your attention can stay on the ideas.
Related LifetimePDF tools and useful internal links
Compressing the PDF is usually the main fix, but some LiquidText imports benefit from one or two supporting tools first. These are the most useful follow-up options:
- Compress PDF - shrink the final file before import.
- Extract Pages - keep only the chapters, cases, or sections that matter.
- Delete Pages - remove blanks, duplicates, covers, and dead weight.
- Crop PDF - trim scanner borders and oversized margins.
- Split PDF - break giant books or packets into cleaner parts.
- OCR PDF - make scanned reading material more searchable.
- PDF Metadata Editor - clean document properties before archiving or sharing.
If you want related reading around the same workflow, these guides fit naturally next: Compress PDF for GoodNotes, Compress PDF for Notability, How to Compress a PDF on iPad, How to Extract Pages from PDF on iPad, and OCR PDF.
Best workflow for most LiquidText files: clean the PDF first, compress it once, import it once, and test one real excerpt before calling the job done.
FAQ (People Also Ask)
1) How do I compress a PDF for LiquidText?
Upload the final PDF to a compressor, start with Medium compression, and keep the smaller copy only if footnotes, diagrams, citations, and dense text still look clean once you import it into LiquidText. For most LiquidText workflows, Medium is the safest first step because it reduces size without making the document feel rough to read or excerpt.
2) What PDF size should I aim for in LiquidText?
Under 5MB is a strong target for ordinary text-heavy papers and short readings. Heavier textbooks, casebooks, and scan-heavy packets often land around 5MB to 20MB and can still feel practical if zooming stays comfortable and small text remains readable.
3) Will compression ruin highlights, excerpts, or tiny footnotes in LiquidText?
Usually not if you start with Medium compression and the source PDF is already clean. Problems usually show up when the original scan is poor or the compression setting is harsher than the document actually needs. Always test one hard page before keeping the smaller copy.
4) Should I split a textbook before importing it into LiquidText?
If the file is very long or you only need part of it, yes. Splitting by chapter, topic, week, or section often works better than forcing one giant file to carry the entire project. Smaller sections are usually easier to import, search, and annotate.
5) Which LifetimePDF tools pair best with LiquidText?
Compress PDF is the main starting point. Extract Pages, Split PDF, Crop PDF, Delete Pages, OCR PDF, and PDF Metadata Editor are the most useful companions when you want lighter, cleaner source files before they reach LiquidText.
Published by LifetimePDF - Pay once. Use forever.