How to Sign a PDF: Fast Ways to Add Your Signature Without Printing
To sign a PDF, open the actual file you need to return, add your signature with a Sign PDF workflow, place it carefully, then save and send the signed copy.
If the PDF is scanned, awkward, or partly locked down, fill any fields first, sign last, and review the exported file once before you upload or email it.
That is the short answer. The useful answer is knowing how to avoid the slow print-scan loop, when a scanned PDF needs a different approach than a normal form, why the final saved copy matters more than the editor preview, and which cleanup step to use when the document is too large or too restrictive after signing.
Fastest practical path: open the PDF, fill any fields first, add the signature last, save the signed copy, and send that finished file back instead of printing, handwriting, rescanning, and losing quality.
In a hurry? Jump to quick start: sign a PDF in a few minutes.
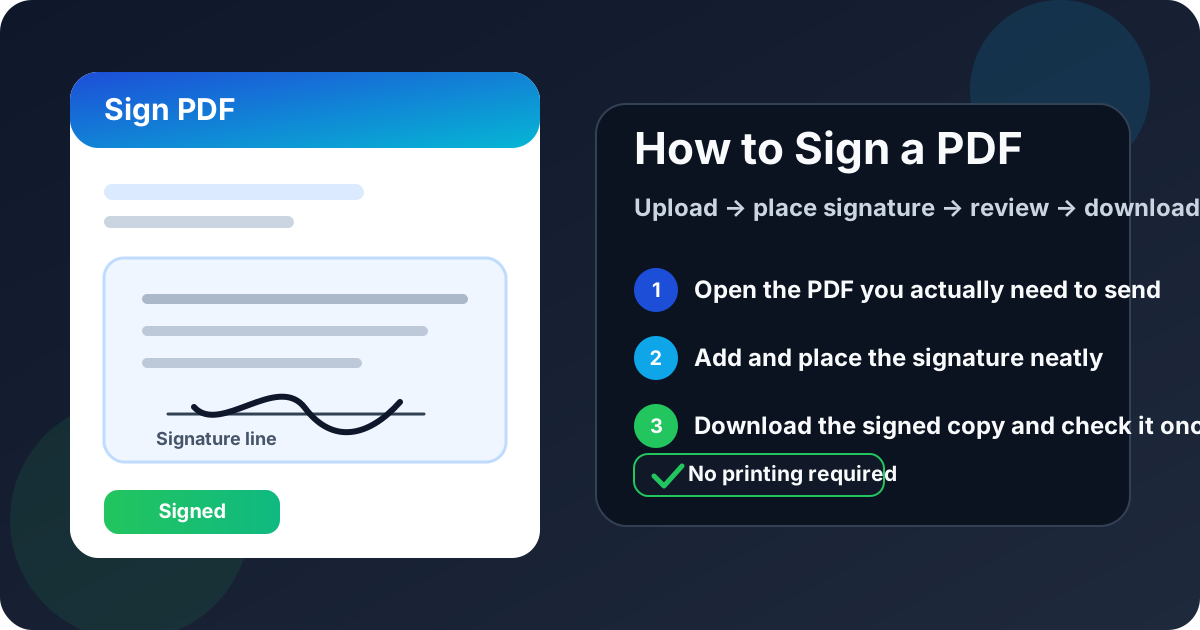
Table of contents
- Quick start: sign a PDF in a few minutes
- The easiest way to sign a PDF cleanly
- Step-by-step: how to sign a PDF
- What to do with scanned, flattened, or locked PDFs
- Common signing mistakes that make a PDF look messy
- How to save and send the final signed copy
- Related LifetimePDF tools and device guides
- FAQ
Quick start: sign a PDF in a few minutes
If your real goal is simply sign this file and get it back without drama, use this order:
- Open Sign PDF with the exact file you need to return.
- If the PDF also needs names, dates, or typed answers, complete those first with PDF Form Filler.
- Create the signature by drawing, typing, or uploading it.
- Place it carefully on the correct page and check that it does not cover nearby text, lines, or checkboxes.
- Download the signed PDF, open it once at normal zoom, and send that reviewed file back.
The easiest way to sign a PDF cleanly
Most PDF-signing trouble has nothing to do with the signature itself. It comes from using the wrong file, signing before the form is filled, placing the signature too large, or sending back the wrong export when there are several nearly identical copies in a folder or inbox.
The cleanest workflow is usually browser-based and boring in the best possible way: open the file, finish the form content first if needed, add the signature last, save the signed copy, review it once, and send it. That avoids the print-scan loop and keeps the document crisp, searchable, and easy to upload.
| Method | Best for | Where it struggles |
|---|---|---|
| Browser-based signing workflow | Fast signing, cleaner exports, and cross-device consistency | You still need one final review before sending the file back |
| Built-in viewer or preview tools | Quick reading and occasional simple one-off jobs | Scanned PDFs, awkward forms, restricted files, and cleaner signature placement |
| Print, hand-sign, and rescan | Only when a physical ink signature is explicitly required | Slower, blurrier, larger files, and more chances to send back the wrong version |
The avoidable mess
A lot of people sign a PDF, save it somewhere vague, discover they missed a date field, sign a second copy, then attach the first one by accident. The easiest prevention is finishing the text first, signing last, and giving the final file a clear name right away.
Step-by-step: how to sign a PDF
This workflow works well whether the PDF is a contract, approval form, school document, intake packet, onboarding form, or consent sheet.
1) Start with the real file
Use the actual PDF you plan to return, not a message preview or an outdated draft still sitting in a downloads folder.
2) Fill text fields before signing
Names, dates, initials, checkboxes, and short answers should usually be completed before the signature goes on top of the page.
3) Create the signature
Draw it if you want a handwritten feel, type it if speed matters, or upload a signature image if you already use one consistently.
4) Place it carefully
Keep it proportional, put it on the correct line, and make sure it does not cover nearby text, boxes, or dates.
5) Save the finished copy
Download or export the signed PDF with a filename that makes it obvious this is the final returnable version.
6) Review once before sending
Open the saved result at normal zoom and confirm the signature looks clean in the actual finished file, not just inside the editor.
Reliable sequence: open the exact PDF → fill form content first → sign last → save clearly → review once → send the signed copy back.
What to do with scanned, flattened, or locked PDFs
Not every PDF behaves like a normal editable form. Some are scans. Some are flattened exports. Some block normal edits because of restrictions. The good news is that each situation has a practical fix once you identify which one you have.
| Situation | What it usually means | Best next move |
|---|---|---|
| The PDF looks like a picture of a form | It is probably a scanned or flattened page | Place the signature on top of the page, and fill any typed answers first if the workflow supports it. |
| The document has fields but they feel awkward or incomplete | The form may be partly interactive and partly not | Use a form filler for the text, then add the signature afterward as the final layer. |
| The PDF refuses normal editing | It may have permissions or restrictions | Try Unlock PDF before signing. |
| The signed file becomes too large | Scans, embedded images, or repeated exports often inflate the size | Sign first, confirm the result, then use Compress PDF on the final signed copy. |
Scanned PDF
Treat it like an image-based page. You are placing a signature on top, not necessarily editing a live form field underneath.
Partly fillable form
Complete all the normal typed content first so the signature becomes the final clean visual step instead of something you have to work around.
Restricted document
If permissions are the real blocker, unlock the file first instead of forcing a clumsy workaround that creates more confusion later.
Common signing mistakes that make a PDF look messy
The PDF does not need to be fancy. It just needs to look intentional. Most ugly results come from a handful of repeat mistakes.
- Oversized signature: the signature should look natural, not like a banner covering half the page.
- Signing before filling fields: adding text afterward can force awkward spacing or accidental overlap.
- Reviewing only the editor preview: the saved export is the file the other person sees.
- Sending the wrong copy: clear filenames matter when there are drafts, originals, and signed versions in the same folder.
- Compressing too early: make sure the signed file is correct first, then shrink it only if size is actually a problem.
Best final check
Open the finished signed PDF once at ordinary zoom and ask three plain questions: Is the signature on the right page? Is it clean and readable? Am I about to send the signed file instead of the original?
How to save and send the final signed copy
After signing, the last step is boring but important: save the finished file clearly and make sure the outgoing copy is the reviewed one.
- Give the file a clear name such as contract-signed.pdf or intake-form-signed.pdf.
- Open that saved version once and confirm the signature still looks right.
- Attach or upload the signed copy, not the original unsigned file.
- If an email system or portal rejects the file size, compress the already-signed PDF rather than rebuilding the whole workflow from scratch.
This is also the right moment to clean up related issues. If the file needs to be smaller, use Compress PDF. If it needs unlocking first, use Unlock PDF. If it needed typed answers before the signature, use PDF Form Filler ahead of time.
FAQ
How do I sign a PDF without printing it?
Open the PDF in a signing workflow, add the signature, place it on the correct page, save the finished file, and send that signed copy back. You only need the print-scan route when a physical ink signature is explicitly required.
Can I sign a scanned PDF?
Yes. Scanned PDFs usually behave like images, so you place the signature on top of the page rather than relying on live fields. If typed answers are also required, fill those first and sign afterward.
Should I fill out the form before signing it?
Usually yes. Complete names, dates, initials, and other form fields first, then add the signature last so the final file stays cleaner and easier to review.
What if the PDF is locked or permission-restricted?
If the file blocks normal editing, unlock it first. That is usually cleaner than forcing a workaround that leads to multiple confusing exports.
What should I do if the signed PDF is too large to upload or email?
Confirm the signature looks right first, then compress the final signed copy. That keeps the workflow simple and avoids redoing the signing step unless you truly need to.
Skip the printer unless the document truly demands ink.
The clean digital path is usually faster and better: open the right PDF, finish the fields first, sign last, review the saved copy once, and send back the final file you actually checked.
Published by LifetimePDF — Pay once. Use forever.