How to Redact a PDF in Edge: Remove Sensitive Text from Downloads, Outlook, and OneDrive Without Leaving Hidden Data Behind
To redact a PDF in Edge, open LifetimePDF's Redact PDF tool in Microsoft Edge, upload the exact file from Downloads, a saved Outlook attachment, OneDrive, or a portal export, mark the sensitive text or images, then apply the redactions and save the cleaned copy.
If the file still carries comments, metadata, or layered content, review those too before you share it, because hiding text on the page is not always the same thing as removing the data from the document.
That is the short answer. The part that usually causes trouble in Edge is not opening the PDF. It is confirming you cleaned the right copy, using a true redaction step instead of a visual cover-up, and doing one calm final check before a still-sensitive file gets sent from the wrong Outlook thread, download, or cloud folder.
Fastest path: confirm the exact PDF, open Redact PDF in Edge, apply the redactions permanently, review the cleaned file for hidden leftovers, and save one clearly named final copy before you upload or email it.
In a hurry? Jump to Quick start: redact a PDF in Edge in a few minutes.
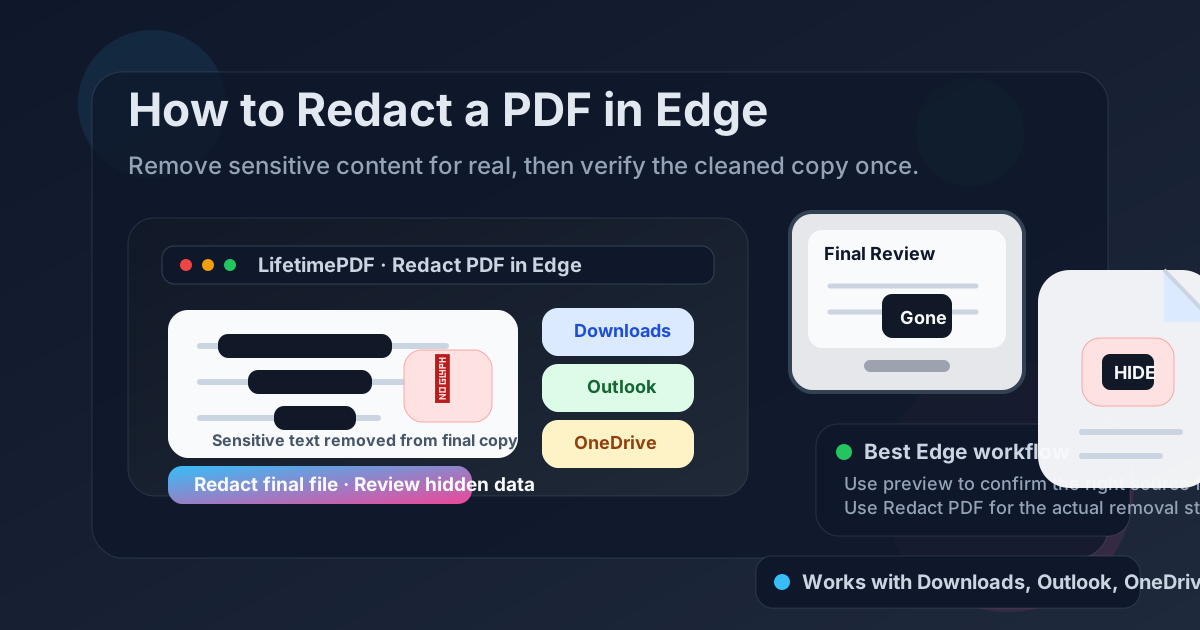
Table of contents
- Quick start: redact a PDF in Edge in a few minutes
- What Edge handles well and where true redaction happens
- Step-by-step: how to redact a PDF in Edge
- Why black boxes, highlights, and screenshots are not real redaction
- Outlook, OneDrive, Downloads, and portal workflows
- Hidden data to review before you share the file
- How to verify the redacted PDF before you send it
- Related LifetimePDF tools and guides
- FAQ
Quick start: redact a PDF in Edge in a few minutes
If you already know what needs to disappear, this is the Edge workflow most people actually want:
- Open Redact PDF in Microsoft Edge.
- Choose the exact PDF from Downloads, a saved Outlook attachment, OneDrive, or the folder where you intentionally exported it from a portal.
- Mark the names, account numbers, signatures, images, addresses, or other content that should never remain visible.
- Apply the redactions so the content is removed from the shareable copy, not just hidden behind a shape.
- Download the cleaned PDF with a filename that makes the final redacted version obvious.
- Open it once in Edge, search for a removed term if needed, and only then send it onward.
What Edge handles well and where true redaction happens
Edge is where many PDFs already live before you clean them. An invoice opens from Outlook. A case packet sits in OneDrive. A portal export lands in a tab while an older copy is still sitting in Downloads. That makes Edge a very practical place to confirm page order, compare filenames, and review the final result.
The limit is simple: opening or annotating a PDF is not the same thing as redacting it. Edge's built-in viewer helps you identify the right document and inspect the finished result, but the actual redaction step is more reliable in a workflow built to remove the content cleanly.
In practice, the reliable sequence is short:
- identify the exact PDF you really plan to share,
- apply the redactions for real,
- review obvious hidden leftovers like comments or metadata,
- save one clearly named final file,
- verify the cleaned copy once before sending it.
| Method | Best for | Where it struggles |
|---|---|---|
| Edge PDF viewer only | Opening the file, confirming the right version, and reviewing the final redacted copy | It is not the clearest place to perform full true-redaction work by itself |
| Visual boxes or highlights | Temporarily marking what needs attention before you decide what to remove | Can leave the underlying text or image data intact if you mistake the markup for finished redaction |
| Edge + Redact PDF | Removing sensitive content, staying inside one browser session, and producing one cleaner final file | You still need one verification pass so you do not send the original or overlook hidden data |
| Screenshots and re-exports | Rare emergency cases when you only need a non-editable visual excerpt | Slower, less searchable, and usually a messy substitute for proper document cleanup |
Edge is the workspace. Real redaction should still happen in a workflow built for permanent removal.
Step-by-step: how to redact a PDF in Edge
If the document matters and you do not want to clean the wrong copy, use this sequence:
- Keep an untouched original. Save a clean copy before you change anything. Redaction is the kind of task where you do not want to discover later that your only original is gone.
- Confirm the exact source file. Decide whether the real PDF is the Outlook attachment, the OneDrive download, the portal export, or the file already sitting in Downloads. The first preview tab is not always the copy you should clean.
- Open the redaction tool. Launch Redact PDF in Edge.
- Mark what must disappear. That can include names, account numbers, signatures, addresses, photos, pricing, reference numbers, or internal notes.
- Apply the redactions permanently. This is the moment that matters. A proper apply step removes the content from the file you are going to share instead of leaving it underneath a visual cover layer.
- Review obvious hidden leftovers. If the PDF came through a longer workflow, also consider comments, metadata, and form layers. Use PDF Metadata Editor if the file still advertises details you no longer want attached to it.
- Download the cleaned copy with a clear name. Something like contract-redacted.pdf is much safer than keeping several nearly identical versions nearby.
- Open the redacted PDF once in Edge. Search for a removed term if practical, try selecting around a redacted area, and make sure you are reviewing the final cleaned version rather than the original.
Shortest reliable sequence: verify the source file, redact it for real, review hidden leftovers, then test the cleaned copy before you share it.
Why black boxes, highlights, and screenshots are not real redaction
This is the mistake that causes most redaction disasters. If you place a black rectangle over text, use a highlight as if it were a cover layer, or export a document without understanding what the tool actually removed, you can end up with a file that only looks safe.
A real redaction workflow removes the sensitive content from the shareable document. A fake one just makes the page harder to read while leaving clues or underlying data behind.
Visual cover-up methods often fail because:
- the text underneath may still be searchable, selectable, or recoverable,
- comments or annotations can reveal what was discussed internally,
- metadata can still name the person, project, case, or company you meant to hide,
- a screenshot removes searchability but also creates a lower-quality workflow that is harder to manage and reuse.
Outlook, OneDrive, Downloads, and portal workflows
Most Edge problems here are source problems. The same PDF can exist as an Outlook preview, a OneDrive tab, a portal export, and two numbered downloads that all feel interchangeable when you are moving fast.
From Outlook
Outlook is a fine place to confirm you received the right attachment, but it helps to save or clearly identify the file you actually plan to clean. Otherwise, it is easy to redact one copy and later forward a different attachment thread by habit.
From OneDrive
OneDrive is convenient because the document is already in the browser, but that convenience can blur the line between a preview, a downloaded copy, and the final redacted export. Rename the cleaned version clearly so you do not re-upload the original.
From a portal or shared workspace
Portal workflows are where redaction mistakes get expensive. One tab holds the preview, another triggers the download, and an older copy may still be sitting in Downloads from yesterday. If the file matters, use one working folder or one clearly named final file so the redacted version is obvious.
From Edge Downloads
Edge's download list is convenient, but it also makes numbered duplicates easy to miss. Before you redact the file, check whether you are working with document.pdf, document (1).pdf, or a stale copy from an earlier step.
Hidden data to review before you share the file
The visible page is only part of the story. Even after you remove sensitive text from the page, a rushed workflow can leave behind clues you no longer want attached to the document.
| Possible leftover | Why it matters | What to do |
|---|---|---|
| Metadata | Author, subject, company, and other properties can reveal context you meant to remove | Review with PDF Metadata Editor if the file is sensitive |
| Comments or annotations | Internal review notes can leak what was discussed, what was removed, or who handled the file | Check whether the document still contains comments before you send it |
| Form fields or layered content | Some PDFs carry editable layers or hidden values that deserve a final look after cleanup | Review the final export carefully and consider flattening unrelated interactive leftovers afterward if needed |
| Wrong file version | The original may still sit next to the cleaned copy with almost the same name | Rename the final file clearly and double-check the attachment before you upload or email it |
You do not need to become paranoid. You just need one deliberate final review instead of assuming the first successful-looking export is ready to send.
How to verify the redacted PDF before you send it
Verification is what separates a redaction workflow you trust from one you merely hope is fine.
- Open the final copy in Edge. Make sure you are checking the redacted file, not the original source.
- Search for an obvious removed term. If a name or number should be gone, try searching for it in the cleaned copy.
- Try selecting around a redacted area. This is a quick sanity check that the content is not simply sitting under a visual box.
- Review filenames before sharing. The attachment mistake is often easier to make than the redaction mistake.
- Add password protection only after cleanup if the file still needs access control. Use PDF Protect on the final redacted copy if you want that extra layer.
Related LifetimePDF tools and guides
Redaction often overlaps with one or two other PDF jobs. These are the most useful companions in Edge workflows:
- Redact PDF — remove sensitive text or images from the file you plan to share.
- PDF Metadata Editor — review or strip identifying document properties after cleanup.
- PDF Protect — add a password after redaction if the cleaned file still needs access control.
- Compress PDF — reduce file size if the final copy is still too large for email or a portal.
Related reading on LifetimePDF: How to Redact Sensitive Information in PDF, How to Redact a PDF on Windows, How to Check PDF Metadata, and How to Password Protect a PDF in Edge.
Edge shortcut: clean the right file, review the final copy once, and only then worry about where you need to send it.
FAQ: How to redact a PDF in Edge
Can I redact a PDF directly in Edge?
Edge is a practical place to open and review a PDF, but true redaction usually happens in a dedicated browser-based redaction tool running inside Edge. That is what removes the content instead of only covering it visually.
How do I redact a PDF from Outlook or OneDrive in Edge?
Open or save the PDF from Outlook or OneDrive, confirm which copy is the one you really need to share, upload that file into a redaction tool in Edge, apply the redactions, save the cleaned copy, and review it once before sending it onward.
Is drawing a black box in Edge the same as redaction?
No. A black box or annotation can hide text visually while leaving the underlying content searchable or recoverable. True redaction removes the content from the file you plan to share.
Should I password protect the PDF after I redact it in Edge?
If the file is still sensitive after cleanup, that is a good extra step. Redaction removes content, while password protection limits access to the final copy. If you need both, redact first and protect second.
How do I know the redacted PDF is safe to share?
Open the redacted copy, search for terms that should be gone, try selecting text where the redactions were applied, and review obvious metadata or comments. One quick verification pass is much safer than assuming the job is done.
Published by LifetimePDF — Pay once. Use forever.