How to Compress a PDF in Preview: Use Export, Reduce File Size Carefully, and Keep Text Readable
To compress a PDF in Preview, open the file in Preview, choose File → Export, pick Reduce File Size from the Quartz Filter menu if it is available, save a new copy, and then check the smallest useful text before you send it anywhere important.
If the exported PDF turns blurry, stays too large, or the filter is missing, switch to a browser-based Compress PDF workflow instead of repeatedly re-exporting the same file and hoping it gets better.
That is the short answer. The useful part is understanding what Preview is actually good at, why the built-in compression can be harsher than people expect, and how to avoid the classic Mac mistake of creating a smaller copy and then accidentally attaching the original from Finder or Mail anyway. Preview is perfectly fine for quick one-off jobs, but it works best when you treat it like a controlled export step rather than a magical fix for every oversized scan.
Fastest path: try one Preview export, review the result once, and if it looks rough or barely shrinks, move to LifetimePDF's dedicated compression workflow instead of stacking more damage onto the same PDF.
In a hurry? Jump to Quick start: compress a PDF in Preview in a few minutes.
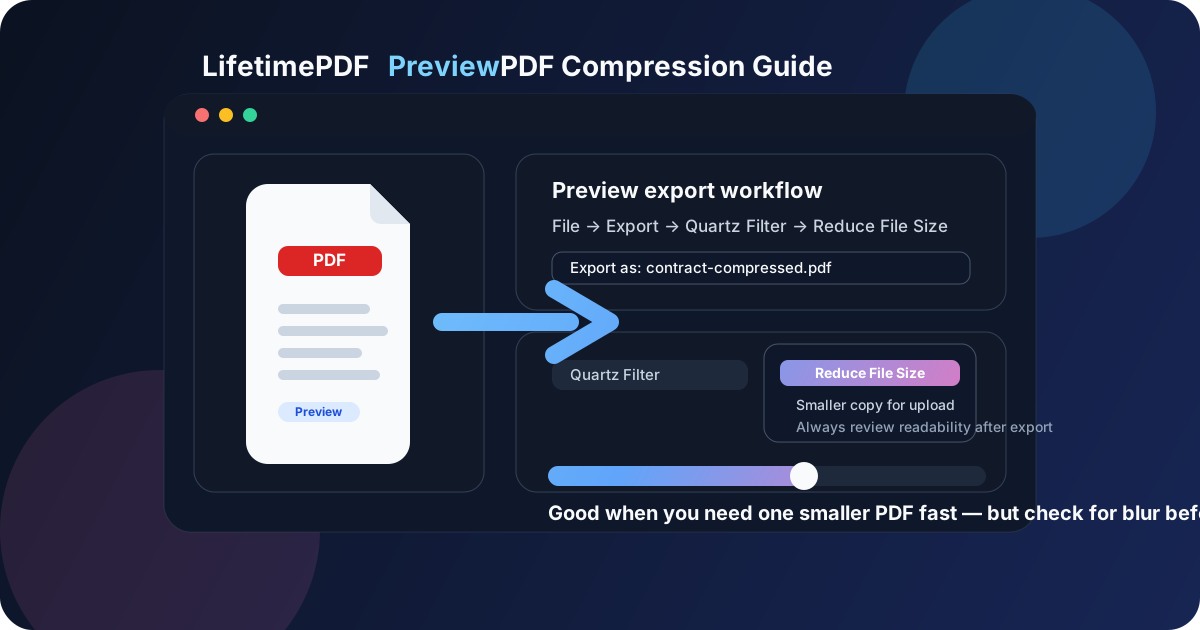
Table of contents
- Quick start: compress a PDF in Preview in a few minutes
- When Preview is actually the right tool
- Step-by-step: how to compress a PDF in Preview
- Why Preview compression results vary so much
- What to do if Reduce File Size is missing or disappointing
- Best order for scan cleanup, OCR, and compression
- Preview vs a dedicated PDF compressor
- Related LifetimePDF tools and guides
- FAQ (People Also Ask)
Quick start: compress a PDF in Preview in a few minutes
If you already have the PDF on your Mac and just need a smaller copy for email, a portal, or a chat attachment, this is the clean Preview workflow:
- Open the PDF in Preview.
- Choose File → Export.
- Select Reduce File Size from the Quartz Filter menu if it appears.
- Save the output with a clear new filename.
- Open the new copy and inspect the smallest useful text before you upload or share it.
When Preview is actually the right tool
Preview is good when the job is small, the PDF is already the right document, and you simply need a lighter copy. That usually means a form packet that is slightly over an upload limit, a digital PDF that needs to fit under an email cap, or a one-off export you want to finish without opening another app or workflow.
| Situation | Best move | Why it works |
|---|---|---|
| A normal text-based PDF is only a little too large | Try Preview first | One export may be enough without changing the rest of your workflow |
| You need a fast one-off smaller copy from Finder or Downloads | Use Preview export | It is built into macOS and easy to test quickly |
| A scan has dark edges, blank backs, or giant margins | Clean up first | Removing waste usually helps more than brute-force compression |
| The PDF contains tiny receipts, signatures, tables, or legal text | Compress carefully and review closely | These details are the first things that feel worse after aggressive size reduction |
In plain English: Preview works best when you need a smaller version of a document that is already organized and already worth sending. If the PDF itself is messy, Preview compression is usually not the first fix you actually need.
Step-by-step: how to compress a PDF in Preview
Here is the practical method that keeps the process clean and lowers the chance of version confusion.
1) Start with the exact file you plan to share
If the PDF is still buried in Mail, sitting inside a browser tab, or mixed in a Downloads folder with three lookalikes, save it first and make sure you know which copy matters. A lot of so-called PDF problems are really file-management problems wearing a fake mustache.
2) Open the file in Preview
Preview is built into macOS, so it is usually the fastest way to inspect the current file before you do anything else. If the pages are sideways, full of blank backs, or surrounded by huge scan borders, notice that now, because compression alone will not fix those issues.
3) Choose File → Export
Use Export so you create a new output file instead of casually overwriting the original. That keeps comparison easy and gives you a clean way back if the compressed copy turns into a blurry regret cloud.
4) Pick Reduce File Size from Quartz Filter
If the Quartz Filter menu offers Reduce File Size, select it and save a new copy with an obvious name such as proposal-compressed.pdf or tax-forms-smaller.pdf. Clear filenames solve more Mac confusion than most people want to admit.
5) Review the new PDF before you send it
This is the step people skip right before it matters most. Open the compressed copy and check the smallest useful thing in the file: fine print, a receipt total, a signature area, a table value, or a note in the middle of a scanned page. If those still feel comfortable, the export probably did its job.
6) Stop if the result is already under the limit
There is no prize for turning a clear file into a microscopic one. If the document now meets the upload or email limit and still looks good, you are done.
Need a cleaner fallback? If Preview barely shrinks the file or trashes readability, switch tools instead of doing a second aggressive export.
Why Preview compression results vary so much
People often assume compression is a consistent slider: smaller file in, proportionally smaller file out. Preview does not really behave that way. Some PDFs shrink nicely. Others barely move. Some get much smaller, but the pages start looking tired, soft, or weirdly overprocessed.
Preview usually behaves better with:
- ordinary digital PDFs exported from Word, Pages, or Google Docs,
- documents that are only slightly above an upload limit,
- files that do not depend on tiny visual detail.
Preview is more likely to disappoint with:
- image-heavy scans,
- receipts, IDs, invoices, or forms with small print,
- photographed pages with shadows or dark borders,
- files that already went through previous compression.
That is why a single visual check matters so much. Preview may technically succeed at making the file smaller while practically making it more annoying to read.
What to do if Reduce File Size is missing or disappointing
If you do not see Reduce File Size, first make sure you are using File → Export rather than another save option. Different macOS flows can feel similar while exposing different choices.
If the filter still does not show up, or the result is obviously worse than you want, do not keep hammering the same file. At that point, one of these moves is usually smarter:
- Delete blank or unnecessary pages with Delete Pages.
- Trim giant margins or dark scan borders with Crop PDF.
- Use a dedicated compressor with Compress PDF for a simpler browser workflow.
Best order for scan cleanup, OCR, and compression
When the PDF started life as a scan, the order matters more than people expect. A safer default workflow is:
- rotate pages if needed,
- delete blank backs or duplicate pages,
- crop wasted borders,
- run OCR PDF if you need searchable text,
- compress the final delivery copy.
That order works because it reduces waste before you try to shrink the whole file. Compressing first can lock in problems you would rather remove.
Best scan workflow: Rotate → Delete → Crop → OCR → Compress.
Preview vs a dedicated PDF compressor
Preview is great for quick exports and final review. A dedicated browser workflow is usually better when you want a more predictable path from upload to smaller output, especially if the job involves lots of scans, repeated document handoffs, or messy source files.
Preview is a good fit when:
- you are on a Mac and want the fastest built-in option,
- the file only needs a modest size reduction,
- you are comfortable checking the result yourself before sending it.
A browser compressor is usually simpler when:
- the Preview export barely helps,
- the file is scan-heavy or full of visual junk,
- you want a cleaner workflow for Finder files, Mail attachments, or portal uploads,
- you need to pair compression with page deletion, cropping, OCR, or later document cleanup.
In plain English: Preview is handy, but it is not sacred. If it works, great. If it does not, switch tools and move on with your life.
Related LifetimePDF tools and guides
Compressing a PDF in Preview is often just one step in a larger Mac document workflow. These tools pair well with it:
- Compress PDF — shrink files for uploads, email, and sharing.
- Delete Pages — remove blank, duplicate, or unnecessary pages first.
- Crop PDF — trim oversized margins and ugly scan borders.
- OCR PDF — make scanned text searchable after cleanup.
- Rotate PDF — fix sideways pages before the final export.
Related reading on LifetimePDF: How to Compress a PDF on Mac, How to Merge PDFs in Preview, How to Split PDF in Preview, How to OCR a PDF on Mac, How to Delete Pages from a PDF on Mac, and How to Crop a PDF on Mac.
FAQ: How to compress a PDF in Preview
How do I compress a PDF in Preview on Mac?
Open the file in Preview, choose File and then Export, use the Reduce File Size Quartz Filter if it appears, save a new copy, and review the smallest useful text before sending it.
Why does Preview make some PDFs blurry after compression?
Because Preview often reduces image quality to shrink the file. That can work fine for some documents, but scan-heavy pages, receipts, signatures, and fine print usually need a more careful review afterward.
What if Reduce File Size is missing in Preview?
Use File and then Export first, since that is where Quartz Filter options usually appear. If the filter still is not usable or the export is disappointing, switch to a dedicated Compress PDF workflow instead of repeatedly re-exporting.
Should I compress a scanned PDF in Preview before OCR?
Usually no. Clean up orientation, extra pages, and borders first, then run OCR if you need searchable text, and compress the final delivery copy after that.
Is Preview better than an online PDF compressor?
Preview is better for fast built-in one-off exports and final review. A dedicated compressor is usually better when you want a cleaner, more predictable workflow or when Preview gives you weak size reduction or rough visual results.
Published by LifetimePDF — Pay once. Use forever.