Compress PDF for Webflow: Upload Smaller Lead Magnets, Downloads, and Asset Files Faster
To compress a PDF for Webflow, upload the final file to LifetimePDF's Compress PDF tool, start with Medium compression, and keep the smaller copy only if body text, screenshots, and call-to-action pages still look clean.
For most Webflow downloads, under 3MB is a comfortable target for lead magnets and short resources, while longer case studies, manuals, or screenshot-heavy PDFs usually work best around 3MB to 8MB after light cleanup.
Webflow users usually care about more than whether the file technically uploads. They care whether the asset opens quickly from a landing page, feels polished inside a gated workflow, and does not drag down the experience on mobile. The goal is not the smallest possible PDF. The goal is a lighter file that still feels premium when someone actually clicks download.
Fastest path: run the Webflow PDF through LifetimePDF's Compress PDF tool on Medium, then test the smaller file through the exact asset or CMS link your visitors will use.
In a hurry? Jump to Quick start: compress a Webflow PDF in about 2 minutes.
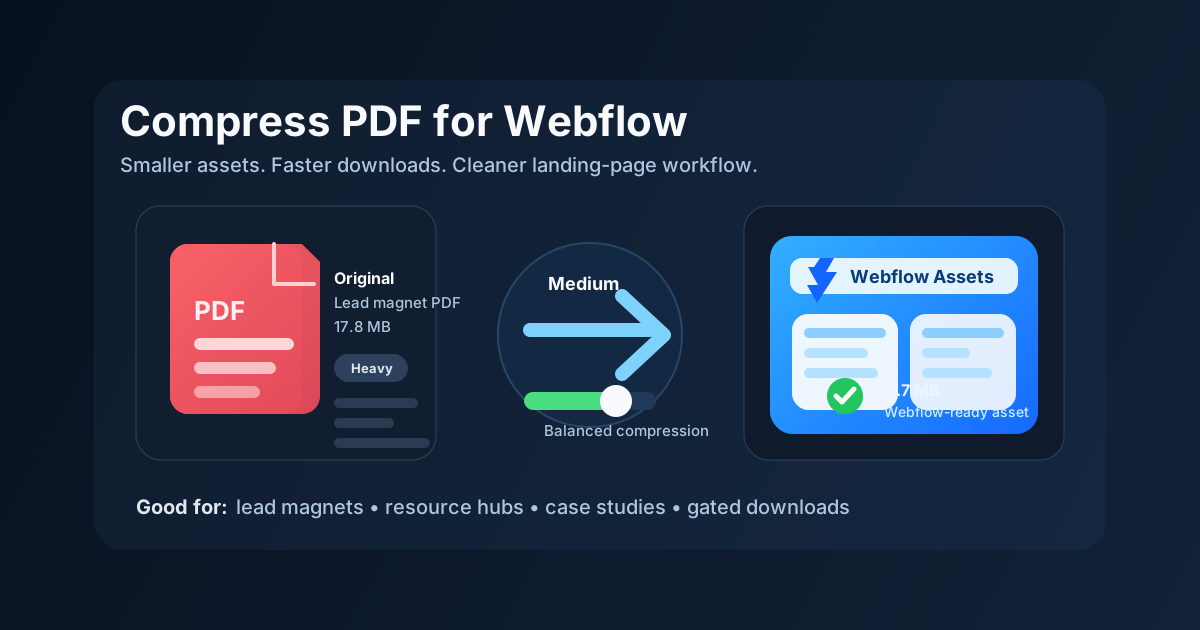
Table of contents
- Quick start: compress a Webflow PDF in about 2 minutes
- Why Webflow PDFs get heavy so quickly
- Why file weight matters more than the upload itself
- What file size should you aim for?
- Which compression level should you choose?
- Step-by-step: shrink a Webflow PDF with LifetimePDF
- Best strategy for common Webflow PDF types
- What if the file is still too heavy?
- How to keep text, screenshots, and CTA pages readable
- Workflow habits that keep Webflow PDFs lighter
- Related LifetimePDF tools and useful internal reading
- FAQ (People Also Ask)
Quick start: compress a Webflow PDF in about 2 minutes
If your real goal is simply make this PDF small enough for Webflow without making it look cheap, this workflow is usually enough:
- Open Compress PDF.
- Upload the exact lead magnet, case study, brochure, gated download, proposal, manual, or resource PDF you plan to publish.
- Choose Medium compression first.
- Download the smaller file and compare the new size with the original.
- Upload that copy to Webflow Assets or the CMS item you actually use.
- Open the live download once and check the weakest points: cover text, body text, screenshots, tables, diagrams, and CTA pages.
- If the file is still too heavy, split the appendix, delete extra pages, or crop wasted margins before trying stronger compression.
Why Webflow PDFs get heavy so quickly
Webflow PDFs often become larger than they need to be because they are built for presentation first. A nice-looking lead magnet may include a full-bleed cover, large brand graphics, product screenshots, UI mockups, bonus worksheet pages, and legal or appendix sections that only a few readers will ever reach. That can be good design, but it also makes uploads slower and downloads more annoying than they need to be.
Another common problem is that one PDF quietly becomes the website download, the gated asset, the email follow-up file, the internal archive copy, and the print version all at once. Compression helps, but the strongest result usually comes from a cleaner share copy plus balanced compression instead of maximum shrinkage alone.
What usually adds the most weight
- Full-page images and screenshots: exported product screens, mockups, and comparison graphics can outweigh the text by a wide margin.
- Long appendix sections: worksheets, references, legal pages, and internal notes often matter less than the main resource.
- Print-oriented spacing: generous margins and decorative pages look nice but increase page count and wasted area.
- One file for several audiences: subscribers, prospects, customers, editors, and your internal team rarely need the exact same PDF.
- Re-exported design assets: slide decks, design boards, and image-heavy layouts can create a download that feels much bigger than the underlying content.
Why file weight matters more than the upload itself
A PDF can upload to Webflow and still be the wrong file. That is because success is not just did the asset appear in the panel? Success is whether the download opens quickly from a landing page, feels dependable on mobile, and supports the conversion path instead of adding friction.
| What goes wrong | What it usually feels like | Most useful fix |
|---|---|---|
| Oversized lead magnet | The asset uploads, but the page-to-download experience feels slower than it should | Use Medium compression and trim appendix pages the reader does not need |
| Heavy screenshots or mockups | The file opens slowly on phones or feels bulky in email follow-ups | Compress once, then crop or split image-heavy sections if needed |
| One PDF doing too many jobs | The download is bigger than expected even though only the core guide matters publicly | Keep a lighter web copy and store the heavier internal master separately |
| Wasted margins and print extras | The file size grows without adding value to the on-screen reading experience | Crop the PDF and remove pages that only serve the print version |
| Over-aggressive compression | The file is smaller, but screenshots, tables, and trust elements feel weaker | Go back to a lighter compression level and keep the smallest version that still feels polished |
In other words, passing the upload is only step one. The better result is a PDF that uploads easily and still feels worth downloading once a visitor clicks it.
What file size should you aim for?
There is no universal Webflow number because every site, audience, and PDF format is different. Still, a practical target range helps you stop overthinking it.
| Webflow PDF type | Comfortable target | Why that range works |
|---|---|---|
| Lead magnet, checklist, short guide | 1MB to 3MB | Easy to deliver, quick to open, and usually enough for text-first resources with a light visual layer |
| Case study, brochure, sales deck, portfolio PDF | 2MB to 5MB | Allows for brand visuals, charts, and screenshots without making the download feel bloated |
| Manual, help-center export, support pack | 3MB to 8MB | Longer PDFs often need more room, but still benefit from trimming appendix pages and large images |
| Very large appendix or reference pack | Split it | If one file is trying to serve several purposes, splitting usually works better than forcing stronger compression |
Which compression level should you choose?
Most Webflow PDFs should start at Medium. That level usually gives the best balance between a lighter file and a download that still feels polished when someone opens it from a landing page, resource hub, CMS item, or email follow-up.
- Light compression: good when the PDF is already close to your target and you only need a modest size reduction.
- Medium compression: the best default for most lead magnets, guides, and branded downloads.
- Strong compression: better as a last resort when the file is still far too heavy after cleanup.
If your PDF contains small charts, screenshots, UI labels, or dense tables, stronger compression can make the download feel cheaper than the original content deserves. That is why a small cleanup pass often beats jumping straight to the most aggressive setting.
Step-by-step: shrink a Webflow PDF with LifetimePDF
- Start with the final share copy. Use the exact PDF you want visitors, subscribers, or customers to download, not a master archive with extra pages.
- Open Compress PDF.
- Choose Medium compression first. That is usually the most reliable starting point for Webflow downloads.
- Download the smaller result. Compare the size with the original so you know whether the change was meaningful.
- Test the actual delivery path. Upload the file to Webflow Assets, a CMS item, or the exact link location you really use.
- Open the live file once. Check the cover, body text, screenshot captions, diagrams, tables, and any page that contains a trust signal or call to action.
- Clean up only if needed. If the file is still too large, use Delete Pages, Extract Pages, or Crop PDF before pushing compression harder.
Best practical sequence: compress first, test the live download second, trim pages third, and only then consider stronger compression.
Best strategy for common Webflow PDF types
Lead magnets and gated downloads
These usually need the lightest footprint because the PDF sits close to a conversion action. If the file is slow to download or awkward to open on mobile, the resource feels less valuable before the reader even gets to page one. Start with Medium compression and aim for a quick, dependable download rather than a print-perfect file.
Case studies, brochures, and branded sales PDFs
These are trust documents. They should stay sharp enough to feel premium. Use compression carefully, then check the cover, brand colors, charts, testimonial pages, pricing sections, and contact details before you replace the original.
Portfolio PDFs and agency handoff files
Portfolio downloads often contain large images, device mockups, and page screenshots. Those visuals are usually what make the file heavy. Compress once, then crop wasted space or split out oversized appendix pages if the final PDF still feels bulky.
Manuals, support docs, and help-center resources
Text clarity matters more than decorative design here. If a manual is long, split it by topic or version instead of forcing a huge all-in-one PDF into every Webflow download slot. Smaller files are easier for visitors to save, search, and reopen later.
What if the file is still too heavy?
If you compressed the PDF and it still feels wrong for Webflow, the problem may not be the compressor. The file may still carry too much structural bloat for compression alone to solve.
- Split the PDF if one document combines a main guide, worksheets, legal pages, and a long appendix.
- Delete repeated pages such as duplicate covers, stale testimonials, or archive-only sections.
- Crop wide margins when the layout wastes space without adding value.
- Keep an archive copy and a web copy if the heavier master still matters internally.
- Review the mobile experience because a technically valid upload can still feel too heavy to a real visitor.
How to keep text, screenshots, and CTA pages readable
The PDF is only better if it still works. Before you replace the original file, review the details most likely to break:
- cover headlines and subheads
- small body text and footnotes
- screenshots, charts, and UI labels
- tables, pricing blocks, and comparison rows
- CTA pages, coupon sections, or book-a-demo prompts
- the busiest page in the entire file, not just the cleanest one
If the smallest useful detail still feels easy to trust at normal laptop zoom and on a phone download, the file is probably compressed enough.
Workflow habits that keep Webflow PDFs lighter
- Export a web copy and an archive copy when the same PDF does not need to do both jobs.
- Separate the core download from the appendix when visitors only need the main guide.
- Trim oversized screenshots before they become permanent bloat in every upload.
- Keep mobile readers in mind because a PDF that feels fine on desktop can still feel annoying on a phone connection.
- Clean metadata before publishing with PDF Metadata Editor if you want the title and file properties to look polished.
- Use PDF to HTML or HTML to PDF intentionally when part of the resource really belongs as a web page instead of a download.
Compression works best as final polish, not as a rescue plan for a PDF that was oversized long before you tried to publish it.
Related LifetimePDF tools and useful internal reading
If Webflow is part of your normal publishing workflow, these tools and articles pair well with this guide:
- Compress PDF for the first size-reduction pass.
- Split PDF for long downloads that should be broken into smaller parts.
- Extract Pages when only the core section should be published.
- Delete Pages to remove stale appendix or duplicate cover pages.
- Crop PDF to trim wasted margins from print-oriented layouts.
- PDF Metadata Editor for cleaner titles and download properties.
- PDF to HTML when part of the resource belongs on the page instead of inside the download.
- HTML to PDF if you are turning a web page into a cleaner downloadable asset.
- Compress PDF for WordPress.
- Compress PDF for HubSpot.
- Compress PDF for Canva.
- Lifetime access if PDF cleanup is a recurring part of your publishing stack.
Bottom line: for most Webflow PDFs, start with Medium compression, test the live download, and trim page weight before you use stronger compression.
FAQ (People Also Ask)
How do I compress a PDF for Webflow?
Upload the final PDF to a compressor, start with Medium compression, download the smaller copy, and test the exact Webflow asset or CMS download path before publishing it. Medium is usually the safest first pass because it lowers file size without making text, screenshots, or CTA pages feel unreliable.
What file size should I aim for when uploading a PDF to Webflow?
For many lead magnets, downloadable guides, and short resource PDFs, under 3MB is a comfortable target. Longer case studies, manuals, proposal decks, or screenshot-heavy downloads often land best around 3MB to 8MB as long as the smallest useful text still reads clearly.
Why does a Webflow PDF still feel slow after it uploads?
Because upload success is only part of the job. A PDF can technically upload to Webflow and still feel heavy when someone opens it on mobile, downloads it from a landing page, or hits it from a gated resource page. Compression helps, but removing extra pages, wide margins, and oversized screenshots often helps even more.
Will PDF compression make my Webflow lead magnet blurry?
It can if you compress too aggressively. That is why Medium compression is the best place to start. Always check the cover page, body text, screenshots, diagrams, tables, and CTA sections before replacing the original file.
Should I split a long PDF instead of compressing it harder for Webflow?
Often, yes. If one PDF bundles the main guide, worksheets, appendix material, legal pages, and internal notes for different audiences, splitting it usually creates a cleaner Webflow download than pushing stronger compression across the whole file.
Published by LifetimePDF - Pay once. Use forever.