Compress PDF for Skim: Open Smaller Research Papers, Articles, and Annotated PDFs Faster on Mac
To compress a PDF for Skim, upload the final paper, article, chapter, report, or annotated file to LifetimePDF's Compress PDF tool, start with Medium compression, and keep the smaller copy only if footnotes, highlights, and page thumbnails still look clean in Skim.
For most Skim workflows, aim for under 5MB for ordinary text-heavy PDFs and roughly 5MB to 20MB for heavier scans, image-rich readings, or longer research packets that still need comfortable Mac reading and annotation.
Skim is the kind of Mac app people use when a PDF is not just an attachment but part of real thinking. You open a paper, jump between notes, highlight lines worth revisiting, and keep coming back to the same file. When that PDF is heavier than it needs to be, the friction shows up in boring but constant ways: slower opening, clunkier thumbnail browsing, bigger storage footprints, and a more annoying reading experience than the document deserves. The goal is not to crush every file until it looks cheap. The goal is to make it lighter while preserving the tiny text, figures, and annotation comfort that made the PDF worth keeping in Skim in the first place.
Fastest path: run the Skim PDF through LifetimePDF's Compress PDF tool on Medium, then open the smaller copy and test one footnote page, one thumbnail view, and one page where you would actually highlight or add notes.
Need the short version? Jump to Quick start: compress a PDF for Skim in under 2 minutes.
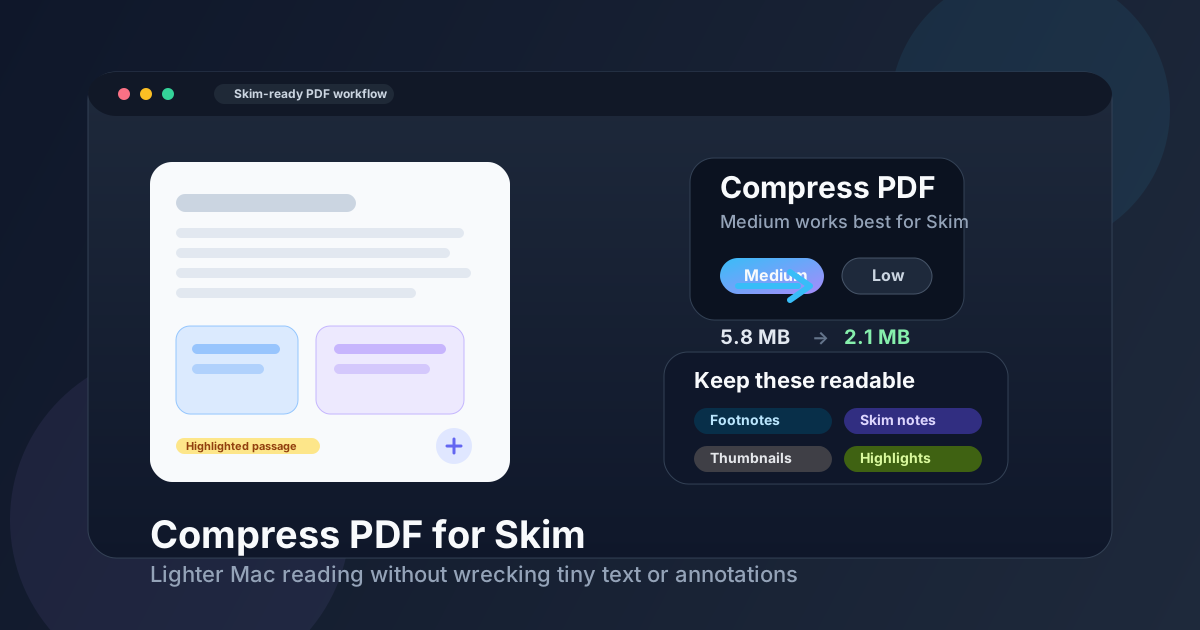
Table of contents
- Quick start: compress a PDF for Skim in under 2 minutes
- Why smaller PDFs help in Skim
- What file size should you aim for?
- Which compression level should you choose?
- Step-by-step: shrink a Skim PDF with LifetimePDF
- Best strategy for common Skim file types
- What if the PDF is still too large?
- How to protect notes, highlights, and page quality
- When to compress before or after annotating
- Related LifetimePDF tools and useful internal links
- FAQ (People Also Ask)
Quick start: compress a PDF for Skim in under 2 minutes
If your real goal is simply make this PDF lighter so it behaves better in Skim, this workflow is usually enough:
- Open Compress PDF.
- Upload the final article, preprint, chapter, report, scan, or annotated PDF you actually plan to keep.
- Choose Medium compression first.
- Download the smaller PDF and compare the new size with the original.
- Open it in Skim and check the places that matter most: tiny footnotes, page thumbnails, charts, and one page where you would normally highlight or read closely.
- If the file is still too bulky, use Extract Pages, Split PDF, or Crop PDF before trying a harsher setting.
Why smaller PDFs help in Skim
Skim is often where people do active reading: flipping through papers, checking references, annotating drafts, or revisiting the same set of research documents again and again. When a PDF is needlessly heavy, the pain is rarely dramatic. It is just constant. The file takes longer to open, thumbnails feel heavier to browse, scans feel more sluggish, and you end up dragging more storage and friction around your Mac than the job really needs.
Why lighter PDFs usually feel better in Skim
- Faster opening: especially noticeable with scanned packets, long reports, and image-heavy chapters.
- Calmer thumbnail browsing: moving through a document feels better when the file is not carrying unnecessary weight.
- Smoother close reading: zooming into footnotes, figures, and citations is less annoying when the PDF is not oversized for no reason.
- Better annotation comfort: highlights, notes, and quick review passes feel less clunky when the document stays responsive.
- Less storage bloat: dozens of academic PDFs quietly add up, especially when you keep libraries of papers or course readings.
- Easier sharing later: a lighter working copy is simpler to email, archive, or move into another research workflow.
In other words, compression is not just about disk space. It is about making the PDF behave like a working document instead of a heavy attachment that quietly gets in your way every time you open it.
What file size should you aim for?
There is no perfect number because a 12-page journal article behaves very differently from a scan-heavy seminar packet or a textbook chapter full of diagrams. Still, practical targets help. The goal is to make the file light enough that it stops feeling wasteful while preserving the details you actually need in Skim.
| Skim PDF type | Comfortable target | Notes |
|---|---|---|
| Articles, preprints, memos, and text-heavy papers | Under 5MB | Usually light enough for quick opening and comfortable footnote reading. |
| Book chapters, reports, and image-mixed readings | 5MB to 15MB | Often realistic when charts, screenshots, or diagrams matter. |
| Scanned packets, copied handouts, and camera-captured documents | 10MB to 20MB | These usually benefit more from cleanup, cropping, or OCR than from aggressive compression alone. |
| Very large binders or multi-part reading bundles | Split into smaller parts if possible | One giant PDF is rarely the cleanest research workflow when you only need one section at a time. |
If a file stays a little larger but remains comfortable to read, search, and annotate, that is fine. The goal is not to win a file-size contest. The goal is to keep the document genuinely useful.
Which compression level should you choose?
Most people do not need a complicated decision tree. For Skim, the safest habit is simple: start with Medium and only go harder if the file is still clearly bulkier than the reading job requires.
Low compression
Use Low when the PDF contains tiny footnotes, mathematical notation, fine diagram labels, or already-soft scans that you do not want to risk making worse. You save less space, but you protect the details that matter.
Medium compression
Use Medium as your default. It usually cuts enough size to matter while keeping ordinary reading, thumbnails, highlights, and notes comfortable in Skim.
High compression
Use High only when the file is still awkwardly large after smarter cleanup or when the PDF is mainly a convenience copy rather than a precision reading copy. Small citations, faint scans, and figure labels are usually the first things to suffer.
Step-by-step: shrink a Skim PDF with LifetimePDF
- Start with the final file. Use the exact PDF you plan to open in Skim, not an earlier export or temporary draft.
- Open Compress PDF.
- Choose Medium compression first. This is usually the safest balance for research and reading workflows.
- Download the smaller copy. Compare the result with the original so you know whether the reduction was meaningful.
- Open the new PDF in Skim. Do not stop at the download step. Check the file where it will actually be used.
- Review one real task. Open thumbnail view, zoom into a footnote, check a figure caption, or highlight a sentence you would actually save.
- Adjust only if necessary. If the file is still too heavy, extract the useful pages, crop blank borders, delete junk pages, or split the PDF before trying stronger compression.
- Keep the original until you are sure. Once the lighter copy passes a real reading test, use it as the working version and archive the heavier source if you still need it.
Most of the time, the best workflow is pleasantly boring: compress once, test once, keep moving.
Best strategy for common Skim file types
Journal articles and preprints
These usually compress well. Prioritize readability of abstracts, references, figure captions, and footnotes. If the paper is already mostly text, Medium compression is often enough.
Book chapters and course readings
These often carry more images, sidebars, or awkward scan quality. If you only need one chapter, keeping the whole source book is often unnecessary overhead. A shorter PDF often works better than a brutally compressed full-volume export.
Scanned handouts and copied packets
These are usually the troublemakers. Compression helps, but the bigger win often comes from trimming blank edges, removing duplicate pages, and running OCR PDF so the file becomes more searchable before you keep it.
Annotated working PDFs
Be gentle with these. If the file already contains meaningful notes or highlights, keep the original and treat the compressed version as a tested working copy until you confirm that the pages you care about still behave normally.
Reports, slide decks, and figure-heavy material
These deserve caution. A slightly larger file is often better than a smaller one that turns chart labels, screenshots, or figure captions into a chore.
What if the PDF is still too large?
If one compression pass was not enough, do not assume the next answer is simply harsher compression. Usually the real problem is too many pages, too much scan waste, or a giant bundle that should have been split into cleaner parts.
- Keep only the useful pages: use Extract Pages when you only need one section, chapter, appendix, or article.
- Remove dead weight: use Delete Pages for blank scans, covers, duplicates, or irrelevant add-ons.
- Trim dead space: use Crop PDF for oversized margins and scanner borders.
- Split giant bundles: use Split PDF if one huge file would work better as smaller readings.
- Fix scan-heavy files: use OCR PDF when the file is image-based and you also want searchable text.
- Re-export from the source: sometimes the cleanest result comes from a better export rather than more squeezing.
In many research workflows, a cleaner PDF beats a more aggressively compressed PDF. Removing noise usually helps more than crushing every remaining page harder.
How to protect notes, highlights, and page quality
Skim users notice quality loss quickly because the app is often part of active work. If a PDF gets fuzzy or unstable, the pain shows up exactly where you care: footnotes, fine print, annotations, thumbnails, and zoomed reading.
Check these before you keep the smaller copy
- Fine print and footnotes: zoom into the densest page, not just the title page.
- Page thumbnails: browse a few pages quickly and make sure the document feels calmer, not clumsier.
- Highlights and notes: verify that the page still feels easy to mark up and revisit.
- Figure labels and screenshot text: these reveal over-compression faster than ordinary body text.
- Already annotated pages: if the PDF contains meaningful notes, inspect the exact pages you would hate to damage.
The simplest rule is this: test the smallest meaningful detail and one real reading task in Skim. If both still feel good, the rest of the document is usually fine.
When to compress before or after annotating
If possible, compress the PDF before it becomes heavily annotated. That gives you a cleaner working copy from the start. But real life is messy, and sometimes the heavy file already carries highlights or notes.
| Situation | Better move |
|---|---|
| Fresh file you have not touched yet | Compress first, then read and annotate the lighter working copy. |
| Document already contains meaningful notes or highlights | Keep the original, create a smaller copy, and test those annotated pages before replacing anything. |
| Signed, legal, or important archival PDF | Archive the untouched original and treat the compressed version as a convenience copy unless you have verified it carefully. |
| Huge scan you only need for reference | Trim, OCR, or split the file first, then compress the smaller working version. |
The best Skim setup is usually simple: preserve the original when it matters, then create a lighter copy that is easier to open, browse, and work with every day.
Related LifetimePDF tools and useful internal links
Compressing the PDF is usually the main fix, but some Skim files benefit from one or two supporting tools first. These are the most useful follow-up options:
- Compress PDF - shrink the final working copy.
- Extract Pages - keep only the relevant section.
- Delete Pages - remove blanks, duplicates, and dead pages.
- Crop PDF - trim scanner waste and oversized margins.
- Split PDF - break giant bundles into cleaner parts.
- OCR PDF - make scanned readings more searchable.
- PDF Metadata Editor - clean document properties before archiving or sharing.
If you want related reading around the same workflow, these guides fit naturally next: Compress PDF for Zotero, Compress PDF for Mendeley, Compress PDF for DEVONthink, Compress PDF for PDF Expert, and How to Compress a PDF on Mac.
Best workflow for most Skim files: compress once on Medium, test one hard page, and trim the document structure before you sacrifice readability.
FAQ (People Also Ask)
1) How do I compress a PDF for Skim?
Upload the final PDF to a compressor, start with Medium compression, and keep the smaller copy only if footnotes, highlights, notes, and page thumbnails still look clean when you open it in Skim. For most Mac reading workflows, Medium is the safest first step because it reduces size without making the document rough to read or annotate.
2) What PDF size should I aim for in Skim?
Under 5MB is a strong target for ordinary text-heavy articles and short papers. Heavier chapters, scan-heavy readings, and image-rich reports often land around 5MB to 20MB and can still feel practical if footnotes, figures, and annotations remain comfortable.
3) Will compression ruin Skim notes or highlights?
Usually not if you start with Medium compression and keep the original until you test the result, but annotated or important PDFs deserve extra caution. Open one highlighted page and one note-heavy page before you replace a working copy you care about.
4) Should I compress before or after annotating in Skim?
Before annotating is usually cleaner because you begin with a lighter working file. If the PDF already contains important notes or highlights, keep the original, create a smaller copy, and test those pages before trusting the compressed version.
5) Which LifetimePDF tools pair best with Skim?
Compress PDF is the main starting point. Extract Pages, Delete Pages, Split PDF, Crop PDF, OCR PDF, and PDF Metadata Editor are the most useful companions when you want lighter, cleaner reading files for Skim on Mac.
Ready to shrink a heavy PDF for Skim?
Best workflow: Compress - Test once - Keep the lighter working copy.
Published by LifetimePDF - Pay once. Use forever.