Compress PDF for EngageBay: Keep Contact Attachments, Proposals, and Automation PDFs Easy to Open
To compress a PDF for EngageBay, upload the final proposal, quote, contact attachment, onboarding guide, or automation download to LifetimePDF's Compress PDF tool, start with Medium compression, and keep the smaller copy only after pricing, screenshots, signatures, and small text still look clean inside the real EngageBay contact, deal, or automation workflow where the file gets reopened.
For most EngageBay PDFs, under 2MB is a strong target for one-pagers, follow-up files, and short welcome documents, while longer proposals, onboarding packets, and screenshot-heavy resources usually work best around 2MB to 5MB after light cleanup.
EngageBay tends to collect PDFs at multiple stages of the same customer journey. A sales rep attaches a proposal to a deal. Marketing sends a follow-up download from an automation. Support or onboarding reuses the same document again later. That means file weight is not just a storage issue. It affects how quickly people can reopen the document when a real conversation is moving.
Fastest path: run the EngageBay PDF through LifetimePDF's Compress PDF tool on Medium, then extract key pages or split a bulky packet only if the document is still heavier than the real workflow needs.
In a hurry? Jump to Quick start: compress an EngageBay PDF in about 2 minutes.
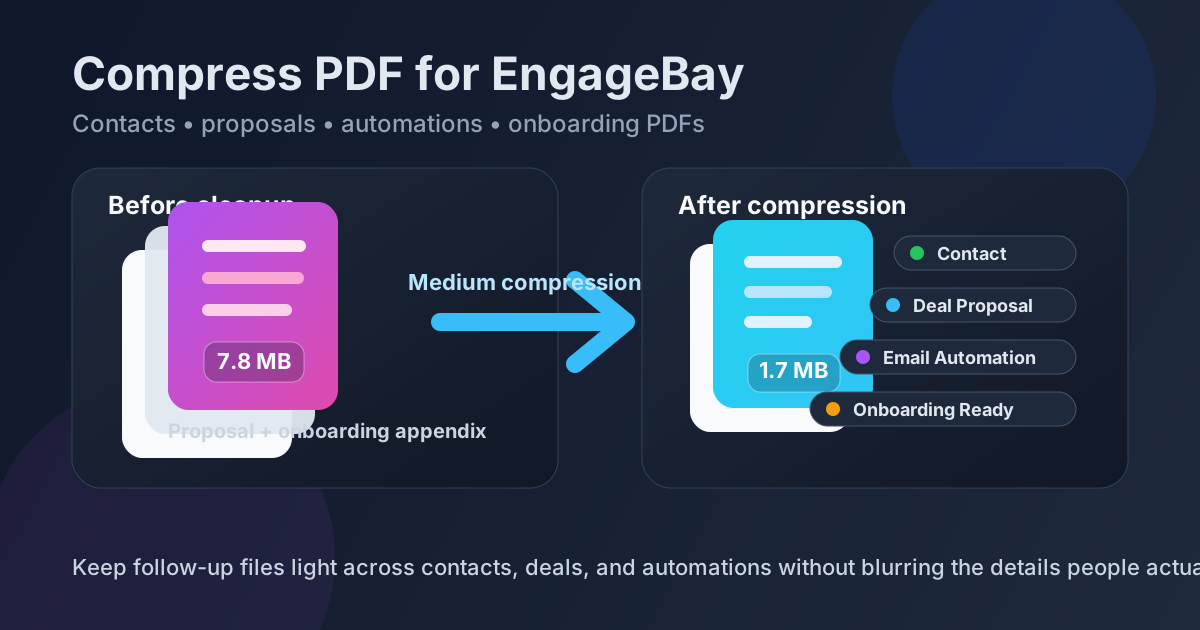
Table of contents
- Quick start: compress an EngageBay PDF in about 2 minutes
- Why EngageBay PDFs get heavy so quickly
- Where large PDFs create friction in EngageBay
- What file size should you aim for?
- Which compression level should you choose?
- Step-by-step: shrink an EngageBay PDF with LifetimePDF
- Best strategy for common EngageBay PDF types
- What if the file is still too big?
- How to keep pricing, screenshots, and signatures readable
- Workflow habits that keep EngageBay PDFs lighter
- Related LifetimePDF tools and useful internal reading
- FAQ (People Also Ask)
Quick start: compress an EngageBay PDF in about 2 minutes
- Open Compress PDF and upload the exact file you plan to keep in EngageBay.
- Start with Medium compression. It is usually the best balance for contact attachments, sales proposals, deal files, onboarding PDFs, and automation downloads.
- Download the smaller PDF and reopen it where the file is really used: the contact record, deal, email automation, or form follow-up path.
- Check the details that matter most: pricing tables, names, dates, signatures, screenshots, checklists, and the smallest line of text on the busiest page.
- If the file is still heavier than it should be, use Extract Pages or Split PDF before you try stronger compression.
That order works because many heavy EngageBay PDFs are not really suffering from file size alone. They are also carrying the wrong pages. When you trim the document first and compress second, the final result usually feels cleaner and more trustworthy.
Why EngageBay PDFs get heavy so quickly
EngageBay often sits in the middle of sales, marketing, and customer follow-up. That makes PDF creep easy. A proposal gains an appendix. A welcome guide gets extra screenshots. A follow-up document includes old versions “just in case.” A signed packet gets merged with reference material that nobody actually needs to reopen.
Common causes include repeated exports, oversized screenshots, long onboarding bundles, scanned signature pages, duplicate covers, and archive pages that stayed attached out of habit. Compression helps, but it works best after you decide what truly belongs in the version people will keep using inside EngageBay.
Where large PDFs create friction in EngageBay
A big file does not have to hit a hard upload limit to become a problem. Most of the pain shows up as delay, hesitation, and slower follow-up.
- Contact records: someone wants the latest file quickly, not a bloated attachment that takes too long to reopen.
- Deals and proposals: pricing, scope, and signatures should be easy to pull up during a live sales conversation.
- Email automations: a download may technically send correctly but still feel sluggish when the recipient opens it from mobile.
- Onboarding handoffs: a heavy packet makes follow-up feel clumsier than it needs to be when a customer is trying to act now.
What file size should you aim for?
There is no perfect universal number, but these ranges are practical for most EngageBay workflows:
- Under 2MB: ideal for short proposals, contact summaries, one-pagers, checklists, and light welcome PDFs.
- 2MB to 5MB: usually fine for multi-page proposals, onboarding packets, signed documents, and screenshot-heavy sales material.
- Over 5MB: worth reviewing before you keep it, especially if the file is supposed to open quickly from a contact or automation flow.
If the document keeps landing above those ranges, the better fix is often trimming or splitting it instead of forcing harsher compression.
Which compression level should you choose?
Start with Medium almost every time. It is the safest default because it usually reduces file weight enough for CRM and automation work without making the document feel fragile.
- Low compression: best when the PDF has dense pricing tables, signatures, legal text, or image details that must stay especially crisp.
- Medium compression: best default for EngageBay proposals, welcome documents, contact attachments, and automation downloads.
- High compression: use only when the file is still too heavy after cleanup and the document is visually forgiving.
If High compression makes screenshots, totals, names, signatures, or CTA pages feel uncertain, step back. A slightly larger PDF is better than one that nobody trusts at a glance.
Step-by-step: shrink an EngageBay PDF with LifetimePDF
- Use the final version. Pick the exact PDF that belongs in EngageBay instead of a draft packet or working export.
- Compress it first. Open Compress PDF and start with Medium.
- Review the busiest page. Check the page with the smallest text, densest table, most signatures, or most screenshot detail.
- Test the real workflow. Reopen the smaller file the same way your team or customer will actually use it inside EngageBay.
- Trim only if needed. Delete repeated pages, extract the customer-facing section, or split appendices before trying a harsher setting.
This order matters. If you jump straight to aggressive compression, you may shrink the file while still carrying outdated or irrelevant pages. Moderate compression plus simple cleanup usually creates the better final document.
Best strategy for common EngageBay PDF types
Sales proposals and quotes
Start with Medium compression and aim for under 2MB when you can. The main risk is blurring totals, line items, approval notes, or signatures that someone needs to verify quickly.
Contact attachments and meeting recaps
These usually do not need to be heavy. If the PDF includes repeated pages, old versions, or screenshots nobody needs anymore, trim those first before you compress harder.
Automation downloads and welcome PDFs
These files get judged fastest on mobile. People opening a checklist, intro packet, or free resource from an email automation will feel extra delay immediately, so keep them light and easy to scan.
Signed onboarding packets
Protect signatures, dates, initials, and the pages carrying the next action. If the file came from a scanner, inspect the signature page closely before replacing the original.
What if the file is still too big?
Do not keep pushing compression harder without checking the structure of the PDF. If Medium does not get the file where you need it, try one of these first:
- Use Delete Pages to remove drafts, duplicate covers, archive pages, or appendix material.
- Use Extract Pages to keep only the customer-facing or action-taking section.
- Use Split PDF when the main document and backup material should not stay in one file.
- Use Crop PDF to remove wasted scan borders and empty margins.
Those steps often remove more useful weight than jumping immediately to High compression.
How to keep pricing, screenshots, and signatures readable
The most common mistake is checking only the cover or first page. For EngageBay attachments, inspect the parts that make the document truly useful:
- customer names, company details, and contact information
- pricing tables, totals, and approval sections
- signatures, initials, and dates
- small checklist text, onboarding steps, or instructions
- screenshots, dashboards, charts, and CTA pages inside sales or automation documents
If any of those feel fuzzy, uncertain, or annoying to zoom into, keep the lighter setting or clean the document another way. Compression should remove waste, not confidence.
Workflow habits that keep EngageBay PDFs lighter
A few simple habits prevent attachment bloat from coming back:
- Attach the final customer-facing PDF, not the working draft with internal extras.
- Keep archive material separate when it does not need to live on the same contact or deal.
- Replace duplicate exports instead of stacking nearly identical versions.
- Scan signed pages at sensible settings instead of maximum resolution by default.
- Test the document from mobile before deciding it is truly finished.
These habits matter because EngageBay works best when the next useful file is easy to reopen. The cleaner the attachment discipline, the smoother sales, marketing, and onboarding handoffs stay.
Related LifetimePDF tools and useful internal reading
If EngageBay is only one part of your broader CRM and automation stack, these tools and guides pair well with this process:
- Compress PDF for the main size-reduction step.
- Extract Pages when only the core document should stay attached.
- Delete Pages to remove outdated versions or repeated exports.
- Split PDF to separate the live file from backup material.
- Crop PDF to trim wasted scan borders.
- PDF Metadata Editor for cleaner document properties.
- Compress PDF for Ontraport.
- Compress PDF for Keap.
- Compress PDF for HubSpot.
- Compress PDF for Zoho CRM.
- Remove PDF Metadata.
- Lifetime access if PDF cleanup is a repeat part of your CRM workflow.
Bottom line: for most EngageBay PDFs, start with Medium compression, test the real workflow, and trim page weight before you use stronger compression.
FAQ (People Also Ask)
How do I compress a PDF for EngageBay?
Upload the final PDF to a compressor, start with Medium compression, download the smaller copy, and test it in the real EngageBay workflow before replacing the original. Medium is usually the safest first pass because it lowers file size without making pricing, screenshots, signatures, or small text feel unreliable.
What file size should I aim for in EngageBay?
For one-pagers, contact follow-up files, and short automation downloads, under 2MB is a strong target. Longer proposals, onboarding packets, and screenshot-heavy PDFs often work best around 2MB to 5MB as long as the smallest useful detail still reads clearly.
Will PDF compression blur proposals or welcome documents in EngageBay?
It can if you compress too aggressively. That is why Medium compression is the best place to start. Always check pricing tables, screenshots, signatures, dates, and the smallest text on the busiest page before keeping the smaller file.
Should I split a large PDF instead of compressing it harder?
Often, yes. If one PDF combines the customer-facing document with internal notes, old versions, bonus material, or a long appendix, splitting it usually creates a cleaner EngageBay workflow than forcing the whole bundle through aggressive compression.
Which LifetimePDF tools pair best with EngageBay?
Compress PDF is the main starting point. Extract Pages, Delete Pages, Split PDF, Crop PDF, PDF Metadata Editor, and OCR PDF are especially useful when you want smaller, cleaner EngageBay attachments without carrying extra pages, scan waste, hidden metadata, or image-only text forward.
Published by LifetimePDF - Pay once. Use forever.