How to Fill Out a PDF Form in Safari: Complete Forms from Mail, iCloud Drive, Files, or Downloads Without Printing
To fill out a PDF form in Safari, open LifetimePDF's PDF Form Filler in Safari, upload the PDF from Mail, iCloud Drive, Files, or Downloads, complete the fields, then save the finished copy.
If the form will not let you type, it is usually scanned, flattened, or locked, so use a workflow that can place text manually, then sign or flatten only after the answers are complete.
That is the short answer. The part that usually slows people down in Safari is not entering the answers. It is keeping the right Apple-device copy straight when a Mail preview, an iCloud Drive file, a Files handoff, and a downloaded version all look close enough to trust at a glance.
Fastest path: confirm the exact PDF you need, open PDF Form Filler in Safari, finish the fields, add a signature only if required, then save one clearly named final copy before you upload or email it back.
In a hurry? Jump to Quick start: fill a PDF form in Safari in a few minutes.
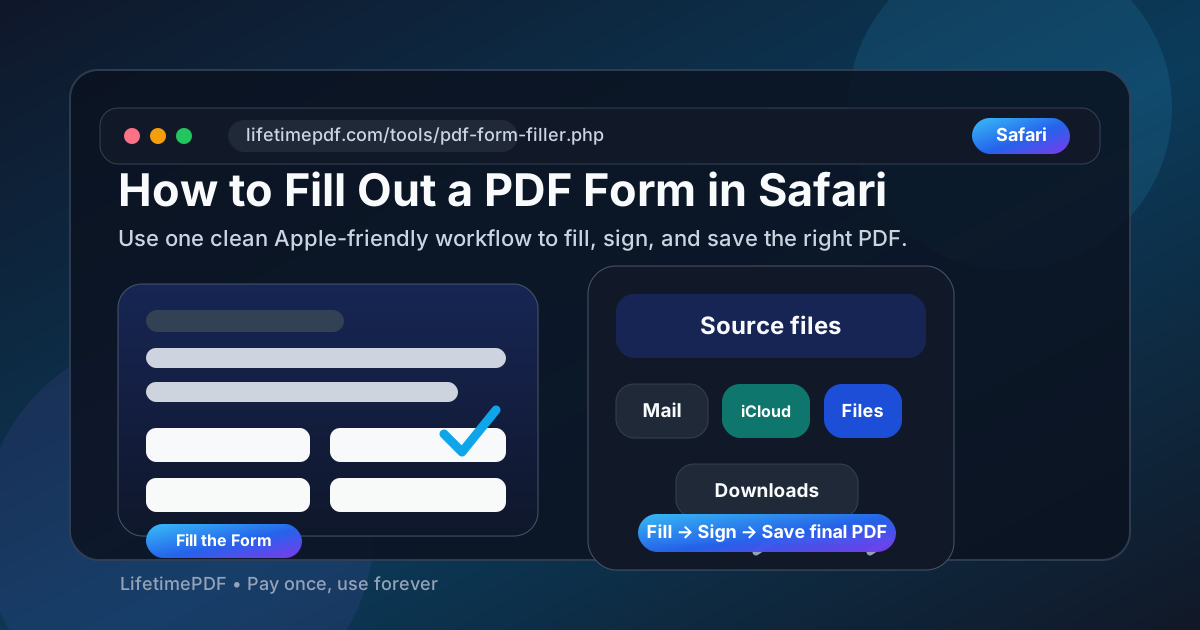
Table of contents
- Quick start: fill a PDF form in Safari in a few minutes
- Why Safari is a good handoff point for PDF forms
- Step-by-step: fill a PDF form in Safari
- Safari's PDF viewer vs Preview vs a dedicated form filler
- Scanned, flattened, and locked forms in Safari
- Mail, iCloud Drive, Files, and Downloads workflows
- How to sign, flatten, save, and submit the final PDF
- Common Safari mistakes and quick fixes
- Related LifetimePDF tools and guides
- FAQ
Quick start: fill a PDF form in Safari in a few minutes
If you want the shortest route from incoming form to finished file, use this order:
- Open PDF Form Filler in Safari.
- Choose the real PDF from Mail, iCloud Drive, Files, Downloads, or a portal export.
- Type into the existing fields if the PDF is truly fillable.
- If the form is scanned or flattened, place text manually where each answer belongs.
- Add a signature with Sign PDF if the document requires it.
- Download the completed PDF, review it once in Safari or Preview, and only then upload or email it back.
Why Safari is a good handoff point for PDF forms
Safari is often where Apple-device PDF work begins. A school form opens from Mail. A client packet lives in iCloud Drive. A portal launches a PDF in a tab. A document started on iPhone later appears on iPad or Mac through Files or Downloads. Safari is the meeting point for all of those paths.
That makes Safari a good starting point, but not always the cleanest place to finish the job by itself. Safari's built-in PDF view is useful for confirming that you opened the right file and checking page order, yet real-world forms often need more than a quick preview. You may need to type into fields, place text on a scanned page, add a signature, flatten the file for a picky portal, or save a clearly named final copy that does not get lost among Apple-device duplicates.
A dedicated browser-based form filler keeps that whole workflow in one place without forcing you to print, handwrite, rescan, or bounce back and forth between preview windows.
| Workflow piece | What Safari helps with | What the dedicated tool handles better |
|---|---|---|
| Opening the form | Fast previews from Mail, iCloud Drive, Files, Downloads, and portal tabs | Uploading the exact file you actually need to complete |
| Entering answers | Quick readability checks and easy navigation | Field entry, manual text placement, checkbox alignment, and cleaner output |
| Finishing the document | Easy re-open and final visual review | Signing, flattening, unlocking when authorized, and saving one stable final copy |
Step-by-step: fill a PDF form in Safari
Here is the practical workflow that avoids most of the usual Apple-device confusion.
Step 1: Identify the real source file before you type anything
Many form mistakes have nothing to do with the fields themselves. They happen because the wrong copy was opened. Before you answer anything, decide whether the real source is the Mail attachment, the file in iCloud Drive, the copy in Files, the portal export, or the PDF you already downloaded in Safari.
If the filename is vague, plan to rename the finished copy later with something clearer. That one habit prevents a surprising number of follow-up headaches.
Step 2: Open PDF Form Filler in Safari
Open LifetimePDF PDF Form Filler in Safari and upload the exact file you plan to return. If the PDF came from Mail or iCloud Drive, you do not need a complicated handoff. You just need to be sure you are working on the actual source file rather than a preview that never becomes the final saved document.
Step 3: Fill the real fields first, then place text manually if needed
Some PDFs are built correctly, which means the fields accept typing immediately. Others only look like forms but are really scans, flattened exports, or converted files with no working fields underneath. In those cases, a form filler that can place text manually is the calmer option.
- Fillable PDF: click or tap the field, type, and move on.
- Scanned or flattened PDF: place text where the answer belongs.
- Checkbox-heavy forms: zoom in enough to confirm alignment before saving.
- Date and initials fields: review spacing closely instead of trusting default placement.
Step 4: Add a signature after the answers are complete
If the document requires a signature, finish the rest of the form first. That way you do not have to redo the signature because a line of text moved, a checkbox was missed, or a date changed.
Use Sign PDF for that last step. It is usually cleaner than trying to force a signature into the middle of a form-editing workflow.
Step 5: Save the completed copy with a name that makes sense
This is where Safari users avoid the Apple-copy trap. Save the finished PDF with a filename that clearly distinguishes it from the original, such as registration-form-completed.pdf or onboarding-packet-signed-final.pdf. If you leave the name unchanged, there is a good chance you will later upload the blank or older version instead of the completed one.
Safari's PDF viewer vs Preview vs a dedicated form filler
Safari's built-in viewer is excellent for opening PDFs quickly, but it is not always the right place to finish the job. If the form is simple, the preview may be enough for a visual check. If the stakes are higher, the dedicated route is usually smoother.
| Method | Best for | Where it struggles |
|---|---|---|
| Safari PDF viewer | Opening, reading, and checking a PDF quickly | Scanned forms, manual text placement, and saving one polished final export |
| Preview on Mac | Quick local checks when you are already on a Mac | Creating extra copies and breaking a workflow that started in Mail, Files, or iCloud Drive |
| Safari + PDF Form Filler | Typing, placing text, signing, and saving a clean final copy in one browser workflow | You still need a final review pass before sending |
In other words, Safari is a great doorway. The dedicated form filler is what actually gets the document over the finish line cleanly.
Scanned, flattened, and locked forms in Safari
Not every PDF form behaves the same way, and your Safari workflow should change depending on the kind of file you received.
| Form type | What it looks like | Best move in Safari |
|---|---|---|
| Fillable PDF | Real input fields, tab order, clickable boxes | Upload it into PDF Form Filler, type into the fields, then save the final copy |
| Scanned PDF | Looks like a paper form turned into an image | Place text manually on top of the page and review spacing before saving |
| Flattened PDF | Looks crisp but fields are no longer interactive | Treat it like a static page and place the answers manually where needed |
| Locked PDF | Editing or form actions are restricted | Only use Unlock PDF if you are authorized to edit it |
The useful mindset is simple: if you cannot type, it does not mean the form is impossible. It usually means the PDF was built in a less helpful way than you hoped.
Mail, iCloud Drive, Files, and Downloads workflows
Most Safari problems here are source problems. The same PDF can exist as a Mail preview, an iCloud Drive file, a Files copy, and two similar downloads that all feel interchangeable when you are moving too fast.
From Mail
Mail is a fine place to confirm you received the right attachment, but it helps to save or clearly identify the file you actually plan to complete. Otherwise it is easy to fill one copy and later reply with the original attachment from the thread instead.
From iCloud Drive
iCloud Drive is convenient because the document can follow you across Mac, iPhone, and iPad, but that same convenience can blur the line between the original file, a synced copy, and the finished export. Rename the completed file clearly so you do not upload the blank version back by mistake.
From Files on iPhone or iPad
Files is helpful when you move between Safari, other apps, and cloud storage, but it can also leave you unsure whether the document lives locally, in iCloud, or in a shared folder. Before filling anything out, open the file from a location you can identify again later.
From Safari Downloads
Safari's download list is convenient, but numbered duplicates are easy to miss. Before you start typing, check whether you are opening form.pdf, form 2.pdf, or an older copy from yesterday.
How to sign, flatten, save, and submit the final PDF
Once the answers are in place, most people still have one more step. They need to sign the form, upload it to a portal, or send it back without choosing the wrong version.
- Need a signature? Use Sign PDF after the form content is complete.
- Portal rejects interactive fields? Run the finished file through Flatten PDF so the visible answers stay fixed.
- File is too large? Use Compress PDF after the content is finalized.
- Contains private information? Consider Protect PDF before storing or sharing the final copy.
Common Safari mistakes and quick fixes
I filled the form in a preview, then lost my answers
This usually happens when someone treats a preview like a final working file. Upload the actual PDF into the form filler first, then save the finished output clearly.
The form will not let me type anywhere
The PDF is probably scanned, flattened, or badly built. Use a tool that can place text manually instead of assuming the file is broken beyond repair.
The file is locked
If you are allowed to edit it, use Unlock PDF. If you are not authorized, stop there and ask for an editable version rather than forcing the wrong workflow.
My portal rejected the completed file
Try flattening the form after you finish it. Many upload systems behave better with one stable, non-interactive final PDF.
I uploaded the blank form instead of the completed one
Rename the finished file immediately and store it where you can recognize it at a glance. Safari, Mail, Files, and iCloud are all helpful right up until they give you several similar filenames to choose from.
Related LifetimePDF tools and guides
Filling the form is usually part of a bigger PDF workflow. These tools and guides pair well with it:
- PDF Form Filler — complete fillable, scanned, and awkward PDFs in one browser workflow.
- Sign PDF — add the signature after the form answers are complete.
- Unlock PDF — remove editing restrictions if you are authorized to work on the file.
- Flatten PDF — lock the visible answers into a more portal-friendly final copy.
- Compress PDF — reduce file size after the form is finished.
Related reading on LifetimePDF: How to Sign a PDF in Safari, How to Add Text to a PDF in Safari, How to Flatten a PDF in Safari, How to Password Protect a PDF in Safari, How to Fill Out a PDF Form on Mac, How to Fill Out a PDF Form on iPhone, and How to Fill Out a PDF Form on iPad.
Safari shortcut: verify the real source file, fill the form once, review the exported copy, and only then worry about signing, flattening, or size if something still needs attention.
FAQ: How to fill out a PDF form in Safari
Can I fill out a PDF form directly in Safari?
Safari is excellent for opening and reviewing PDFs, but the cleanest full workflow usually comes from a browser-based PDF form filler running inside Safari. That gives you better control over typed fields, scanned forms, signatures, and final exports.
How do I fill out a PDF form from Mail or iCloud Drive in Safari?
Open or save the PDF from Mail or iCloud Drive, confirm which copy is the real one you need to return, upload that file into a PDF form filler in Safari, complete the answers, save the finished PDF, and review it once before sending it back.
What if the PDF form will not let me type in Safari?
Usually the PDF is scanned, flattened, or permission-restricted. In that case, use a form filler that can place text manually, or unlock the file first if you are authorized to edit it.
Should I use Safari or Preview to fill out a PDF form?
Preview can be handy for quick Mac-only checks, but Safari plus a browser-based PDF form filler is usually easier when you want one clean workflow across Mac, iPhone, and iPad without creating extra copies.
When should I sign or flatten the PDF after filling it out in Safari?
Usually fill the form first, sign it second, and flatten only if the receiving portal or workflow needs a more stable non-interactive final copy.
Published by LifetimePDF — Pay once. Use forever.