How to Compress a PDF in Safari: Shrink Downloads, Mail Attachments, and iCloud Drive Files Without Making Text Fuzzy
To compress a PDF in Safari, open a browser-based Compress PDF tool, choose the file from Downloads, a saved Mail attachment, or iCloud Drive, compress it once, and save the smaller copy back to your device.
If the PDF is still too large, remove blank pages or crop oversized scan borders before compressing again so the file gets smaller without making text, forms, or signatures hard to read.
That is the short answer. The part that actually saves time in Safari is avoiding tab-preview confusion, duplicate downloads, older iCloud copies, and the classic mistake of making a smaller PDF and then uploading the original anyway. In practice, the clean workflow is simple: save the exact file you really plan to send, compress it once, inspect the smallest important text, and only then decide whether the document needs extra cleanup.
Fastest path: open LifetimePDF's Compress PDF tool in Safari, shrink the real final file once, review the smallest useful text, then use page deletion, cropping, or OCR only if the finished copy still needs help.
In a hurry? Jump to Quick start: compress a PDF in Safari in 3 minutes.
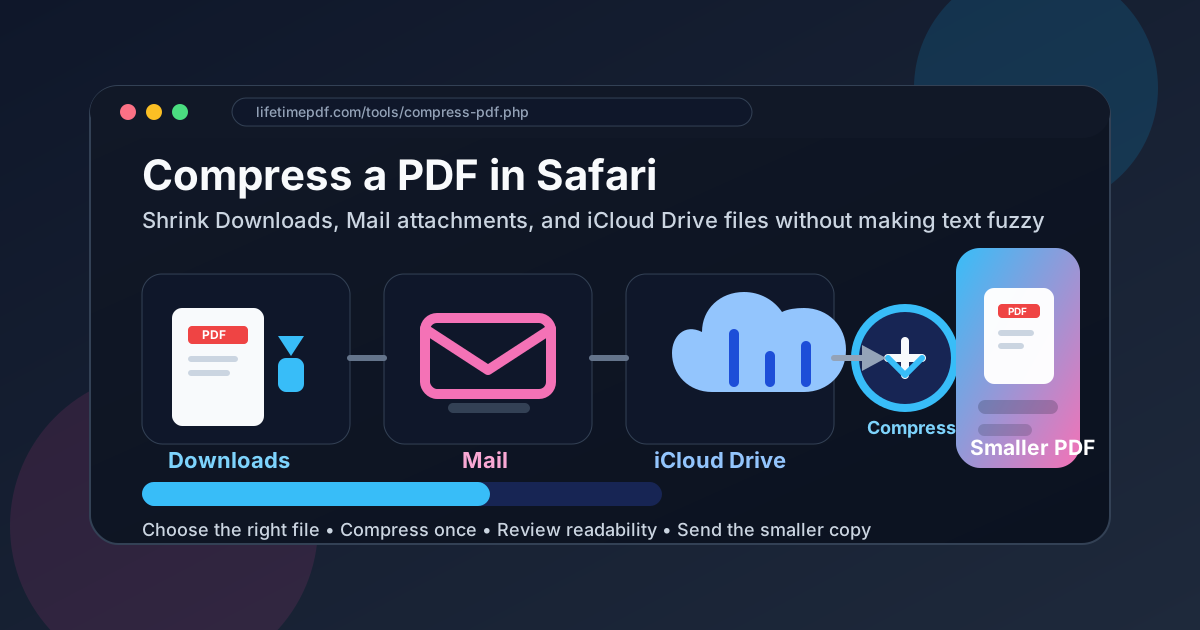
Table of contents
- Quick start: compress a PDF in Safari in 3 minutes
- The easiest Safari workflow for shrinking PDFs
- Step-by-step: compress a PDF from Downloads, Mail, or iCloud Drive
- How to handle common Safari PDF sources without grabbing the wrong file
- When compression is enough and when cleanup works better
- Common Safari compression problems and quick fixes
- Best order for scans, OCR, and compression in Safari
- Related LifetimePDF tools for smoother Safari workflows
- FAQ
Quick start: compress a PDF in Safari in 3 minutes
If the file already exists and you only need it smaller for email, an upload portal, a school form, or a client handoff, this is the workflow most people actually want:
- Open Compress PDF in Safari.
- Choose the exact file from Downloads, a normal folder, or a saved copy from Mail or iCloud Drive.
- Compress the PDF once.
- Download the smaller copy and open it.
- Check small text, signatures, tables, receipts, and scan-heavy pages before sending it anywhere important.
The most important part is not the click. It is making sure you are shrinking the right version of the file. Safari makes it easy to have a preview tab open while an older duplicate still sits in Downloads or iCloud Drive with a nearly identical name.
The easiest Safari workflow for shrinking PDFs
Safari itself is mostly the workspace here. It is where a lot of PDFs show up first: a Mail attachment opens in a browser tab, a customer portal generates a PDF, a school form downloads to your Mac, or an iCloud Drive file opens from a link you clicked five minutes ago. That is why bad Safari workflows are usually not about the compression tool failing. They are about version confusion.
Someone previews a PDF in Safari, compresses a different copy from Downloads, and then uploads the original. Someone saves a Mail attachment twice and shrinks the wrong one. Someone keeps recompressing a scan that really needed blank pages removed or borders cropped first. Safari is not the problem in those situations. The workflow is.
The safer pattern is simple:
- Locate the exact file you really intend to send.
- Compress it once.
- Review the result.
- Only use extra cleanup if a real problem remains.
That sounds obvious, but it prevents most of the avoidable damage people do when they are trying to make a PDF smaller quickly inside a browser.
| Situation | Best Safari-friendly move | Why it works better |
|---|---|---|
| You only need the file smaller | Compress PDF | Fastest way to reduce file size without overcomplicating the workflow. |
| The PDF has blank pages or obvious waste | Delete extra pages first | Removing junk pages often helps more than squeezing the whole file harder. |
| The scan has huge borders or dead margins | Crop PDF before another compression pass | Trimming wasted area cuts weight without hurting the text you actually need. |
| You also need searchable text | Clean the file, OCR it, then compress the final copy | The finished document is easier to search and usually easier to keep readable. |
Step-by-step: compress a PDF from Downloads, Mail, or iCloud Drive
1. Open the compression tool in Safari
Start with LifetimePDF's Compress PDF in a normal Safari tab. That keeps the workflow inside the same browser session you are already using for email, cloud storage, forms, and downloads.
2. Pick the exact file you really plan to send
This is where most mistakes happen. Do not assume the tab open in Safari is automatically the same as the final saved file. If the PDF came from Mail, save the attachment first. If it came from iCloud Drive, confirm that you are using the right current copy. If it is already in Downloads, check that you are not choosing an older duplicate with a similar name.
3. Compress once, not over and over
One clean pass tells you whether the file-size problem is mostly normal image weight or something more structural. Recompressing the same PDF repeatedly before you inspect the first result is how readable text becomes muddy and signatures start looking soft.
4. Review the output before you trust it
Open the smaller copy in Safari and check the spots most likely to suffer:
- fine print in legal, medical, or financial documents
- totals, dates, and line items in invoices or receipts
- tables with narrow columns
- signatures, initials, and stamps
- scanned forms with light gray text
- charts or screenshots that were already not perfect to begin with
If those areas still look good, you are probably finished.
5. Save the result with a name you will recognize later
A simple filename like application-packet-compressed.pdf or client-docs-small.pdf is usually enough. The point is to make the smaller version obvious so you do not drag the original file back into Mail, Messages, or the next upload form by mistake.
Short reliable sequence: choose the right file, compress it once, open the smaller copy in Safari, and only then upload, email, or share it.
How to handle common Safari PDF sources without grabbing the wrong file
Downloads
Downloads is the easiest source, but it is also where duplicates pile up. If you see several similarly named files, open the one you intend to send and check the modified date before compressing it. That small check prevents a surprising amount of rework.
Mail attachments
A Mail attachment preview is useful for checking content, but it is not the same thing as a clean file workflow. Save the attachment first, then compress the saved file. That gives you a stable copy you can rename, review, and attach again without guessing which tab or preview you were actually looking at.
iCloud Drive files
iCloud Drive is convenient because the file follows you across devices, but that convenience can blur the line between the cloud source, a local cached copy, and a compressed version you just created. Keep one clearly named smaller output file so the final copy is easy to recognize the next time you reopen Safari.
Portals, forms, and shared links
School systems, client portals, insurance forms, and document-request pages often create a preview first and a download second. If the document matters, make sure you are shrinking the actual downloaded file rather than trusting the tab that happened to stay open.
Rule of thumb: if you are not completely sure which copy is current, stop and identify the source file before compressing anything. A clean workflow beats a fast wrong one.
When compression is enough and when cleanup works better
Compression works best when the document is fundamentally fine and just a bit heavy. If the PDF already contains the right pages and the real problem is only upload size, a normal compression pass is usually the correct first move.
But some files stay large because the waste is built into the document:
- blank pages from scanner feeders
- huge dark borders around scanned pages
- pages you do not need at all
- screenshots pasted at oversized dimensions
- image-only scans that should be OCRed for searchability
If that sounds like your PDF, use the right cleanup step instead of hammering the same file again:
- Delete Pages for blank or unnecessary pages
- Crop PDF for giant scanner borders or wasted margins
- OCR PDF if you need searchable text from a scan
- Then run Compress PDF on the cleaned-up final version
The reason this works better is simple: you are removing waste before asking the compressor to optimize what remains.
Common Safari compression problems and quick fixes
The PDF is smaller, but the text looks blurry
That usually means the file was image-heavy to begin with, or the same PDF has already been compressed several times. Go back to the cleanest original you have, then try one careful pass instead of stacking smaller versions on top of each other.
The PDF barely shrank at all
The document may already be reasonably optimized, or the real problem might be extra pages and oversized scans rather than raw image data. Try removing waste with page deletion or cropping first.
I compressed the file, but Safari keeps showing the old one
Check whether you reopened an older tab, an earlier download, or the original preview rather than the smaller copy. Safari makes it easy to bounce between the preview, the original, and the compressed result without noticing. Rename the smaller file clearly and open it directly from the folder where you saved it.
The upload portal still rejects the PDF
Some portals care about more than file size. They may dislike password protection, unusual page dimensions, or odd scan structure. If size is still the issue, clean up pages and margins first, then make another smaller copy from the corrected file.
I only have a messy scan from a phone or copier
Treat it like a scan cleanup job first. Trim borders, remove junk pages, OCR if needed, then compress the final delivery copy. That order usually gives you a smaller file that still reads like a document instead of a compressed photograph.
Best order for scans, OCR, and compression in Safari
If you are working with a normal digital PDF, compression can be step one. But if the document is a scan, the order matters more:
- Start with the cleanest available original.
- Delete pages you do not need.
- Crop wasted borders or oversized blank areas.
- OCR the document if you need searchable or selectable text.
- Compress the final cleaned-up version.
This sequence usually gives you the best combination of readability, searchability, and manageable file size. Doing it backward often means you optimize the wrong file and then repeat work.
Practical rule: if the PDF is just heavy, compress it. If the PDF is messy, clean it first and compress the result.
Related LifetimePDF tools for smoother Safari workflows
Safari-based PDF work gets easier when you use the right tool for the actual problem instead of treating every issue as a compression issue.
- Compress PDF — reduce file size without leaving Safari.
- Delete Pages — remove blank pages and unnecessary extras before another pass.
- Crop PDF — trim scanner borders and oversized margins.
- OCR PDF — make scanned text searchable before final delivery.
Related reading on LifetimePDF: how to edit a PDF in Safari, how to add text to a PDF in Safari, how to merge PDFs in Safari, how to split PDF in Safari, how to rotate a PDF in Safari, how to OCR a PDF in Safari, and how to compress a PDF.
If you work with PDFs constantly, LifetimePDF's one-time purchase is useful for exactly this kind of browser workflow: open the right tool quickly, fix the real problem, and move on without another subscription attached to a simple task.
FAQ: How to compress a PDF in Safari
How do I compress a PDF in Safari?
Open a browser-based PDF compressor in Safari, choose the file from Downloads, a saved Mail attachment, or iCloud Drive, compress it once, download the smaller copy, and review readability before sending it anywhere important.
Can Safari compress PDFs by itself?
No, not in a reliable way for normal file-size reduction. Safari can preview PDFs and help you open or save them, but you still need a dedicated compression tool inside Safari to create a smaller optimized copy.
Why is my PDF still large after compression in Safari?
The file may contain scan-heavy pages, oversized image backgrounds, blank pages, or huge borders. When that happens, deleting extra pages or cropping waste usually helps more than recompressing the same file several times.
What is the safest way to shrink a Mail attachment in Safari?
Save the attachment to Downloads or another normal folder first, compress that saved copy, then attach or upload the smaller version. That is safer than working from a preview tab and accidentally sending the original again.
Should I OCR before or after compressing a PDF in Safari?
If you need searchable text, clean up the document first, OCR it, and then compress the final version if size still matters. That usually produces a better result than compressing a messy scan too early.
Published by LifetimePDF — Pay once. Use forever.