How to Annotate a PDF on Chromebook: Highlight, Comment & Mark Up Files Without Printing
To annotate a PDF on Chromebook, open LifetimePDF's Edit PDF tool in Chrome, choose the file from Files, Google Drive, Gmail, or Downloads, then add highlights, comments, notes, arrows, or drawings and save the marked-up copy.
If the file is a scan and the text will not select cleanly, run OCR first so your highlights, comments, and review notes land on a PDF that is easier to read and work with.
That is the short answer. The useful part is knowing when a quick Chromebook preview is enough, when you need a cleaner browser-based annotation workflow, how to keep the original separate from the review copy, and how to handle school readings, contracts, forms, invoices, and scanned PDFs without dropping into Linux mode or installing a different app just to leave clear notes.
Fastest path: open Edit PDF in Chrome on your Chromebook, upload the file from Files or Drive, add the highlights and comments you need, then save the annotated copy with a clear new filename.
In a hurry? Jump to Quick start: annotate a PDF on Chromebook in 3 minutes.
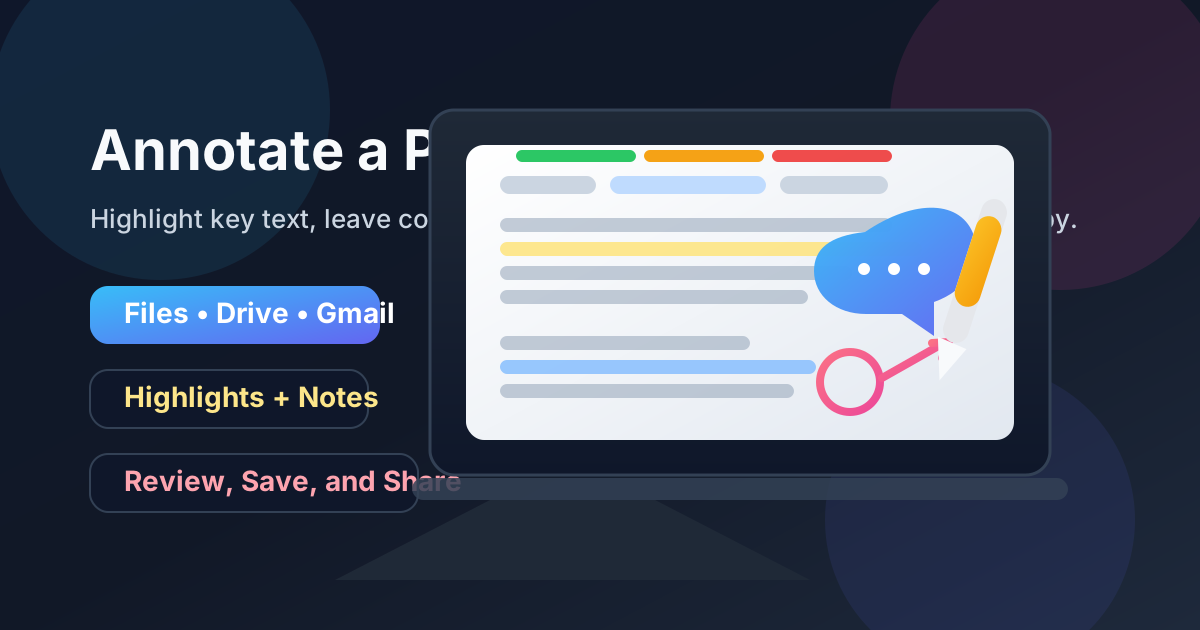
Table of contents
- Quick start: annotate a PDF on Chromebook in 3 minutes
- The best Chromebook workflow for PDF annotation
- Step-by-step: annotate a PDF from Files, Google Drive, Gmail, or Downloads
- Highlights, comments, notes, arrows, and drawings on Chromebook
- Chromebook preview tools vs a dedicated PDF annotation workflow
- Scanned PDFs, OCR, and searchable text on Chromebook
- How to save, share, and protect the annotated copy
- Common Chromebook annotation problems and quick fixes
- Related LifetimePDF tools and guides
- FAQ
Quick start: annotate a PDF on Chromebook in 3 minutes
If the PDF is already on your Chromebook and you just need to review or mark it up, this is the workflow most people actually want:
- Open Edit PDF in Chrome on your Chromebook.
- Choose the file from Files, a saved Gmail attachment, Google Drive, or Downloads.
- Add the highlights, comments, text boxes, arrows, circles, or freehand notes you need.
- If the file is a scan and you cannot select the text cleanly, use OCR PDF first.
- Download the annotated PDF with a clear new filename and review it once from Files or Drive before sharing it.
The best Chromebook workflow for PDF annotation
On Chromebook, annotation goes smoothly when you separate three jobs that people often blur together:
- Reading: opening the PDF and understanding what needs attention.
- Marking up: highlighting, commenting, circling, underlining, or adding notes that someone else can act on.
- Sharing: saving the reviewed copy with a filename and location that still make sense later.
ChromeOS is fast for opening files, but quick preview is not the same thing as a deliberate review workflow. If you are marking up a contract, school packet, proposal, reading assignment, approval form, or scanned PDF, a dedicated browser-based annotation flow usually feels calmer than bouncing between a preview tab, Drive, and a few half-helpful markup options.
| Situation | Best move | Why it works |
|---|---|---|
| You need to review a PDF from Drive or Gmail quickly | Open a clean browser annotation workflow | Your notes stay attached to the actual PDF instead of turning into separate messages, screenshots, or memory. |
| You are reviewing a document someone else must act on | Add comments, not only highlights | Comments explain what should change, which reduces back-and-forth later. |
| The document is scanned | OCR first if you need selectable text | Scanned pages behave like pictures until OCR makes them searchable and easier to annotate precisely. |
| You need the final file to go back through Gmail, Drive, or a portal | Save a clearly named review copy | That protects the source file and makes the right attachment obvious when it is time to upload or reply. |
The biggest Chromebook-specific win is simplicity. In most cases, you do not need Linux mode, an Android PDF app, or a desktop-style workaround. You just need a browser workflow that lets you upload, annotate, export, and verify the finished PDF cleanly.
Step-by-step: annotate a PDF from Files, Google Drive, Gmail, or Downloads
Here is the practical Chromebook workflow most people actually need.
1) Start with the exact file you plan to review
Before you add a single comment, make sure you are working on the real source file. On Chromebook, it is common to open a PDF from Gmail or Drive, leave a few notes mentally, then realize later you never created a proper marked-up copy that is ready to send back.
If the file arrived by email or school portal, save it somewhere obvious first. A named folder in Files or Drive is better than trusting the Downloads tray or a temporary tab you will close later.
2) Open Edit PDF in Chrome
Open Edit PDF in Chrome on your Chromebook. That gives you a cleaner path than trying to force serious review work into a quick previewer or another device.
Upload the PDF from the location where you deliberately saved it. If you are working from Drive, let the sync settle before you reopen or resend the annotated version.
3) Add the markup that actually helps the next person
Good annotation is not about decorating the page. It is about making the next action obvious. Highlight the sentence that matters. Add a short note that explains the problem. Use an arrow when the issue is visual or layout-based. Keep comments specific enough that someone else can resolve them without needing a follow-up chat.
4) Zoom in before placing tight notes
Even on Chromebook, precision matters. Zoom in before placing arrows, text boxes, or small highlight ranges, especially on contracts, tables, invoices, diagrams, and dense school readings. A note that lands neatly beside the issue is much easier to trust than one floating halfway across the page.
5) Save the annotated PDF as a separate copy
When you finish, save the reviewed version with a filename that says what changed. Examples like assignment-feedback.pdf, proposal-review-comments.pdf, or contract-v2-annotated.pdf are much better than another vague document-final.pdf.
That naming habit matters on Chromebook because Files and Drive make duplicate-looking versions deceptively easy to mix up.
6) Reopen the final PDF once and verify it
Open the saved copy before sharing it. Confirm the comments are present, the highlights landed where you intended, and the file opens from the location you expect. This last check catches a surprising number of avoidable mistakes.
Shortest reliable sequence: choose the right PDF → annotate clearly → save as a new copy → reopen from Files or Drive → send the reviewed version.
Highlights, comments, notes, arrows, and drawings on Chromebook
Different annotation types solve different problems. The fastest workflow usually mixes only the ones you actually need:
Highlights
Highlights are best when the text itself is the issue. Use them for clauses that need review, dates, prices, missing words, important instructions, or passages a teammate, classmate, or client should answer.
Comments and notes
Comments are where the real value lives. A short note like “Please update this date to match the revised schedule” is more useful than a bright highlight with no explanation.
Arrows, circles, and shapes
Visual markup helps when the problem is layout rather than text: a misplaced image, a cropped label, a missing signature spot, a chart that needs attention, or a section that belongs somewhere else.
Freehand drawing and stylus markup on Chromebook
If your Chromebook supports a stylus, freehand notes can work well for circling, underlining, sketching a quick correction, or giving visual feedback on a design or worksheet. Still, typed comments are usually easier for other people to read. Use drawing when it truly clarifies the issue, not as the default for everything.
| Annotation type | Best for | When not to overuse it |
|---|---|---|
| Highlight | Flagging key text quickly | When every line becomes highlighted and nothing stands out anymore |
| Comment or note | Explaining a change, question, or decision | When the note repeats what the highlight already makes obvious |
| Arrow or circle | Pointing to layout issues, signatures, chart elements, or visual problems | When too many shapes make the page feel noisy |
| Freehand drawing | Quick visual review, teaching, and stylus-based markup | When typed comments would be clearer and easier for others to follow |
Chromebook preview tools vs a dedicated PDF annotation workflow
Chromebook previewing is genuinely convenient. If you only need to read a PDF and leave one or two quick marks for yourself, the built-in path may be enough. The friction stays low because the file often opens immediately from Files, Drive, or Gmail.
The limits show up when the review matters to someone else. Dense comment threads, cleaner placement, multiple note types, and a more controlled save path usually feel better in a dedicated annotation workflow.
- Use quick preview for casual personal reading and a few light marks.
- Use a dedicated PDF annotation workflow when the file is going back to a teacher, client, teammate, vendor, signer, or class portal.
In other words, preview tools are handy for convenience. A dedicated browser workflow is better when clarity, consistency, and a presentable review copy actually matter.
Scanned PDFs, OCR, and searchable text on Chromebook
If you try to highlight text and nothing behaves like text, the PDF is probably image-only. That is common with scanned forms, printed packets, receipts, contracts, camera-made PDFs, and older documents shared as flat page images.
In that case, run the file through OCR PDF first. OCR makes the text searchable and usually much easier to highlight, quote, and review cleanly.
- Open OCR PDF.
- Upload the scanned file from your Chromebook.
- Download the searchable version.
- Return to Edit PDF and annotate the OCR copy.
If the scan is also sideways or cluttered with empty borders, fix that first with Rotate PDF or a cleanup step before you settle into annotation.
How to save, share, and protect the annotated copy
Once your notes are in place, the last mile matters. A useful review copy should be easy to identify, easy to reopen, and safe to send.
Save the marked-up PDF with a new name
Keep the original untouched whenever possible. Save the reviewed file with a name that signals status, such as draft-commented.pdf, worksheet-feedback.pdf, or notes-for-approval.pdf.
Compress the file if it needs to travel
If the PDF grew after annotation or already started large because of scans or images, use Compress PDF before you attach it to Gmail, upload it to a portal, or share it through Drive with size concerns.
Sign the final copy if approval is part of the workflow
Some review cycles end with a signature or initials. If that is your situation, move from annotation into Sign PDF after the comments are settled.
Protect a private review copy when needed
If the file includes sensitive pricing, legal notes, HR details, or personal information, add a password with PDF Protect before you share the reviewed copy externally.
Best simple handoff: annotate clearly → save the review copy → compress if needed → sign if needed → protect if needed.
Common Chromebook annotation problems and quick fixes
I cannot select the text I want to highlight
The PDF is probably scanned or flattened. Run OCR first, then try again.
My comments looked fine in one tab but messy after download
Reopen the saved PDF once before sharing it. That quick check catches placement problems, cramped notes, and export issues before you send the file anywhere important.
I keep opening the wrong version from Downloads or Drive
Create a single named working folder in Files or Drive and move the real source PDF there first. Do not rely on a pile of similar downloads if the document matters.
The file is too large to send after annotation
Compress it after the markup is complete. Large files are especially common when the PDF contains scans, photos, or slide-style pages.
I need to point out a layout problem, not just a text issue
Use arrows, boxes, circles, or a short note placed close to the visual problem. Highlights alone are usually not enough for design or formatting feedback.
Do I really need Linux mode or an Android app?
Usually no. For ordinary review work on Chromebook, a browser-based PDF annotation workflow is the cleaner and faster answer.
Related LifetimePDF tools and guides
Annotating a PDF on Chromebook often turns into one or two extra cleanup steps. These are the most useful companion tools:
- Edit PDF — add highlights, comments, notes, shapes, and markup in a cleaner review workflow.
- OCR PDF — make scanned PDFs searchable before you annotate them.
- Sign PDF — add a signature or initials after the review is complete.
- Compress PDF — shrink large reviewed files for email or upload limits.
- PDF Protect — add a password when the reviewed copy still contains private information.
Related reading on LifetimePDF: Annotate PDF, How to Sign a PDF on Chromebook, How to Fill Out a PDF Form on Chromebook, How to OCR a PDF on Chromebook, How to Rotate a PDF on Chromebook, and How to Password Protect a PDF on Chromebook.
FAQ: How to annotate a PDF on Chromebook
How do I annotate a PDF on Chromebook without Adobe Acrobat?
Open a browser-based PDF annotation workflow in Chrome on your Chromebook, choose the PDF from Files, Google Drive, Gmail, or Downloads, add the highlights and comments you need, then save the annotated copy back to your device or Drive.
Can I highlight and comment on a PDF from Google Drive on Chromebook?
Yes. Start with the PDF stored in Google Drive, then open it in a dedicated annotation workflow so you can add clearer highlights, comments, arrows, notes, or drawings and save a separate marked-up copy when needed.
What if the PDF is scanned and I cannot select any text on Chromebook?
That usually means the file is image-only. Run OCR first to make the text searchable and selectable, then come back to annotation if you want cleaner text highlights and easier review.
Do I need Linux mode or an Android app to annotate a PDF on Chromebook?
No. For most review jobs, a browser-based PDF annotation workflow in Chrome is the simplest route because it lets you upload, mark up, save, and share the file without extra setup.
How do I save an annotated PDF on Chromebook without overwriting the original?
Download the finished file with a clear new filename such as assignment-review-comments.pdf or contract-v2-annotated.pdf, then keep the original untouched in Files or Drive so you always know which version is the source.
Published by LifetimePDF — Pay once. Use forever.