Compress PDF for Overleaf: Keep Appendices, Figures, and Submission Files Light Without Hurting Readability
To compress a PDF for Overleaf, upload the final appendix, figure pack, supplementary PDF, scanned source, or submission file to LifetimePDF's Compress PDF tool, start with Medium compression, and keep the smaller copy only if equations, references, charts, and small labels still look clean when you review it.
For most Overleaf workflows, aim for under 5MB for ordinary text-heavy PDFs and roughly 5MB to 15MB for figure-heavy appendices or scan-heavy supporting files that still need comfortable reading.
Overleaf projects rarely feel heavy because one page of LaTeX is too much. They feel heavy because supporting PDFs accumulate quietly. One appendix gets added, then a scanned signature page, then a figure-rich supplement, then a poster export, then an old report with oversized margins and dead pages nobody needs anymore. The goal is not to crush a PDF until it looks cheap. The goal is to make it lighter so upload, sharing, versioning, and project reuse feel easier while the details that matter — equations, references, figures, captions, and tables — still hold up.
Fastest path: run the Overleaf PDF through LifetimePDF's Compress PDF tool on Medium, then test one equation block, one dense figure, and one references section before you keep the smaller copy.
Need the short version? Jump to Quick start: compress a PDF for Overleaf in under 2 minutes.
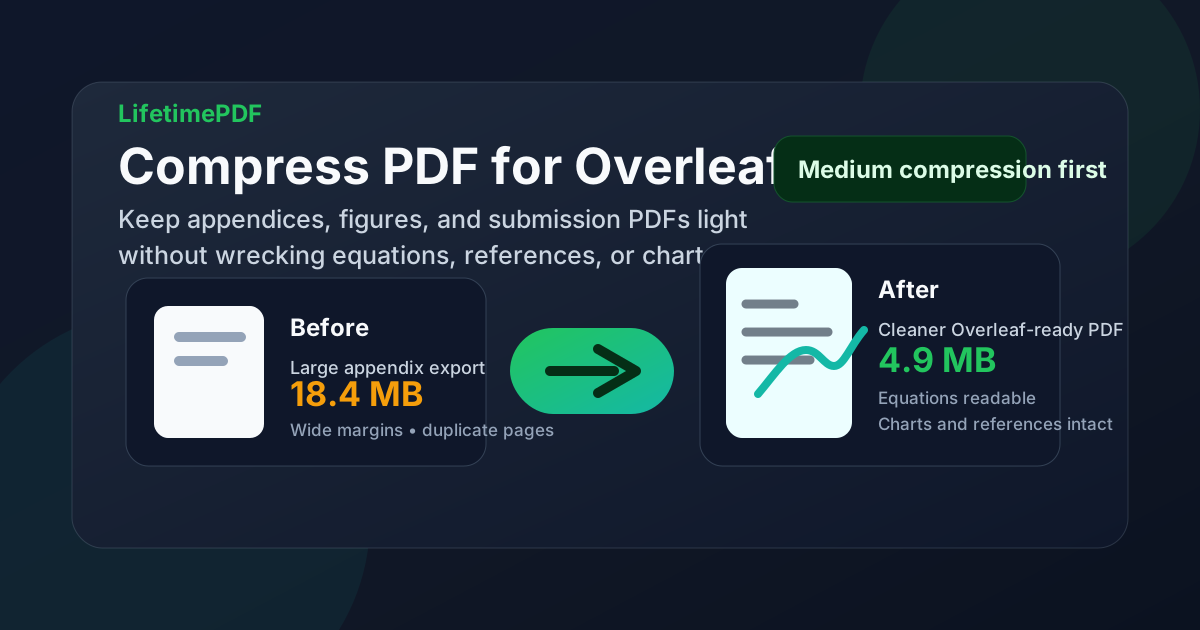
Table of contents
- Quick start: compress a PDF for Overleaf in under 2 minutes
- Why smaller PDFs help in Overleaf
- What file size should you aim for?
- Which compression level should you choose?
- Step-by-step: shrink an Overleaf PDF with LifetimePDF
- Best strategy for common Overleaf PDF types
- What if the PDF is still too large?
- How to protect equations, charts, and references
- Workflow habits that keep Overleaf files calmer
- Related LifetimePDF tools and useful internal links
- FAQ (People Also Ask)
Quick start: compress a PDF for Overleaf in under 2 minutes
If your real goal is simply make this PDF lighter before it goes into an Overleaf project, this workflow is usually enough:
- Open Compress PDF.
- Upload the final appendix, supplement, scanned source, thesis chapter, or figure-rich PDF you actually plan to use.
- Choose Medium compression first.
- Download the smaller copy and compare the new file size with the original.
- Check the pain points that matter most: equations, tiny chart labels, references, footnotes, and narrow tables.
- If the file is still bulky, use Extract Pages, Crop PDF, or Split PDF before trying stronger compression.
Why smaller PDFs help in Overleaf
Overleaf itself is not the problem. Oversized supporting files are. A single heavyweight PDF may not feel terrible, but several of them can make a project clumsier to upload, duplicate, review, and hand off. This shows up most often when people keep adding appendices, scanned approvals, figure packs, posters, or source exports without ever cleaning them up.
Lighter PDFs help because they reduce friction in the parts of the workflow that are easy to underestimate:
- Project uploads feel cleaner: smaller files are quicker to add and replace.
- Team handoffs are calmer: collaborators spend less time downloading bulky supporting files.
- Draft duplication gets easier: old appendices and large supporting documents stop following every version around like luggage.
- Submission packets stay more practical: figure-heavy or appendix-heavy exports are easier to archive and reshare.
- Storage habits improve: once you stop carrying bloated PDFs, every later project benefits too.
The goal is not maximum compression. The goal is a file that is visibly lighter while still being trustworthy when someone needs to read a theorem, inspect a chart, or zoom into a caption.
What file size should you aim for?
There is no single perfect number, but these ranges are a practical starting point for Overleaf-related PDFs:
- Under 5MB: a strong target for text-heavy appendices, chapter excerpts, reports, and ordinary supporting PDFs.
- 5MB to 10MB: reasonable for figure-rich supplements, posters, or documents with several detailed charts and tables.
- 10MB to 15MB: still workable for scan-heavy or image-heavy files if the detail genuinely needs to stay readable.
- Over 15MB: worth reviewing closely for dead pages, giant margins, duplicate scans, or images that are larger than the project really needs.
If the document is mainly text, it should usually compress well. If it contains screenshots, rasterized equations, dense plots, or scanned pages, size will come down more slowly and you should be stricter about visual checks.
Which compression level should you choose?
For most Overleaf workflows, Medium compression is the best default. It usually trims enough size to make the PDF easier to manage without immediately damaging the details that matter in academic or technical documents.
| Compression level | Best for | Main risk |
|---|---|---|
| Low | Already-clean PDFs that only need a modest size cut | You may not save enough size to matter |
| Medium | Most appendices, thesis chapters, technical reports, and figure-rich PDFs | Usually low risk, but still review small labels and equations once |
| High | Only after cleanup when the PDF is still much heavier than it should be | Small chart labels, formulas, footnotes, and captions can start to degrade |
If you are tempted to jump straight to aggressive compression, stop and clean the document first. Cropping wide margins, extracting the useful pages, or removing dead appendix sections often helps more than simply squeezing the entire file harder.
Step-by-step: shrink an Overleaf PDF with LifetimePDF
- Start with the final PDF. Use the actual appendix, supplement, poster export, or chapter PDF you plan to keep, not an older draft.
- Open Compress PDF.
- Choose Medium compression first. That is usually the safest balance for technical and academic documents.
- Download the smaller copy. Compare the new size with the original so you know whether the change was meaningful.
- Review the fragile areas. Check equations, references, tiny labels, figure legends, tables, and footnotes rather than only the first page.
- Keep the smaller copy only if it still feels dependable. If something important looks soft, try a lighter compression pass or clean the file before compressing again.
This matters because many Overleaf-related PDFs are judged by their weakest details, not their average page. One blurred equation block or one unreadable figure legend can make the whole supporting file less useful.
Best strategy for common Overleaf PDF types
Appendices and supplementary material
These often include a lot of useful pages mixed with repetition. If only part of the appendix is actually needed, extract the relevant pages before compressing. That usually works better than forcing strong compression across the full packet.
Figure-rich reports and poster exports
Start with Medium compression and inspect the smallest labels first. Posters, dashboards, and multi-panel figures can look fine at a glance while losing clarity where it hurts most.
Scanned signatures, forms, or supporting documents
These often carry scanner waste: blank borders, crooked margins, oversized backgrounds, or dead pages. Try Crop PDF or Delete Pages before pushing harder compression.
Thesis chapters or article drafts exported as PDF
Text-heavy PDFs usually compress well, but do a quick pass on equations, references, and footnotes. Dense mathematical content can degrade faster than body text.
Old archived PDFs being reused in a new project
These are common troublemakers because they often contain legacy export settings, unnecessary whitespace, or poor scans. If the source is messy, cleaning it first usually beats brute-force compression.
What if the PDF is still too large?
If Medium compression does not get you where you want to go, do not assume the answer is simply stronger compression. Try these steps in order:
- Extract only the needed pages with Extract Pages.
- Delete blank or duplicate pages with Delete Pages.
- Crop oversized white margins with Crop PDF.
- Split giant packets with Split PDF if one project file is carrying unrelated content.
- OCR weak scans with OCR PDF if the scan is image-heavy and already hard to work with.
In a lot of cases, the biggest win comes from removing unnecessary content rather than compressing the necessary content more aggressively.
How to protect equations, charts, and references
When you review the compressed PDF, do not just open it and think, “looks fine.” Test the details that would actually break the document for real use:
- Zoom into one dense equation block.
- Check one chart with small axis labels.
- Read one references section with compact text.
- Inspect one table with narrow columns.
- Look at one small caption or legend.
If all of those survive cleanly, the file is probably good enough. If even one of them falls apart, back off the compression or clean the PDF first. Technical readers are usually more sensitive to lost detail than casual readers.
Workflow habits that keep Overleaf files calmer
- Compress before upload, not after chaos accumulates.
- Keep only the appendix pages the project really needs.
- Crop scan waste early.
- Do not carry duplicate exports when one clean version will do.
- Save the original separately if the PDF is important.
- Recheck readability once after every major size cut.
These habits matter more than one perfect compression setting. A clean project usually comes from repeated small decisions, not a heroic final cleanup.
Related LifetimePDF tools and useful internal links
If you are preparing PDFs for Overleaf, these tools are usually the most helpful companions:
- Compress PDF for the main size reduction step.
- Crop PDF to remove wasted margins and scanner borders.
- Extract Pages to keep only the appendix or supplement pages that matter.
- Split PDF when one big packet should really be several smaller files.
- OCR PDF if a scanned supporting document is bloated and hard to search.
If you want a more general compression walkthrough first, see How to Compress a PDF.
FAQ
How do I compress a PDF for Overleaf?
Upload the final PDF to a compressor, start with Medium compression, and keep the smaller copy only if equations, references, charts, and small labels still look clean when you review the pages you actually plan to use in Overleaf.
What PDF size should I aim for in Overleaf?
Under 5MB is a strong target for ordinary text-heavy chapters, appendices, and submission-ready PDFs. Figure-heavy appendices and scan-heavy supporting files often land in the 5MB to 15MB range and can still be practical if the details remain readable.
Will compression make equations or charts blurry in Overleaf?
It can if you compress too aggressively. That is why Medium compression is usually the safest starting point. Always test one equation block, one dense figure, one references section, and one small caption before replacing a PDF you care about.
Should I crop or split a PDF before compressing it for Overleaf?
Often, yes. If the PDF has huge white margins, dead appendix pages, duplicate scans, or only a few relevant pages, cropping or extracting the useful pages usually works better than forcing stronger compression across the whole file.
Which LifetimePDF tools pair best with Overleaf workflows?
Compress PDF is the main starting point. Crop PDF, Extract Pages, Split PDF, OCR PDF, and Delete Pages are the most useful companion tools when you want lighter supporting PDFs without losing the pages that actually matter.