Compress PDF for ContentSquare: Keep Heatmaps, Journey Maps, and UX Review PDFs Easy to Share
To compress a PDF for ContentSquare, export or print the report, upload it to LifetimePDF's Compress PDF tool, start with Medium compression, and keep the smaller copy only if heatmap legends, journey labels, screenshots, and notes still look clear.
For most ContentSquare PDFs, under 2MB works well for short dashboard snapshots, while UX review decks, journey analysis packs, and screenshot-heavy stakeholder PDFs usually feel best around 2MB to 5MB.
ContentSquare exports get heavy for a simple reason. A single PDF often tries to hold the executive summary, page screenshots, heatmaps, journey views, notes, and appendix material in one place. The goal is not to crush all of that into the tiniest possible file. The goal is to make the PDF easy to share and easy to open without making the visual evidence harder to trust.
Fastest path: run the ContentSquare PDF through LifetimePDF's Compress PDF tool on Medium, then do one quick readability check before you send, upload, archive, or present the smaller copy.
Need the short version? Jump to Quick start: compress a ContentSquare PDF in about 2 minutes.
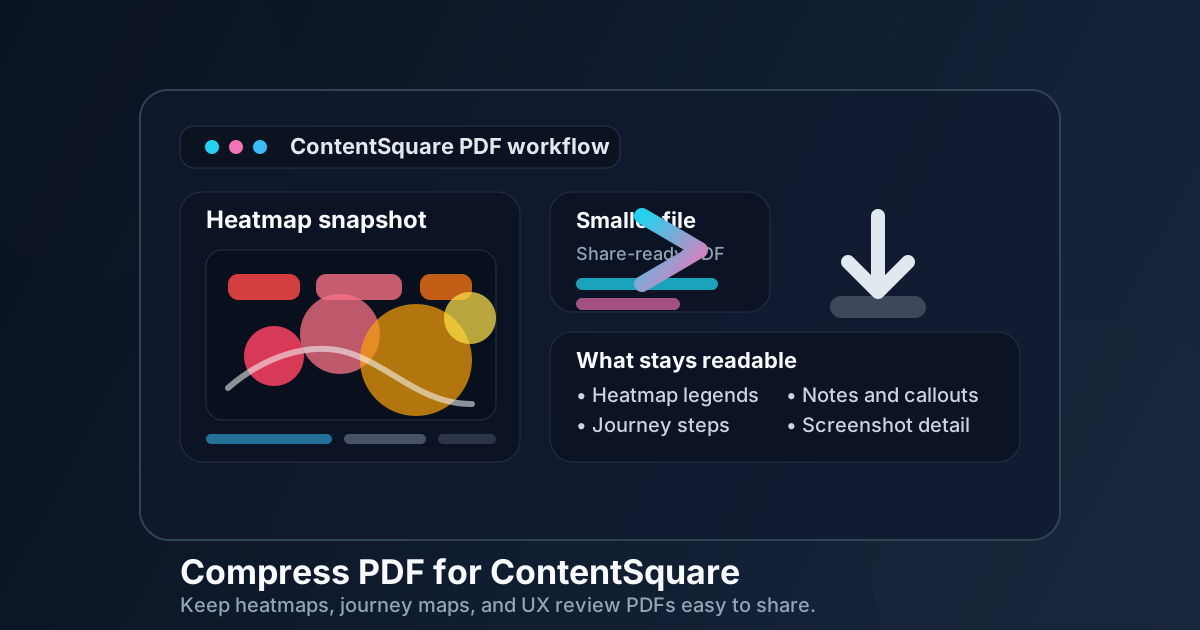
Table of contents
- Quick start: compress a ContentSquare PDF in about 2 minutes
- Why ContentSquare PDFs get heavy so quickly
- What file size should you aim for?
- Which compression level should you choose?
- Step-by-step: shrink a ContentSquare PDF with LifetimePDF
- Best strategy for common ContentSquare export types
- What if the report is still too large?
- How to check quality before you share it
- Workflow habits that keep ContentSquare PDFs cleaner
- Related LifetimePDF tools and useful reading
- FAQ (People Also Ask)
Quick start: compress a ContentSquare PDF in about 2 minutes
If your real goal is simply make this ContentSquare PDF smaller without making it annoying to review, this workflow is usually enough:
- Open Compress PDF.
- Upload the ContentSquare export you actually plan to share, such as a heatmap snapshot, journey review, dashboard summary, UX audit deck, or stakeholder update PDF.
- Choose Medium compression first.
- Download the smaller result and compare the new size with the original.
- Preview the weak points once: legends, labels, screenshot detail, journey steps, notes, dates, and slide headings.
- If the file still feels bulky, extract only the pages the next reader needs or split the appendix into a second PDF.
Why ContentSquare PDFs get heavy so quickly
ContentSquare exports often combine screenshots, journey visuals, summaries, annotations, and stakeholder context into one shareable file. That is useful, but it also creates a PDF that grows fast. One report may include several pages of heatmaps, supporting callouts, slide-style summaries, comparison views, and appendix screenshots for people who may never open the extra pages. By the time it is presentation-ready, the file can be much heavier than anyone expected.
The weight often comes from packaging rather than the insight itself. Repeated cover slides, oversized screenshots, dense appendix sections, and visual evidence kept only for "just in case" all add bulk. Compression helps, but a tighter report helps too. The best outcome is a smaller PDF that still feels trustworthy when someone zooms in on a click cluster, a legend, a journey node, or a UX recommendation.
What usually needs to stay sharp
- Heatmap legends and labels: if readers cannot tell what the color scale means, the export loses value fast.
- Screenshot detail: page elements, click zones, and annotations need to stay understandable at normal zoom.
- Journey steps: route names, labels, and conversion stages should still be easy to follow.
- Summary commentary: recommendations and context often matter as much as the visuals.
- Slide headings and date ranges: readers need fast orientation when reviewing the file later.
What file size should you aim for?
There is no magic number for every ContentSquare export, but a few practical targets keep you from compressing harder than necessary:
| PDF type | Practical target | Why it works |
|---|---|---|
| Short dashboard snapshots and quick UX updates | Under 2MB | Light enough for email and quick review while keeping headline notes and basic visuals readable. |
| Journey reviews, stakeholder decks, and mixed UX reports | 2MB to 5MB | Usually preserves screenshots, legends, notes, and headings without over-compressing the file. |
| Screenshot-heavy appendix files | Split them if possible | One oversized appendix is usually a packaging problem, not a compression problem. |
| Dense visual evidence packs | Prefer clarity over size | A slightly larger file is worth it when screenshots and labels still answer follow-up questions. |
If the only reason you want a smaller number is that the report feels clumsy to send, a clean split is often more useful than stronger compression. A short executive summary plus a separate appendix usually works better than one giant everything file.
Which compression level should you choose?
For most ContentSquare material, the safest answer is usually Medium. It removes a useful amount of weight while keeping enough definition for legends, screenshots, journey maps, notes, and headings.
| Level | Best for | Watch out for |
|---|---|---|
| Low | Dense visuals where small labels or layered screenshots matter more than maximum size reduction | The file may stay larger than you hoped if the real problem is repeated pages or oversized screenshots. |
| Medium | Most heatmap exports, journey summaries, UX decks, and stakeholder-ready PDFs | Still review the smallest useful labels before replacing the original. |
| High | Last-resort cleanup for image-heavy appendix pages or throwaway share copies | Legends, screenshot detail, fine labels, and notes can soften too much. |
Step-by-step: shrink a ContentSquare PDF with LifetimePDF
- Start with the final version. Choose the PDF you actually intend to send, not a working draft with extra sections, stale screenshots, or backup pages nobody needs.
- Open Compress PDF.
- Upload the file. This could be a heatmap summary, a journey analysis deck, a UX review pack, a dashboard snapshot, or a stakeholder presentation.
- Select Medium compression. That gives you the best first-pass balance for most ContentSquare workflows.
- Download the result. Compare the new size with the original so you know whether the reduction was meaningful.
- Open the compressed copy once. Check legends, screenshot detail, journey labels, date ranges, notes, headings, and the smallest useful text on the busiest page.
- Trim more only if needed. If the report still feels too large, extract key pages, split the appendix, or crop wasted margins before trying a stronger setting.
That one final visual check prevents the most common mistake: sharing a smaller file that technically opens but no longer feels dependable when someone actually reads it.
Good workflow: compress first, then decide whether you also need page cleanup, splitting, cropping, or a version comparison.
Best strategy for common ContentSquare export types
1) Heatmap snapshots
These usually compress well because they combine a few screenshots, legends, and short notes. Watch especially for color legends, annotations, and labels attached to the most important screen areas.
2) Journey analysis decks
These files often get heavy because they mix summary slides, screenshots, and follow-up commentary. A smaller file is useful, but it only helps if readers can still follow the path, the screenshots, and the reasoning without friction.
3) Screenshot-heavy evidence packs
These are riskier because the whole point is visual detail. If the PDF is mostly page screenshots or annotated captures, avoid aggressive compression. A slightly larger file is usually worth it when the visual evidence still feels exact.
4) Executive summaries with appendix pages
These work best when the summary stays light and the backup material lives elsewhere. A separate appendix PDF usually improves both readability and file size.
What if the report is still too large?
If Medium compression did not cut enough weight, do not immediately assume the answer is stronger compression. ContentSquare PDFs often shrink better when you remove waste first.
- Extract only the decision pages: use Extract Pages for the sections the next reader actually needs.
- Split one huge pack into two files: use Split PDF for summary-versus-appendix workflows.
- Crop wasted margins: use Crop PDF if screenshots carry too much empty space.
- Remove duplicate or repeated sections: repeated covers, appendix slides, and stale captures add size without adding value.
- Only then try stronger compression: once the report is clean, a second compression pass makes more sense.
How to check quality before you share it
Before you attach the compressed PDF to an email or upload it into a project folder, review the pages most likely to expose quality issues. Do not just glance at the cover. Open the busiest screenshot page and the most detailed summary page.
Check these details
- Heatmap legends and labels
- Page screenshots, annotations, and callouts
- Journey steps, nodes, and headings
- Summary notes, action items, and recommendations
- Date ranges and section titles that help readers orient themselves
If any of those feel annoying to read, the file is probably compressed too hard for its purpose. Go one step lighter or trim the report structure instead.
Workflow habits that keep ContentSquare PDFs cleaner
- Export only the pages the reader really needs: a focused report usually beats one giant all-purpose packet.
- Separate the summary from the appendix: most readers want headline insight first, not every supporting screenshot.
- Trim repeated captures: duplicated page states add weight without adding value.
- Keep screenshots tight: wide borders and oversized captures inflate PDFs fast.
- Compare final versions when needed: use Compare PDFs when you want to verify what changed between reviews.
These habits usually improve the reading experience more than aggressive compression alone. A tidy UX review pack is easier to share, easier to compress, and easier to trust later.
Related LifetimePDF tools and useful reading
ContentSquare PDFs are often part of a broader reporting workflow. These tools are the most useful companions:
- Compress PDF for the first size-reduction pass.
- Extract Pages when only a few sections need to go out.
- Split PDF for summary-versus-appendix workflows.
- Crop PDF for trimming empty screenshot borders and wasted page space.
- Compare PDFs when a UX review changed between rounds.
- Lifetime access if this kind of PDF cleanup shows up in your workflow all the time.
Suggested internal reading
- Compress PDF for Hotjar
- Compress PDF for FullStory
- Compress PDF for Mouseflow
- Compress PDF for Mixpanel
- Compare PDF Versions
- Compress PDF Online
- How to Reduce PDF File Size for Email
- Browse all LifetimePDF articles
FAQ (People Also Ask)
How do I compress a PDF for ContentSquare?
Export or print the ContentSquare report as a PDF, upload it to a compressor, start with Medium compression, and review the result before you share it. For most ContentSquare workflows, Medium is the safest first step because it cuts size without flattening the useful visual detail too aggressively.
What file size should I aim for?
Under 2MB is a good target for short dashboard snapshots or quick UX summaries. Multi-page stakeholder decks and screenshot-heavy review packs often work better around 2MB to 5MB as long as the smallest useful labels remain clear.
Will compression make ContentSquare heatmaps or screenshots blurry?
It can if you push compression too hard. Always check legends, labels, screenshot detail, journey nodes, notes, and headings before keeping the smaller copy.
Should I split the deck instead of compressing it harder?
Often yes. If one PDF includes the executive summary, screenshots, appendix pages, and backup notes for different audiences, splitting the pack usually protects clarity better than forcing aggressive compression across everything.
What should I do if the PDF is still too large after compression?
Remove duplicate pages, crop oversized margins, extract only the sections the next reader truly needs, and split heavy appendix material before you try stronger compression. In many ContentSquare workflows, the real problem is over-packing the report rather than a lack of compression.
Ready to shrink your ContentSquare PDF?
Best workflow: Export clean PDF → Compress → Review → Split or crop if needed → Share or archive.
Published by LifetimePDF — Pay once. Use forever.