Compress PDF for Citavi: Keep Research Sources, Quotations, and Project Libraries Lighter
To compress a PDF for Citavi, upload the final article, chapter, report, or scanned source to LifetimePDF's Compress PDF tool, start with Medium compression, and keep the smaller copy only if quotations, footnotes, page numbers, and searchable text still look clean when you reopen it in your project.
For most Citavi libraries, aim for under 5MB for ordinary text-heavy PDFs and roughly 5MB to 15MB for longer chapters, report-style documents, or scan-heavy sources that still need comfortable reading and annotation.
Citavi projects get heavy in a very ordinary way. One useful paper turns into fifty. Then come chapter scans, appendices, government reports, exported PDFs from databases, and inherited files that are larger than they need to be. The goal is not to crush a source until it looks cheap. The goal is to make the attachment lighter while keeping the exact details you still need for quotations, page references, concept extraction, and later rereading.
Fastest path: run the PDF through LifetimePDF's Compress PDF tool on Medium, then test one quotation-rich page, one dense paragraph, and one text-search check before you keep the smaller Citavi attachment.
Need the short version? Jump to Quick start: compress a PDF for Citavi in under 2 minutes.
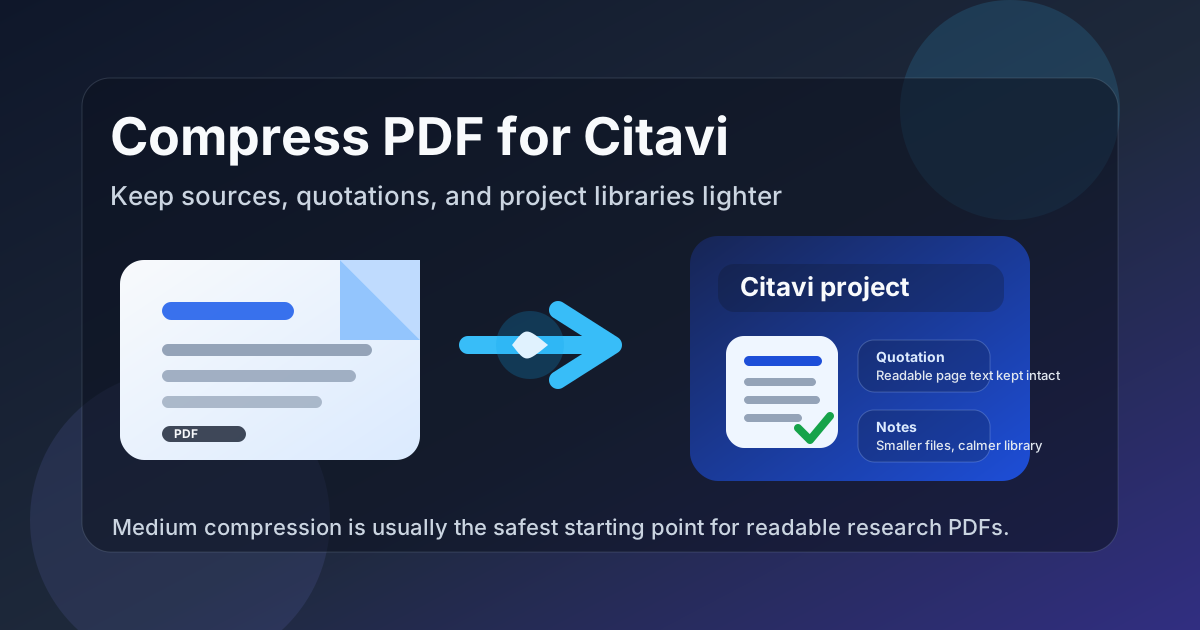
Table of contents
- Quick start: compress a PDF for Citavi in under 2 minutes
- Why smaller PDFs help in Citavi
- What file size should you aim for?
- Which compression level should you choose?
- Step-by-step: shrink a Citavi PDF with LifetimePDF
- Best strategy for common Citavi file types
- What if the PDF is still too large?
- How to protect quotations, OCR, and page references
- Workflow habits that keep Citavi libraries calmer
- Related LifetimePDF tools and useful internal links
- FAQ (People Also Ask)
Quick start: compress a PDF for Citavi in under 2 minutes
If your real goal is simply make this source lighter before it lives in Citavi, this workflow is usually enough:
- Open Compress PDF.
- Upload the final article, chapter, report, dissertation section, or scanned source you actually plan to keep.
- Choose Medium compression first.
- Download the smaller PDF and compare the new size with the original.
- Check one quotation-rich page, one paragraph with small text, and one search or copy-and-paste test.
- If the file is still too heavy, use Extract Pages, Split PDF, or Crop PDF before trying harsher compression.
Why smaller PDFs help in Citavi
Citavi is at its best when sources stay useful instead of turning into bulky background baggage. Heavy PDFs add friction in quiet ways: slower project cleanup, more storage clutter, more awkward sharing, and more hesitation about attaching every useful source because the library already feels overloaded.
Why lighter PDFs usually work better in a Citavi project
- Less project bloat: article libraries and literature reviews grow faster than most people expect.
- Easier source review: lighter PDFs are simpler to reopen when you want one quotation, one page reference, or one figure.
- Cleaner attachment habits: right-sized files make it easier to keep the source that matters and skip dead weight.
- Better portability: smaller PDFs are easier to move through email, cloud folders, shared research spaces, and backups.
- Less pain from scan-heavy sources: archive pages, older book chapters, and government reports stop feeling like ballast.
- A calmer working library: when attachments behave well, you spend more time using sources and less time managing them.
Compression is not only about saving disk space. It is about making the source more practical to live with while you quote, annotate, compare, and revisit it.
What file size should you aim for?
There is no perfect universal target because a short article behaves very differently from a 200-page report or a noisy scan. Still, practical ranges help. The goal is to make the file light enough that it stops feeling wasteful while preserving the details that matter when you quote or cite it later.
| Citavi PDF type | Comfortable target | Notes |
|---|---|---|
| Journal articles, preprints, and text-heavy papers | Under 5MB | Usually small enough to keep readable while making routine attachment storage feel lighter. |
| Book chapters, reports, and figure-mixed PDFs | 5MB to 15MB | Still practical if quotations, captions, and small text remain easy to inspect. |
| Scanned chapters, archive material, and document packets | 10MB to 20MB | These usually benefit more from cropping, splitting, and OCR than from aggressive compression alone. |
| Very large bundles or appendices | Split into smaller parts if possible | One giant attachment is rarely the cleanest way to store material you revisit section by section. |
If the file stays a little larger but still feels trustworthy when you zoom in and quote from it, that is fine. The goal is not the smallest possible PDF. The goal is a useful working source.
Which compression level should you choose?
Most people do not need a complicated decision tree here. Start with Medium, then go stronger only if the file is still much heavier than the job really requires.
Low compression
Use Low when the PDF already looks clean and you only want a modest reduction without risking tiny footnotes, equations, screenshots, or page numbers. It is a good choice for visually detailed sources.
Medium compression
Medium is the best default for most Citavi attachments. It usually cuts enough size to matter while keeping normal reading, searching, quoting, and citing comfortable. If you are unsure, start here.
High compression
Use High only when the source PDF is still annoyingly heavy after smarter cleanup or when the document is mostly a convenience copy rather than a close-reading source. High can work, but it deserves a real quality check afterward.
Step-by-step: shrink a Citavi PDF with LifetimePDF
- Start with the final file. Use the exact paper, chapter, report, or scan you actually plan to keep, not an earlier draft or rough export.
- Open Compress PDF.
- Choose Medium compression first. This is usually the safest balance for quotation-heavy research files.
- Download the smaller copy. Compare the new size with the original so you know whether the reduction was meaningful.
- Check the hard parts. Open a bibliography page, a page with small footnotes, a dense paragraph, or any page where exact wording matters.
- Run one search or copy test. If you rely on OCR or searchable text, make sure the smaller file still behaves properly.
- Adjust only if needed. If the file is still bulky, split it, crop blank scan borders, remove dead pages, or OCR the document before trying stronger compression.
- Keep the original until you trust the smaller one. Once the lighter copy passes the real reading test, then let it become the working attachment.
Best strategy for common Citavi file types
Not every research PDF deserves the same treatment. The cleanest workflow depends on what kind of source you are actually keeping.
Journal articles and preprints
These are often the easiest wins. Start on Medium, then test quotations, references, tables, and figure captions. If the file is mostly text and already clean, you can often shrink it meaningfully without any visible downside.
Book chapters and dissertation sections
These usually carry more pages, more front matter, and more appendices. Compression helps, but page extraction is often the bigger win. If you only need one chapter or one section, there is no reason to keep the whole bundle heavier than necessary.
Scanned archive material
These are the usual troublemakers. Compression alone often helps less than people hope. The bigger gain usually comes from trimming scanner waste, removing blank pages, and running OCR PDF so the document stays more searchable and quote-friendly later.
Figure-heavy technical PDFs
Be more conservative here. A slightly larger file is better than muddy diagrams, softened labels, or unreadable formulas. If visuals carry the meaning, preserve clarity over bragging rights about file size.
Report bundles and appendices
These are rarely best as one giant file. Split them by chapter, appendix, or topic if you can. A cleaner structure usually helps more than another round of squeezing every page.
What if the PDF is still too large?
If one compression pass was not enough, do not immediately jump to the harshest setting. First ask what is actually making the file heavy. Very often the answer is too many pages, scanner waste, or a document that should have been split into smaller working parts.
- Use Extract Pages when you only need part of the source.
- Use Delete Pages to remove blank scans, duplicates, covers, and dead appendices.
- Use Split PDF for giant packets that would behave better as smaller files.
- Use Crop PDF if empty margins or scan borders are inflating the file.
- Use OCR PDF if the real problem is a scan that needs searchable text, not just a smaller size.
- Use PDF Metadata Editor if you want the stored file to stay better labeled after cleanup.
In research workflows, a cleaner PDF usually beats a more aggressively compressed PDF. Removing noise often matters more than squeezing harder.
How to protect quotations, OCR, and page references
Quality loss shows up first in the places that matter most for citation-heavy work: tiny page numbers, footnotes, bibliography entries, figure labels, equations, and already-weak scans.
Check these before you keep the smaller copy
- Footnotes and bibliography pages: zoom into the smallest citation text, not just the title page.
- Quotation sources: make sure the exact paragraph you would quote still reads cleanly.
- Page numbers: if you depend on precise citation, confirm the page markers are still obvious.
- OCR and search: test one keyword search or copy-and-paste moment if the file started as a scan.
- Figures and tables: if they matter to the source, inspect them directly before you trust the smaller file.
The simple rule is to test the smallest important detail, not the prettiest page. If the hard case still looks fine, the rest of the document is usually safe.
Workflow habits that keep Citavi libraries calmer
Compression works best when it sits inside a sensible research routine. A few habits make a bigger difference than most people expect:
- Compress before attaching when possible: it is cleaner to start with a right-sized source than to repair a bloated one later.
- Keep clear versions: if you need both the original and the working copy, name them so the difference is obvious.
- Attach the pages you actually use: one chapter or appendix is often more useful than the whole book export.
- OCR scans early: searchable text often adds more value than one more round of compression.
- Remove dead weight early: covers, duplicates, and blank pages do not deserve permanent project space.
- Optimize for usability, not ego: a slightly larger PDF that reads well is usually the better long-term choice.
A better Citavi project is not the one with the tiniest files. It is the one where sources stay readable, searchable, and easy to trust when you return to them.
Related LifetimePDF tools and useful internal links
Compressing the PDF is usually the main fix, but some Citavi attachments benefit from one or two supporting tools first. These are the most useful next steps:
- Compress PDF for the main size reduction step.
- OCR PDF when a scanned source needs searchable text.
- Extract Pages when you only need one chapter or appendix.
- Split PDF for oversized reports and bundled source packs.
- Crop PDF to trim scan borders and wasted margins.
- PDF Metadata Editor to keep the cleaned file organized once it is lighter.
If your research workflow overlaps with nearby citation managers, these guides are strong companions: Compress PDF for Zotero, Compress PDF for Mendeley, Compress PDF for EndNote, Compress PDF for Paperpile, and Compress PDF for RefWorks.
Bottom line: make the PDF lighter on Medium, test one real quotation page and one search check, then trim the document structure before you sacrifice readability.
FAQ (People Also Ask)
How do I compress a PDF for Citavi?
Upload the final PDF to a compressor, start with Medium compression, and keep the smaller copy only if quotations, footnotes, page numbers, and searchable text still look clean when you reopen it in your real Citavi workflow. Medium is usually the safest first step because it reduces size without making the source frustrating to read or cite later.
What PDF size should I aim for in Citavi?
Under 5MB is a strong target for ordinary text-heavy articles and papers. Longer reports, book chapters, and scan-heavy sources often land in the 5MB to 15MB range and can still feel practical if quotations, small text, and page references remain readable.
Will compression hurt quotations, OCR, or citations?
Usually not if you begin with Medium compression and the source PDF is already clean. Problems usually show up first in weak scans, tiny footnotes, page numbers, and bibliography pages, so test those before you replace an original file you care about.
Should I compress a PDF before attaching it to Citavi?
Yes, when possible. Starting with the right-sized file is cleaner than attaching a bloated copy first and fixing it later. If the source matters, keep the original until you know the smaller version still reads well.
Which LifetimePDF tools pair best with Citavi?
Compress PDF is the main starting point. OCR PDF, Extract Pages, Split PDF, Crop PDF, and PDF Metadata Editor are the most useful companion tools when you want lighter, cleaner research sources inside a Citavi project.
Published by LifetimePDF - Pay once. Use forever.