Compress PDF for Adobe Express: Share Smaller One-Pagers, Brand Kits, and Client PDFs Faster
Yes - you can compress a PDF for Adobe Express before sharing one-pagers, brand kits, flyers, proposals, handouts, and client deliverables, and Medium compression is usually the safest place to start because it reduces file size without making text, logos, icons, or layouts hard to review.
If the PDF still feels heavy, trim draft pages, duplicate exports, or sections the next reader does not need, because a smaller Adobe Express PDF is easier to email, upload, open on mobile, and trust at a glance.
Adobe Express PDFs often start as quick creative assets and then turn into working documents. A one-pager gets sent to a client. A branded flyer gets posted in chat. A media kit gets attached to outreach. A simple handout gets opened on a phone right before a meeting. When the file is heavier than the moment requires, every handoff gets slower. The goal is not to squeeze a polished design into the tiniest possible file. The goal is to remove unnecessary weight while keeping the pages readable, credible, and easy to share.
Fastest path: Use LifetimePDF's Compress PDF tool, start with Medium compression, and make your Adobe Express export easier to send in seconds.
In a hurry? Jump to Quick start: compress a PDF for Adobe Express in under a minute.
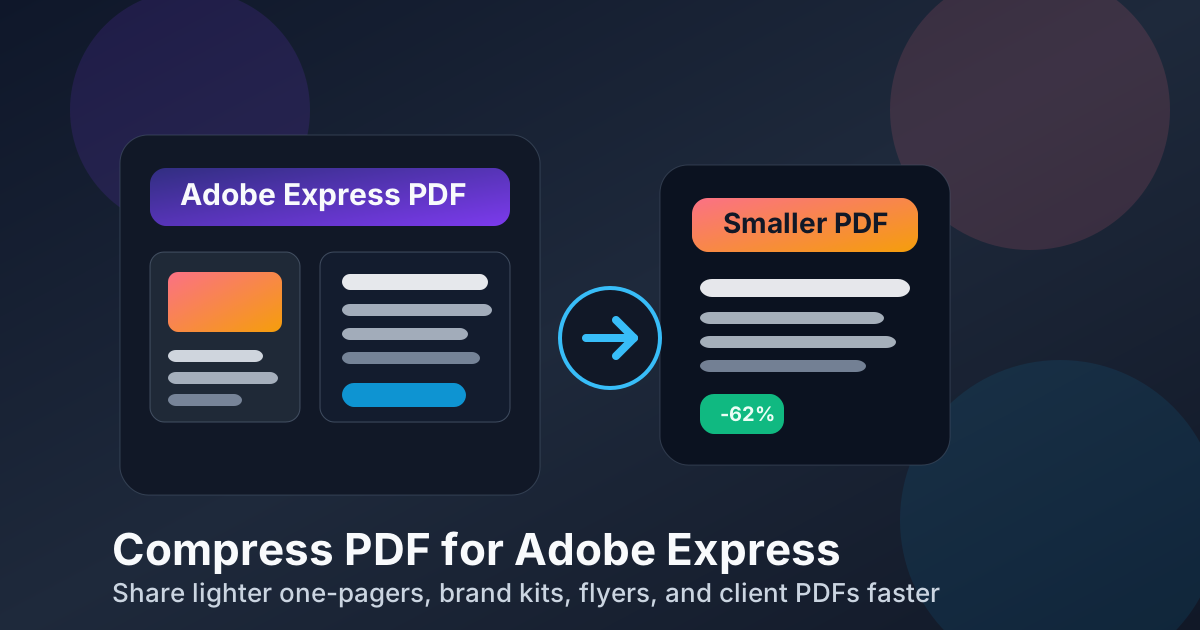
Table of contents
- Quick start: compress a PDF for Adobe Express in under a minute
- Why compress Adobe Express PDFs in the first place?
- What size should an Adobe Express PDF be?
- Which compression level should you choose?
- Step-by-step: shrink an Adobe Express PDF with LifetimePDF
- Common Adobe Express PDFs that benefit from compression
- What if the PDF is still too large?
- How to keep text, branding, and layouts readable
- Workflow habits that keep creative PDFs lighter
- Related LifetimePDF tools and internal links
- FAQ (People Also Ask)
Quick start: compress a PDF for Adobe Express in under a minute
If your goal is simply make this Adobe Express PDF smaller so it is easier to email, upload, or review, keep the process simple:
- Open Compress PDF.
- Upload the Adobe Express export, whether it is a one-pager, flyer, social handout, proposal, branded guide, or printable PDF.
- Start with Medium compression.
- Download the smaller copy and zoom in on the smallest text, logos, icons, QR codes, and image-heavy pages.
- If it is still too large, use Extract Pages, Delete Pages, or Split PDF instead of repeatedly crushing the whole design.
That usually works because the biggest gains come from two moves together: reasonable compression and better scope. Most people do not need every draft version, alternate layout, or appendix page bundled into the shareable copy.
Why compress Adobe Express PDFs in the first place?
Adobe Express makes it easy to turn a simple idea into a polished PDF. That convenience is great until the file needs to travel. A quick one-pager may include multiple images. A brand kit may carry several pages of logos, fonts, and examples. A handout may be perfectly readable yet still heavier than it needs to be. Compression matters when the export leaves the design workspace and becomes something people must open quickly, forward, download, or store.
- Faster sharing: smaller PDFs are easier to email, upload, and attach to chats, proposals, or client portals.
- Smoother review: teammates and clients are more likely to open the file quickly if it is not unnecessarily heavy.
- Better mobile experience: lighter PDFs are less frustrating on phones and tablets.
- Cleaner downloads: flyers, guides, and social handouts feel more professional when they open without lag.
- Less repeat friction: if the same Adobe Express PDF gets shared repeatedly, every saved megabyte matters more than once.
None of this means every Adobe Express PDF should be aggressively compressed. If the design depends on fine detail, the better move is often compress moderately and trim the extra pages, not squeeze everything until it looks tired.
What size should an Adobe Express PDF be?
There is no single perfect number because a one-page flyer behaves differently from a multi-page brand kit or client packet. Still, a few practical targets help you stop at the point where the file feels small enough without weakening the reading experience.
| PDF type | Good working target | What to watch closely |
|---|---|---|
| One-pagers, flyers, and short handouts | Under 2MB | Small body text, QR codes, and logo clarity |
| Brand kits, proposals, and client packets | 2MB to 5MB | Headings, icon sets, page thumbnails, and color blocks |
| Media kits, workbooks, and image-heavy exports | 5MB to 10MB if needed | Photos, mockups, and detailed page spreads |
| Very large multi-section exports | Trim before chasing a number | Repeated pages, draft variants, and appendix clutter |
These are practical ranges, not hard rules. If a proposal must preserve close-up visuals or tiny pricing details, a slightly larger file is usually the better tradeoff. A readable PDF that gets the job done is more useful than a tiny one that feels compromised.
Which compression level should you choose?
The right level depends on what the Adobe Express export actually contains. Some PDFs are mostly text and shapes. Others are full of photos, screenshots, gradients, or branded graphics. Start in the middle, then adjust only if the result asks for it.
Low compression
Use Low when the document includes dense body text, fine line icons, small captions, QR codes, or detailed graphics that still need to look crisp after zooming in. This is often the safer choice for premium client materials and polished branded documents.
Medium compression
Use Medium for most everyday Adobe Express PDFs. It usually trims enough file size to matter while keeping the design readable and trustworthy. For flyers, branded one-pagers, workbooks, proposals, and internal handouts, this is the best place to begin.
High compression
Use High when the PDF is bulky and convenience matters more than perfect visual sharpness. This can work for draft review copies, internal updates, or quick reference handouts where the priority is fast delivery rather than premium presentation. Always preview carefully before sharing.
Step-by-step: shrink an Adobe Express PDF with LifetimePDF
Here is a clean workflow that works well for most Adobe Express exports:
- Open the tool. Go to Compress PDF.
- Upload the file. Add the one-pager, proposal, handout, flyer, social-media PDF, brand guide, or client pack you want to share.
- Choose Medium compression first. That is usually the safest balance between smaller size and preserved layout quality.
- Download the result. Compare the new file size with the original.
- Check the smallest important detail. Zoom in on body text, page numbers, captions, logo edges, icon labels, and any fine-line graphics.
- Trim the document if needed. If the file is still bulky, extract only the useful pages, delete duplicates, or split long sections into smaller PDFs.
Fast tool stack for Adobe Express exports: compress first, then fix structure only if the file is still heavier than it should be.
Common Adobe Express PDFs that benefit from compression
Some Adobe Express exports are much more likely than others to become awkwardly large. These are the usual candidates:
- One-pagers: simple layouts with several images can be heavier than they look.
- Brand kits: often include multiple pages of logos, typography, examples, and color systems.
- Client proposals: can grow quickly when they mix cover pages, packages, testimonials, mockups, and appendix material.
- Flyers and event handouts: these often get opened on mobile, so lighter downloads help immediately.
- Media kits and pitch PDFs: full-bleed images and repeated branded panels can quietly dominate file size.
- Workbooks and printable guides: page count alone can make them heavier than expected.
- Social asset handouts: reference sheets and campaign packs are easier to circulate when they open quickly in chat and email.
If one of those files keeps feeling sluggish, the best fix is usually to compress it once and then tighten the page scope before it travels through the rest of the workflow.
What if the PDF is still too large?
If one compression pass does not solve it, the next move is usually not stronger compression. It is better document cleanup.
- Use Extract Pages if the recipient only needs one section of the packet or one part of the design.
- Use Delete Pages to remove duplicate covers, draft variants, bonus pages, or appendices that are not relevant to the current reader.
- Use Split PDF if one exported file is trying to serve several audiences at once.
- Use Crop PDF if scans or imported pages include wasted borders or empty space.
- Use Merge PDF later if you want to rebuild a cleaner final packet from smaller polished parts.
How to keep text, branding, and layouts readable
The danger is not just that a compressed Adobe Express PDF looks softer. The bigger problem is that it can still look acceptable at a glance while the important details quietly become harder to trust.
- Zoom in on the smallest body text, captions, table rows, and page numbers.
- Check logo edges, color blocks, and fine-line icons if the document is client-facing.
- Review QR codes and small call-to-action text because those details fail before headings do.
- Look at photo-heavy pages separately because image pages can soften sooner than text-led pages.
- Preview the PDF on a phone if many readers will open it from email or messaging apps.
- Keep the original export and treat the compressed version as the shareable copy, not the only authoritative copy.
If the compressed version fails any of those checks, step back. Use a lighter compression level or reduce the page count instead of forcing the whole file smaller at any cost.
Workflow habits that keep creative PDFs lighter
The best compression workflow begins before the file ever reaches the compressor. A few habits keep Adobe Express PDFs cleaner over time:
- Share focused versions: give each audience the section they actually need instead of one massive all-purpose export.
- Cut draft clutter: delete alternate layouts and approval leftovers before final delivery.
- Separate internal and external copies: keep the full working document, but send a lighter client-facing version.
- Reuse cleaned files: if a proposal, flyer, or guide gets shared repeatedly, optimize it once and keep using the polished version.
- Respect print readability: if someone will print the PDF, never chase size so hard that text and fine details become frustrating on paper.
Those habits usually improve the experience more than aggressive compression alone. A well-scoped document is easier to send, easier to review, and easier to trust.
Related LifetimePDF tools and internal links
Compressing a PDF for Adobe Express is often one step inside a broader creative-sharing workflow. These tools pair well with it:
- Compress PDF - reduce file size before sending one-pagers, flyers, and client-ready exports
- Extract Pages - share only the pages a client or teammate actually needs
- Delete Pages - remove draft pages, repeated covers, and appendix clutter
- Split PDF - break a long packet or handout into smaller pieces
- Merge PDF - rebuild a cleaner final packet after trimming sections
- Crop PDF - trim wasted borders and empty margins
Suggested internal blog links
- Compress PDF Online
- Compress PDF for Canva
- Compress PDF for Figma
- Compress PDF for Miro
- Compress PDF for Notion
Bottom line: for most Adobe Express exports, start with Medium compression, then trim the page scope if the file is still heavier than the job requires.
FAQ (People Also Ask)
1) How do I compress a PDF for Adobe Express?
Upload the exported Adobe Express PDF to a PDF compressor, choose a compression level, and download the smaller result. For most people, Medium compression is the best starting point because it keeps text, logos, icons, and layouts readable while shrinking the file enough for smoother sharing.
2) Will compression ruin the quality of an Adobe Express PDF?
Usually not if you begin with a moderate setting and review the result before replacing the original. The safest habit is to zoom in on the smallest text, the busiest page, and any QR code or fine icon work before you send the compressed copy.
3) Which Adobe Express PDFs benefit most from compression?
One-pagers, brand kits, flyers, client proposals, media kits, social handouts, workbooks, and other image-heavy downloadable PDFs are common candidates because they often include many pages or repeated graphics.
4) Should I split a long Adobe Express PDF instead of compressing it harder?
Often, yes. If one file contains sections for different readers, splitting it usually works better than applying stronger compression across the entire export. A focused smaller PDF is easier to open and easier to act on.
5) What if my Adobe Express PDF is still too large after compression?
Extract only the relevant pages, delete duplicate or draft sections, crop wasted space, or split the PDF into smaller parts. In many cases, cleaning the structure works better than over-compressing the entire design.
Published by LifetimePDF - Pay once. Use forever.