How to Fill and Sign a PDF on Mac: Complete the Form, Add Your Signature, and Send It Back Without Printing
To fill and sign a PDF on Mac, open the file in Safari or Chrome with LifetimePDF's PDF Form Filler, complete the fields first, then add the signature and save the finished copy back to Finder.
If the PDF is scanned, flattened, or not truly fillable, you can still place text over the page, sign it neatly, review it once in Preview, and send it back without printing anything.
That is the short answer. The part that actually saves time on Mac is knowing the order: fill first, sign second, review the exported copy in Preview, then send the finished file instead of the original Mail attachment or a random duplicate from Downloads.
Fastest path: open LifetimePDF's PDF Form Filler in Safari or Chrome, complete the fields, add the signature after the form is done, then save the reviewed final PDF back to your Mac.
In a hurry? Jump to Quick start: fill and sign a PDF on Mac in about 5 minutes.
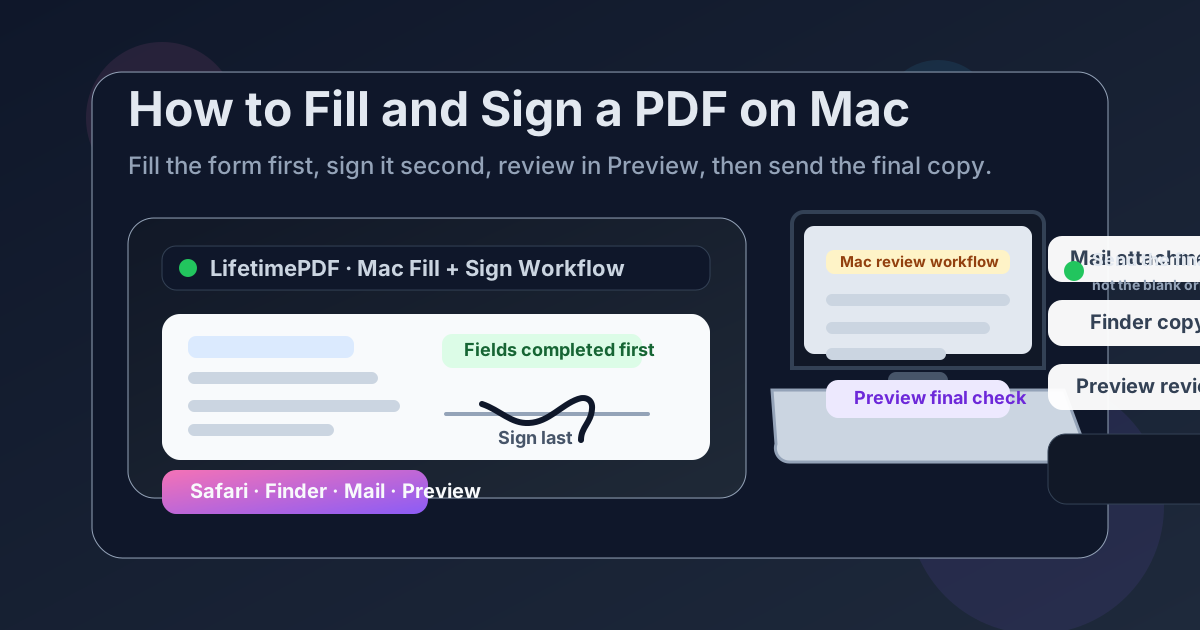
Table of contents
- Quick start: fill and sign a PDF on Mac in about 5 minutes
- The easiest Mac workflow for fill-and-sign PDFs
- Step-by-step: fill and sign a PDF in Safari or Chrome on Mac
- Preview vs a dedicated fill-and-sign workflow
- How to handle scanned or non-fillable PDFs on Mac
- Finder, Mail, Downloads, and the wrong-copy problem
- Best order for filling, signing, flattening, and compressing
- How to save and send the finished file
- Related LifetimePDF tools and guides
- FAQ
Quick start: fill and sign a PDF on Mac in about 5 minutes
If you just need to complete a form, sign it, and send it back before the thread goes cold, use this workflow:
- Open PDF Form Filler in Safari or Chrome on your Mac.
- Choose the file from Finder, Downloads, Desktop, Documents, or a Mail attachment.
- Enter the typed answers first, including names, dates, checkboxes, initials, and short notes.
- Open Sign PDF and place the signature on the correct page.
- Download the finished PDF, open it once in Preview, then send or upload that reviewed copy.
The easiest Mac workflow for fill-and-sign PDFs
Mac users usually bounce between Preview, a browser tab, Finder, Mail, and Downloads. That is exactly why fill-and-sign jobs become messy faster than they should.
If the document needs both typed answers and a signature, a browser-based workflow is usually the least frustrating option. You keep the PDF digital, you get better control over field placement, and you can still use Preview at the end for the quick visual check Mac users already trust.
| Method | Best for | Where it struggles |
|---|---|---|
| Preview only | Very simple one-page jobs and quick final review | Scanned forms, missing fields, multi-page packets, and cleaner sign-after-fill workflows |
| Sign-only workflow | PDFs that are already fully completed and only need a signature | Forms that still need names, dates, initials, or checkboxes first |
| LifetimePDF in Safari or Chrome | Fill, review, sign, save, and send from one Mac workflow | You still need one careful review pass before you hit send |
That is why the combined workflow matters. A lot of people think they need only a signature tool when the real job is two steps: complete the form correctly, then sign the finished version neatly.
Step-by-step: fill and sign a PDF in Safari or Chrome on Mac
Here is the practical workflow that works for contracts, onboarding packets, school forms, tax documents, HR paperwork, healthcare forms, and all the other PDFs that somehow land in your inbox when you are supposed to be doing something else.
Step 1: Start with the file where it already lives
Most Mac PDFs arrive through Mail, Messages, a portal download, Finder, or a cloud-synced folder. You do not need to reorganize your Mac before you begin. Just note where the real file is, then open PDF Form Filler in Safari or Chrome.
Step 2: Upload the PDF from Finder or Mail
Choose the document from Finder, Downloads, Desktop, Documents, or a saved Mail attachment. If the file came from email, saving it to a clear folder first often makes the final send-back step easier because you are less likely to attach the original blank copy by mistake.
Step 3: Fill every field before you sign
This is the part that keeps the finished PDF from looking improvised. Enter the name, date, address, initials, checkboxes, and any short notes before touching the signature.
- Names and dates should sit cleanly on the intended lines.
- Checkboxes and initials should be obvious at a glance.
- Short notes should stay readable without crowding nearby fields.
Once the fields are done, it becomes much easier to judge the right size and position for the signature.
Step 4: Add the signature as the final editing step
Open Sign PDF and place the signature on the correct page. On Mac, the right signature style depends on the document and how polished you want the result to look:
- Draw if you want the most handwritten feel.
- Type if speed matters more than pen-like style.
- Upload if you already keep a consistent signature image for repeat paperwork.
Step 5: Zoom in before you accept the final position
Mac screens help, but they also make it easy to trust a signature that only looks correct from far away. Zoom in and confirm the signature does not cover a date field, touch nearby text, or float above the line.
Step 6: Download the final copy and review it once in Preview
This is where Preview shines. Open the saved PDF and scroll through it in reading order. Make sure the fields stayed aligned, the signature landed on the correct page, and the final file actually looks like the version you want another person to open.
Shortest clean route: upload the PDF, fill the fields, sign the finished form, review it in Preview, then send the reviewed copy from Finder or Mail.
Preview vs a dedicated fill-and-sign workflow
Preview deserves credit. It is built in, quick to open, and perfectly fine for reading PDFs or checking the final output. But Preview is not always the smoothest tool once the document becomes even slightly annoying.
When Preview is enough
- a one-page document that only needs tiny edits or a simple signature,
- a final review pass before you send the finished PDF,
- a straightforward file that already behaves like a proper fillable form.
When a browser-based workflow is better
- the PDF needs typed fields and a signature,
- the form is scanned, flattened, or built badly,
- the file came from Mail, a portal, or a cloud folder and you want a cleaner save-and-send flow,
- you want the same process to work on Mac, phone, and tablet without switching habits.
In plain English: Preview is great for checking work. A dedicated fill-and-sign workflow is better for actually finishing the job cleanly.
How to handle scanned or non-fillable PDFs on Mac
Many PDFs are not truly interactive. They are scans, flattened exports, or old forms that behave more like pictures than real digital forms. That is why clicking into them sometimes does nothing.
The good news is that you can still finish the job on Mac. Instead of typing into built-in fields, you place text over the page where the answers belong, then add the signature on top of the final layout.
Common signs the PDF is scanned or flattened
- you cannot click into any field,
- text is not selectable,
- the page looks like a photograph or scan of a form,
- checkboxes and signature lines are visible but not interactive.
If the scan is messy or too large to upload comfortably, these tools usually help after the form is complete:
- Flatten PDF when you want the completed form and signature locked into the page.
- Compress PDF when a scan-heavy file is too large for email or upload portals.
- OCR PDF when you want searchable text for later filing or archiving.
Finder, Mail, Downloads, and the wrong-copy problem
On Mac, a lot of fill-and-sign trouble is not really about filling or signing. It is about version confusion.
Mail attachments
A Mail preview is fine for checking what the file is, but it is not a good source of truth. Save the attachment clearly if the document matters, complete the form, and send the finished version back instead of replying with the original blank attachment.
Finder folders
Finder is safest when the file name is clear. A final name like offer-letter-signed.pdf or school-form-completed.pdf is much safer than something vague like document-final-2.pdf.
Downloads
Downloads is convenient, but it becomes a pile quickly. If the PDF matters, move the finished copy into a folder you will actually recognize later. That one habit also lowers the chance of reopening the wrong version the next time you need it.
Best order for filling, signing, flattening, and compressing
If the PDF is already a normal digital form, the cleanest Mac order is usually straightforward:
- Fill the text fields and checkboxes.
- Add the signature after the form is complete.
- Flatten the PDF if you want the finished file to behave like a final locked copy.
- Compress the file only if the destination still complains about size.
That order works because you finish the document first and optimize it second. If you compress too early and then keep editing, you usually just create extra versions and unnecessary quality loss.
If the document is locked and you are authorized to remove that restriction, use PDF Unlock before you start filling. Access problems are easier to solve at the start than halfway through a rushed form.
How to save and send the finished file
After the form is filled and signed, download it to a clear Finder location and give it one quick review pass in Preview. Then send the finished copy from that same place.
From there, you can usually:
- attach it to an email reply,
- upload it to a portal or HR system,
- share it through Messages or another chat app,
- store it in a folder or cloud drive for your records before sending.
If the PDF is unusually large because it includes scans or photos, run it through Compress PDF before sending. If you want the fields and annotations locked down so the file travels as a finished version, use Flatten PDF after you are done.
Practical Mac rule: save the finished copy somewhere obvious, open it once in Preview, then send that file instead of trusting the original attachment thread.
Related LifetimePDF tools and guides
Fill-and-sign is often one step in a larger Mac document workflow. These tools and guides fit naturally around the same job:
- PDF Form Filler for typing into forms before signing.
- Sign PDF for placing a clean signature on the final document.
- Flatten PDF to lock a finished form before sharing.
- Compress PDF when scan-heavy files are too large to send comfortably.
- PDF Unlock if the document is permission-restricted and blocking normal edits.
Related guides
- How to Sign a PDF on Mac
- How to Fill Out a PDF Form on Mac
- How to Fill and Sign a PDF on iPhone
- How to Fill and Sign a PDF on Android
Ready to fill and sign on your Mac without printing?
Open the PDF in Safari or Chrome, complete the fields first, place the signature carefully, review the finished copy in Preview, and send it back in minutes.
FAQ: How to fill and sign a PDF on Mac
How do I fill and sign a PDF on Mac without printing it?
Open a browser-based PDF form tool in Safari or Chrome, upload the file from Finder or Mail, complete the fields first, add your signature, download the finished PDF, review it once in Preview, and send it back directly from your Mac.
Can I fill and sign a scanned PDF on Mac?
Yes. Scanned PDFs usually behave like images, so you may need to place text over the page rather than click into built-in fields. You can still sign the finished document cleanly and save it back to your Mac.
Should I fill the PDF first or sign it first on Mac?
Fill it first in most cases. Completing the form before signing keeps the layout cleaner and reduces the chance of covering a date field, checkbox, or line with the signature.
Is Preview enough for fill-and-sign PDFs on Mac?
It can be enough for a very simple one-page file, but a dedicated fill-and-sign workflow is usually better when the PDF has multiple fields, a scanned layout, or placement that needs more precise control.
How do I save and send the final PDF from Mac?
Download the finished file to Finder, open it once in Preview to confirm the fields and signature look right, then attach or upload that reviewed copy. If it is too large, compress it after the form is complete.
Published by LifetimePDF — Pay once. Use forever.