How to Extract Images from PDF on iPhone: Use Files, Safari, and Save Original Graphics Cleanly
To extract images from PDF on iPhone, save the file into Files from Mail, Messages, AirDrop, or Safari, then use a browser-based workflow to pull out the photos, logos, charts, or graphics you actually need.
If the PDF contains real source images, extraction is usually cleaner than screenshots because you are not limited by pinch-zoom, cropping, or notification-bar clutter.
That is the short answer. The useful iPhone answer is knowing when the PDF really contains reusable visuals, when you should isolate just the page that matters first, and when to stop fighting a flattened scan and export the whole page instead. A good mobile workflow keeps the result sharp, easy to save, and easy to find again in Files.
Fastest path: save the source PDF into Files, trim the document first if only one or two pages matter, review the visual content in Safari, and switch to full-page export when the PDF is really one flat scan instead of separate reusable graphics.
In a hurry? Jump to Quick start: extract PDF images on iPhone in a few minutes.
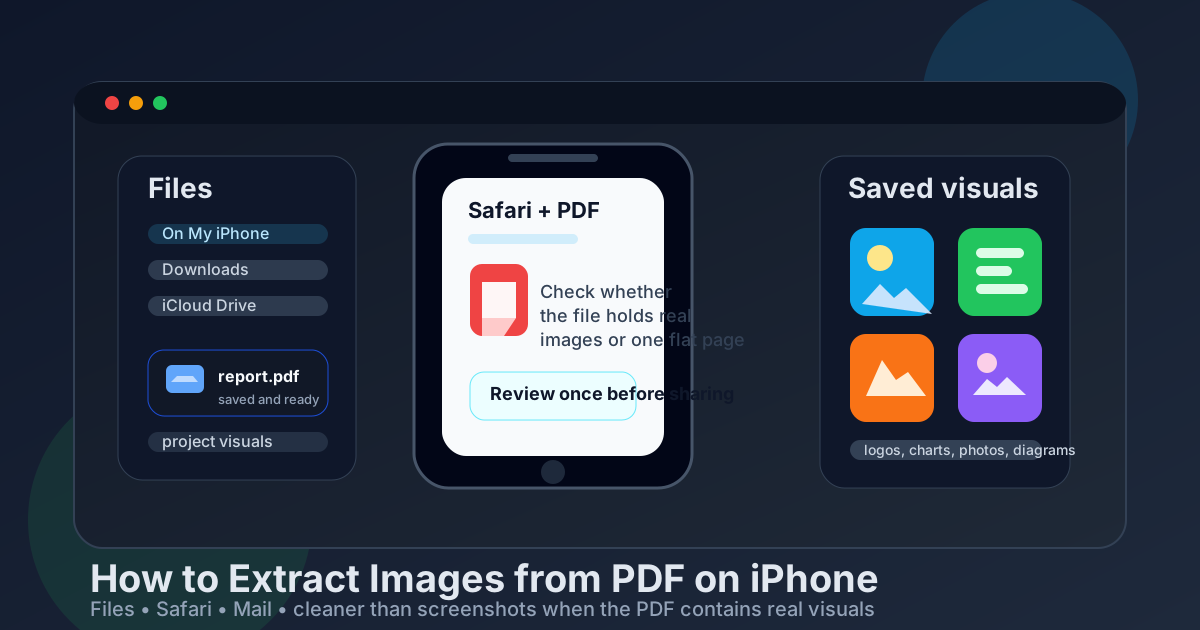
Table of contents
- Quick start: extract PDF images on iPhone in a few minutes
- The easiest iPhone workflow for extracting images
- Step-by-step: pull images out of a PDF on iPhone
- Extracting images vs page export vs screenshots on iPhone
- Working with PDFs from Mail, Messages, AirDrop, and iCloud Drive
- Common iPhone problems and quick fixes
- Quality, naming, and reuse tips
- Related LifetimePDF tools and guides
- FAQ (People Also Ask)
Quick start: extract PDF images on iPhone in a few minutes
If you already know the PDF contains photos, logos, charts, diagrams, or screenshots you want to reuse, this is the fastest dependable iPhone workflow:
- Save the PDF from Mail, Messages, Safari, or AirDrop into a named folder in Files.
- If only one or two pages matter, trim the document first with Extract Pages.
- Review the PDF in Safari so you can decide whether the file contains reusable visuals or is really just a full-page render.
- Save the result with a clear name instead of leaving it buried in Downloads or a temporary preview.
- If the page itself is what you need, use PDF to Image rather than forcing a separate-image workflow that the source file may not support.
That last point matters. Many mobile PDFs are mostly text, vector artwork, or one flat scanned page. When that happens, the honest fix is page export, not wishful thinking about hidden separate images that are not actually there.
The easiest iPhone workflow for extracting images
The best iPhone workflow is usually: save the source into Files, isolate the important pages if needed, inspect the visual content in Safari, review the result once, and then name the output clearly before you reuse it in Notes, Keynote, Pages, Messages, or another app. That sounds simple because it is, but most messy mobile outcomes come from starting in a temporary preview, skipping page isolation, or assuming every PDF contains clean standalone assets.
- Save the source first. Work from the real file in Files, not a preview pane inside Mail or Messages.
- Use extraction logic when the PDF really contains embedded visuals. That is when you often keep better quality than screenshots.
- Switch to page export when the document is really one flat image. A scanned handout or flattened brochure will not magically behave like a folder of separate photos.
- Name the output clearly. iPhone storage gets confusing fast when everything is called download, scan, final, or image.
Think of extraction as visual recovery, not as making a prettier screenshot. If the original chart, logo, or photo is genuinely stored inside the PDF, a good workflow can keep that asset cleaner than a manual crop from the iPhone screen.
Practical rule: if you want the original embedded chart, logo, or photo, start by treating the PDF like a source file. If you want the whole page exactly as it appears, use page export instead.
Step-by-step: pull images out of a PDF on iPhone
1) Save the PDF into Files somewhere obvious
If the PDF came from Mail, Messages, Safari, WhatsApp, or AirDrop, save it into Files before you do anything else. That one habit prevents a lot of confusion on iPhone, especially when a preview inside an app is not the same thing as the actual file you want to work from.
Good folder choices include:
- Downloads for a quick one-off task
- On My iPhone when you want the file local and easy to find again
- iCloud Drive when the result also needs to show up on your Mac or iPad
- A project folder when the PDF belongs to a report, presentation, or client handoff
2) Trim the PDF first if only one page matters
Large PDFs waste time on mobile. If the chart, photo, or graphic you need lives on only one or two pages, use Extract Pages first. It is easier to inspect a short focused document than to keep jumping around a long deck or report on a small screen.
This is especially helpful for:
- sales decks where only one chart matters
- reports with a single figure you want to reuse
- brochures where only one product photo page is relevant
- class PDFs where one diagram matters more than the entire packet
3) Review the visual content in Safari
Once the source file is saved, open your browser workflow in Safari. On iPhone, the goal is not to fight a tiny screen longer than necessary. You want to answer one practical question quickly: does this PDF contain a reusable visual asset, or is it really just a full page that needs exporting as one image?
If you can tell that the page is basically a scan, a flyer, or a flattened page composition, stop trying to pull separate assets and go straight to PDF to Image. That is faster and more honest about what the source file actually is.
4) Review the result once before sharing it
Open one or two output files and check two simple things:
- Did you get the actual logo, chart, photo, or diagram you wanted?
- Does the result look like a recovered asset, or does it look like a full-page render that should have been exported differently?
This quick check keeps you from forwarding the wrong image to a teammate or dropping a blurry crop into a presentation.
5) Use OCR if the PDF is really a scan
Sometimes the visual problem is only part of the job. If the source is a scanned handout, receipt, or photographed report and you also need readable text, pair the workflow with OCR PDF. That way you are not solving the image problem while leaving the text problem untouched.
Extracting images vs page export vs screenshots on iPhone
These methods sound similar on mobile, but they solve different problems.
| Method | Best for | What to expect on iPhone |
|---|---|---|
| Recovering embedded visuals | Photos, logos, charts, screenshots, or diagrams that are genuinely stored inside the PDF | Often cleaner than screenshots when the source file contains reusable image assets |
| Exporting the whole page as an image | Scans, flyers, posters, forms, or page layouts where the entire page is what matters | Usually the better move when the PDF behaves like one flat visual instead of separate elements |
| Taking an iPhone screenshot | Fast casual sharing where perfect quality does not matter | Easy, but limited by zoom, cropping precision, UI clutter, and whatever is currently on screen |
If the real goal is “I need the clean chart from this PDF,” treat the PDF like a source file first. If the goal is “I need the whole page as a picture,” go straight to PDF to Image. If the goal is “I just need to show someone something quickly in chat,” a screenshot may be fine, but do not confuse convenient with clean.
Working with PDFs from Mail, Messages, AirDrop, and iCloud Drive
Mail attachments
Save the PDF first instead of relying on the attachment preview. That gives you a real file in Files and makes it much easier to avoid mixing up the original message attachment with whatever result you save later.
Messages and chat apps
Message previews are convenient, but they are a terrible place to manage a real file workflow. Save the PDF into Files, then work from there so the source and output stay together.
AirDrop handoffs
AirDrop is great when the PDF comes from a Mac or another iPhone, but it still helps to move the file into a clearly named folder before you start. Otherwise the visual you save later can end up detached from the document it came from.
iCloud Drive
iCloud Drive makes sense when the result needs to show up on your Mac or iPad afterward. Just name the output cleanly so you do not end up with a synced PDF, a page export, and an unlabeled image all sitting beside each other with nearly identical names.
Useful Files habits on iPhone
- Create a small project folder before you start if the job matters.
- Rename vague source files like scan or attachment immediately.
- Keep the original PDF untouched if you expect follow-up edits or another export pass.
- Delete obviously wrong test exports so the final version is easy to identify later.
Common iPhone problems and quick fixes
The result looks like a whole page instead of one image
That usually means the PDF is flattened or scanned. In other words, the file may never have contained separate reusable images in the first place. Use page export instead of forcing an extraction workflow the source does not support.
The image still looks fuzzy
Sometimes the PDF itself only contains a low-resolution source image. No mobile workflow can invent detail that was never there. It can keep you from making the file worse, but it cannot turn a weak original into a crisp one.
I cannot find what I saved
This is almost always a naming problem, not a PDF problem. Save the source into a named Files folder before you start and rename the output immediately afterward. iPhone workflows go sideways fast when everything is left as attachment, image, or download.
The PDF came from a message and I am not sure I saved the right version
Go back and save the file into Files again with a useful name. Starting clean is faster than doing the whole job on the wrong version and discovering it later.
I actually need the text too, not just the image
That is a sign to pair the workflow with OCR PDF. Visual cleanup and text recovery are different jobs, and scans often need both.
Need the cleanest next step? Isolate only the useful pages, then export the whole page when the PDF is really a scan or flattened layout.
Quality, naming, and reuse tips
The big quality advantage of a source-aware workflow is that you are not photographing your own screen. When the PDF really contains embedded visuals, recovering those assets can preserve a cleaner result than a screenshot taken from a zoomed mobile view.
Naming matters more than most people expect. On iPhone, confusion compounds fast when your source PDF, your exported page, and your final image all have vague names. A simple structure helps:
- source-pdf for the original file
- trimmed-pages if you used Extract Pages first
- exported-images for the final result you actually plan to reuse
If the PDF contains sensitive information, remember that saving one image out of it is not the same thing as safely cleaning the original document. Treat the image workflow and the document-sharing workflow as separate decisions.
Related LifetimePDF tools and guides
If extracting images is only one step in the job, these tools and guides fit naturally around the workflow:
- Extract Pages when only one or two pages contain the visual you need.
- PDF to Image when the real job is exporting the whole page as a JPG or PNG.
- OCR PDF if the source file is a scan and you also need searchable text.
- PDF to Image for the broader page-export guide.
- How to Extract Pages from PDF on iPhone when you want to isolate the exact page before you save the visual.
- How to Extract Images from PDF on Mac if you decide the job is easier on desktop.
- How to Extract Images from PDF on Windows for the parallel desktop workflow.
- Lifetime Access if you want a long-term PDF toolkit without recurring subscription pressure.
The real win is repeatability: save the source, decide deliberately between visual recovery and page export, and label the result clearly before you move on.
FAQ (People Also Ask)
How do I extract images from PDF on iPhone without installing an app?
Save the PDF into Files from Mail, Messages, AirDrop, or Safari, then use a browser workflow to review and export the visuals you need. If the document is really one flat page, exporting the full page is usually the better no-install option.
Will extracting images from a PDF on iPhone keep better quality than screenshots?
Often yes. If the PDF contains real embedded photos, charts, or logos, recovering those visuals can be cleaner than an iPhone screenshot, which depends on zoom level, cropping, and whatever interface elements are on screen.
Why does my iPhone PDF not give me useful separate images?
Some PDFs are mostly text, vector artwork, or one flattened scan rather than separate reusable images. In that case, page export or OCR is usually more useful than expecting standalone graphics to appear.
What is the difference between extracting images and converting a PDF page to an image on iPhone?
Extracting images aims to recover visuals already stored inside the PDF. Converting a page to an image creates a new JPG or PNG from the whole page. If you want a reusable logo, chart, or photo, extraction logic is the better first thought. If you want the full page exactly as shown, export the page.
Can I do this with PDFs from Mail, Messages, AirDrop, or iCloud Drive on iPhone?
Yes. Save the file into Files first, then keep the result in a clearly named folder so you do not confuse the exported image with the original attachment, preview, or synced copy later.
Ready to pull visuals out of a PDF on iPhone? Start by isolating the right pages, then export the whole page whenever the file behaves more like a scan than a bundle of reusable assets.