Compress PDF for Salesloft: Keep Cadence Attachments, One-Pagers, and Sales PDFs Easy to Reopen
To compress a PDF for Salesloft, upload the final one-pager, proposal, pricing sheet, meeting recap, or signed follow-up document to LifetimePDF's Compress PDF tool, start with Medium compression, and keep the smaller copy only after pricing, screenshots, signatures, and notes still look clean in the real Salesloft cadence, email follow-up, or account workflow where the file gets reopened.
For most Salesloft PDFs, under 2MB is a strong target for one-pagers, follow-up attachments, and short sales documents, while longer proposals, screenshot-heavy decks, and signed packets usually work best around 2MB to 5MB after light cleanup.
Salesloft works best when reps can move from a message to the right attachment without breaking momentum. A bloated PDF slows that moment down. A lighter file is easier to reopen during a call, easier to send in a sequence, and less annoying for a prospect opening it on a phone. The goal is not the tiniest file. The goal is the smallest file that still looks polished enough to support a live sales conversation.
Fastest path: run the Salesloft PDF through LifetimePDF's Compress PDF tool on Medium, then extract key pages or split a bulky packet only if the document is still heavier than the real follow-up workflow needs.
In a hurry? Jump to Quick start: compress a Salesloft PDF in about 2 minutes.
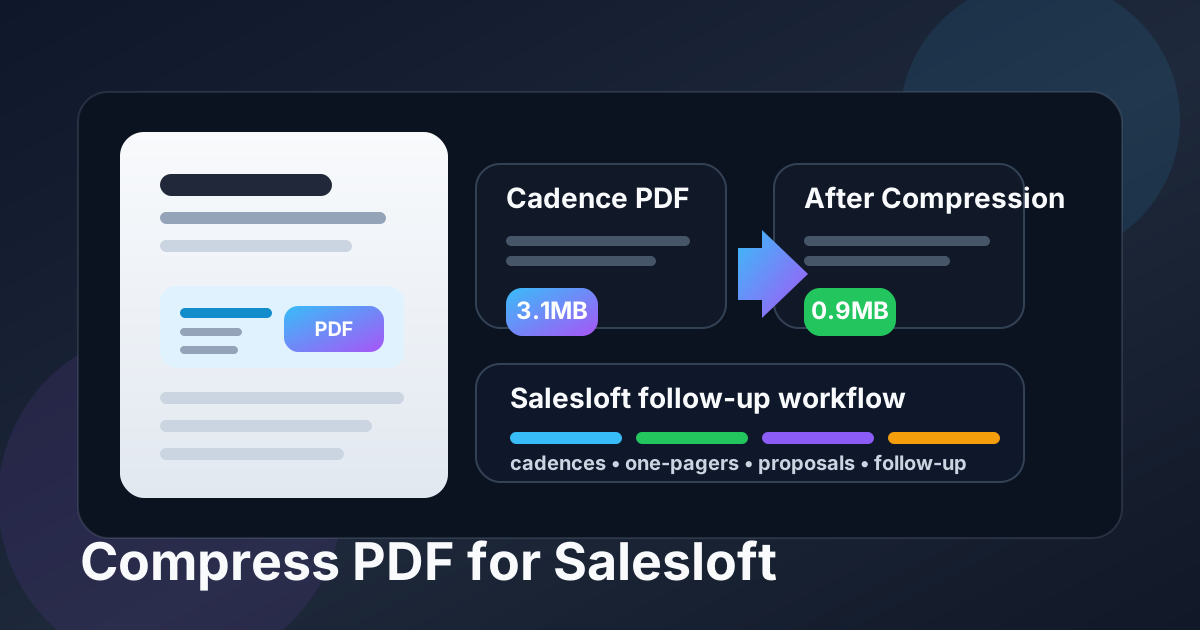
Table of contents
- Quick start: compress a Salesloft PDF in about 2 minutes
- Why Salesloft PDFs get heavy so quickly
- Where large PDFs create friction in Salesloft
- What file size should you aim for?
- Which compression level should you choose?
- Step-by-step: shrink a Salesloft PDF with LifetimePDF
- Best strategy for common Salesloft PDF types
- What if the file is still too big?
- How to keep pricing, screenshots, and signatures readable
- Workflow habits that keep Salesloft PDFs lighter
- Related LifetimePDF tools and useful internal reading
- FAQ (People Also Ask)
Quick start: compress a Salesloft PDF in about 2 minutes
- Open Compress PDF and upload the exact file you plan to send, attach, or keep in Salesloft.
- Start with Medium compression. It is usually the best balance for one-pagers, pricing sheets, proposals, follow-up PDFs, and signed attachments.
- Download the smaller PDF and reopen it where the file is really used: the cadence step, email follow-up, call recap, or account workflow.
- Check the details that matter most: pricing tables, names, dates, screenshots, signatures, and the smallest line of text on the busiest page.
- If the file is still heavier than it should be, use Extract Pages or Split PDF before you try stronger compression.
That order works because many heavy sales PDFs are not oversized only because of image quality. They are oversized because the wrong pages stayed attached. When you trim the document first and compress second, the final file usually feels cleaner, faster, and easier for both rep and prospect to reopen.
Why Salesloft PDFs get heavy so quickly
Salesloft documents often come from fast-moving follow-up work. A proposal starts as a polished deck, picks up pricing tables, adds a signed page, and then gets reused in a later email. A one-pager gets merged with screenshots from a product walkthrough. A meeting recap pulls in an appendix that made sense for internal prep but not for the live prospect conversation. By the time the PDF is attached, it may be carrying far more than the next step actually needs.
Common causes include repeated exports, duplicate versions, oversized screenshots, scan-heavy signature pages, long appendices, and internal-only notes that matter for history but not for the file a buyer will open. Compression helps, but it works best after you decide what really belongs in the version that moves through Salesloft.
Where large PDFs create friction in Salesloft
Heavy PDFs create drag long before anyone says the file is "too big." They slow down follow-up, make mobile review clumsy, and turn simple sales moments into extra waiting.
- Cadence follow-up: a rep should be able to drop in the right attachment without sending a bulky file that feels awkward to open.
- Call recap and next-step emails: meeting summaries, pricing sheets, and mutual action plan PDFs should reopen fast while the conversation still has momentum.
- Mobile prospecting: lighter files are much easier to review on a phone between meetings or while traveling.
- Team handoff: a cleaner PDF makes it easier for another rep or manager to understand the state of the deal without sorting through attachment clutter.
- Prospect experience: a smaller file feels more polished when a buyer opens it on weaker data or a smaller screen.
Smaller PDFs improve all of those moments. The best compression workflow is the one that removes waste without damaging the details that still support trust, speed, and reply rate.
What file size should you aim for?
There is no single perfect number, but these ranges keep you from over-compressing a file that is already good enough.
- Under 2MB: ideal for one-pagers, pricing sheets, short follow-up PDFs, and straightforward customer-facing files.
- 2MB to 5MB: a healthy range for longer proposals, screenshot-heavy decks, signed packets, and recap documents with several sections.
- Over 5MB: acceptable only when the PDF genuinely needs many pages or image detail that would be risky to flatten too hard.
If the PDF stays above 5MB, do not assume stronger compression is the answer. Quite often the smarter move is removing duplicate pages, splitting backup material away, or replacing a bulky scan with a cleaner original export.
Which compression level should you choose?
For most Salesloft workflows, the safest sequence is simple:
- Low compression: best when the file already feels close to right and you only need a modest size reduction.
- Medium compression: the best starting point for most one-pagers, pricing sheets, proposals, and cadence attachments because it removes obvious weight without making the PDF feel cheap.
- High compression: only use it after testing, especially if the document contains signatures, small pricing details, legal text, or screenshots with labels people must still read.
Medium is the default recommendation because a sales PDF is part of the pitch. If compression makes prices fuzzy or screenshots harder to interpret, the file is smaller but the follow-up is weaker.
Step-by-step: shrink a Salesloft PDF with LifetimePDF
- Start with the final document. Use the actual one-pager, proposal, pricing sheet, signed form, or recap PDF instead of an older working draft.
- Upload it to Compress PDF. Open LifetimePDF Compress PDF and add the file.
- Choose Medium first. That is usually the best balance for Salesloft attachments.
- Download the smaller copy. Save it with a clear name so it does not get confused with earlier versions.
- Reopen the real workflow. View the PDF from the exact place where people will use it: a cadence step, follow-up email, account handoff, or mobile review path.
- Inspect the high-risk details. Check pricing grids, totals, dates, screenshots, initials, signatures, and any small legal or approval text.
- Trim structure if needed. If the file is still heavy, delete dead pages, extract the customer-facing section, or split internal backup material before trying stronger compression.
That sequence keeps you from solving the wrong problem. In sales engagement work, the cleanest outcome is usually not the most compressed file. It is the smallest file that still feels reliable in the exact follow-up where the prospect opens it.
Best strategy for common Salesloft PDF types
One-pagers and pricing sheets
These are usually the easiest files to compress because they are mostly text, tables, and a small amount of brand design. Medium compression is normally enough. Just make sure pricing, terms, dates, and contact details still read cleanly.
Proposals and sales decks
These tend to get heavy because they mix text, visuals, screenshots, case studies, and appendix pages. If the file stays stubbornly large, extract the section the buyer actually needs and keep background material somewhere else. Not every appendix belongs in the live Salesloft attachment.
Meeting recaps and mutual action plans
These should open fast because they are often reused across several next-step emails. A recap document loses value when the recipient has to wait for it or pinch-zoom through a bloated file on mobile. Compress lightly, then check every checklist item, timeline, and owner field.
Signed forms and approval pages
Be more careful here. Compression is useful, but signatures, initials, dates, and fine print must stay easy to verify. If the signed page came from a scan, inspect it closely before replacing the original.
What if the file is still too big?
Do not keep pushing compression harder without checking the structure of the PDF. If Medium does not get the file where you need it, try one of these first:
- Use Delete Pages to remove draft pages, repeated covers, or appendix material.
- Use Extract Pages to keep only the buyer-facing or decision-making section.
- Use Split PDF when the main document and backup material should not live together.
- Use Crop PDF to remove scan borders and wasted margins.
Those steps usually remove more useful weight than jumping straight to High compression.
How to keep pricing, screenshots, and signatures readable
The easiest mistake is checking only the first page. For Salesloft attachments, inspect the details that make real follow-up possible:
- prices, totals, discount notes, and line items
- names, dates, contact details, and next-step deadlines
- signatures, initials, and approval fields
- screenshots, product visuals, and any callout text inside them
- the busiest page in the file, not only the cleanest one
If any of those look fuzzy, uncertain, or annoying to zoom into, keep the lighter setting or clean the file another way. Compression should remove waste, not confidence.
Workflow habits that keep Salesloft PDFs lighter
A few simple habits prevent attachment bloat from coming back:
- Attach the final prospect-facing PDF, not the working packet with internal extras.
- Keep archived versions and appendix material separate when they do not need to travel with the live follow-up.
- Replace duplicate exports instead of stacking nearly identical attachments for the same deal stage.
- Use cleaner digital originals instead of rescanning a document that already exists electronically.
- Check mobile readability before deciding the PDF is truly finished.
These habits matter because Salesloft works best when the next useful document opens fast. Cleaner attachment discipline saves time long after the email is sent.
Related LifetimePDF tools and useful internal reading
If Salesloft is only one part of your broader revenue stack, these tools and guides pair well with this workflow:
- Compress PDF for the main size-reduction step.
- Extract Pages when only the core document should stay attached.
- Delete Pages to remove outdated versions or repeated exports.
- Split PDF to separate the live file from backup material.
- Crop PDF to trim wasted scan borders.
- PDF Metadata Editor for cleaner document properties.
- Compress PDF for Close CRM.
- Compress PDF for Monday CRM.
- Compress PDF for Dynamics 365 Sales.
- Compress PDF for HubSpot.
- Compress PDF for Folk.
- Lifetime access if PDF cleanup is a repeat part of your sales workflow.
Bottom line: for most Salesloft PDFs, start with Medium compression, test the real workflow, and trim page weight before you use stronger compression.
FAQ (People Also Ask)
How do I compress a PDF for Salesloft?
Upload the final PDF to a compressor, start with Medium compression, download the smaller copy, and test it in the real Salesloft workflow before replacing the original. Medium is usually the safest first pass because it lowers file size without making pricing, screenshots, signatures, or notes harder to trust.
What file size should I aim for in Salesloft?
For one-page follow-up PDFs, pricing sheets, and simple one-pagers, under 2MB is a strong target. Longer proposals, screenshot-heavy sales decks, and signed packets usually work best around 2MB to 5MB as long as the smallest useful detail still reads clearly.
Will PDF compression blur one-pagers or pricing details inside Salesloft?
It can if you compress too aggressively. That is why Medium compression is the best place to start. Always check totals, pricing tables, screenshots, signatures, and the busiest page before you keep the smaller file.
Should I split a large PDF instead of compressing it harder?
Often, yes. If one PDF combines the customer-facing document with internal notes, old versions, approvals, or a long appendix, splitting it usually creates a cleaner Salesloft workflow than forcing the whole bundle through aggressive compression.
Which LifetimePDF tools pair best with Salesloft?
Compress PDF is the main starting point. Extract Pages, Delete Pages, Split PDF, Crop PDF, PDF Metadata Editor, and OCR PDF are especially useful when you want smaller, cleaner Salesloft attachments without carrying extra pages, scan waste, hidden metadata, or image-only text forward.
Published by LifetimePDF - Pay once. Use forever.