Compress PDF for ReadMe: Keep API Docs, Setup Guides, and Shared PDFs Lighter
To compress a PDF for ReadMe, upload the final API export, setup guide, implementation checklist, onboarding packet, or support attachment to LifetimePDF's Compress PDF tool, start with Medium compression, and keep the smaller copy only if endpoint tables, screenshots, code examples, and setup notes still read clearly when you reopen it from the page where it will actually be used.
For most ReadMe workflows, aim for under 4MB for text-heavy docs and roughly 4MB to 10MB for screenshot-rich quickstarts, integration walkthroughs, and scan-heavier reference files that still need to feel dependable.
ReadMe works best when the page delivers the explanation and the PDF supports it without turning the workflow heavy. Trouble starts when a quickstart points to a bloated setup packet, a developer hub links to a giant API export, or a partner-facing implementation guide becomes the slowest thing in the whole doc flow. The goal is not to squeeze every file until it looks brittle. The goal is to cut wasted weight while keeping the details people still need to trust.
Fastest path: compress the final PDF on Medium, reopen the smaller copy from the real ReadMe page where it will live, then check one dense text section and one screenshot-heavy, table-heavy, or code-heavy page before you replace the original.
Need the short version? Jump to Quick start: compress a PDF for ReadMe in under 2 minutes.
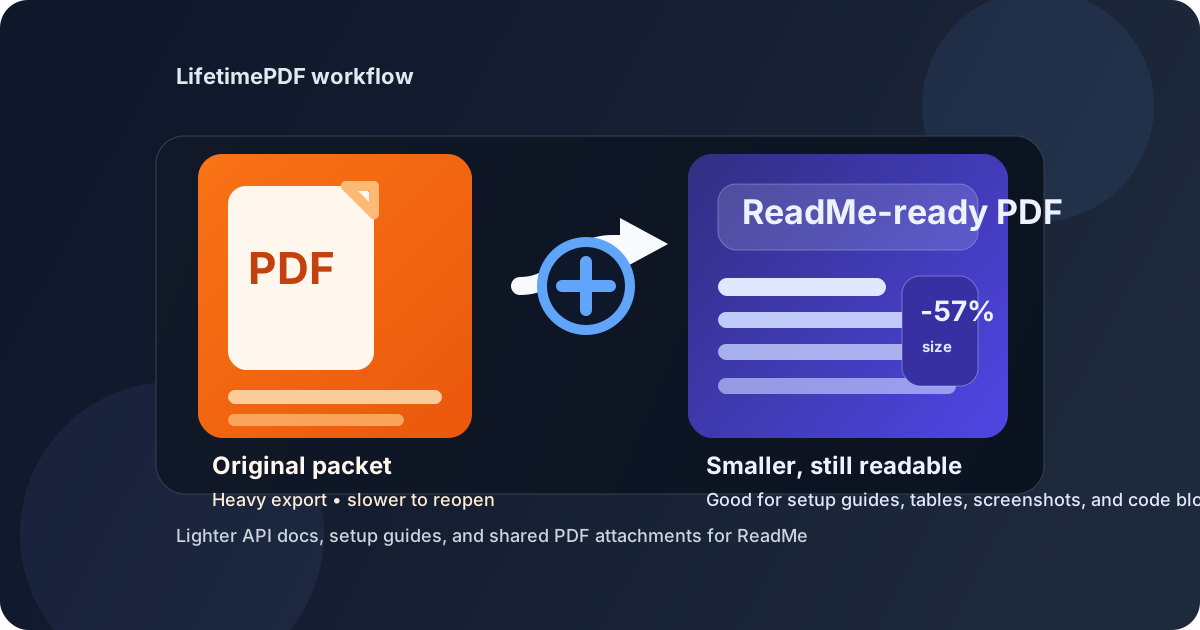
Table of contents
- Quick start: compress a PDF for ReadMe in under 2 minutes
- Why smaller PDFs help in ReadMe
- What makes a good ReadMe PDF attachment
- What file size should you aim for?
- Which compression level should you choose?
- Step-by-step: shrink a ReadMe PDF with LifetimePDF
- Best strategy for common ReadMe PDF types
- What if the PDF is still too large?
- How to keep ReadMe docs cleaner over time
- Related LifetimePDF tools and useful internal links
- FAQ
Quick start: compress a PDF for ReadMe in under 2 minutes
If your real goal is simply make this PDF lighter before it lives in a ReadMe page or developer hub, this workflow is usually enough:
- Open Compress PDF.
- Upload the final API export, quickstart PDF, setup guide, implementation packet, onboarding checklist, or support file you actually plan to keep.
- Choose Medium compression first.
- Download the smaller copy and compare the new size with the original.
- Put the lighter file where it will really live in ReadMe.
- Reopen it once from the actual doc page, guide, or developer hub section where readers will use it.
- If the file is still too bulky, use Extract Pages, Split PDF, or Crop PDF before trying stronger compression.
Why smaller PDFs help in ReadMe
ReadMe pages get harder to use when supporting PDFs keep getting heavier. A clean quickstart picks up a screenshot-rich setup packet. An API reference page links to a giant export nobody wants to reopen. An onboarding section carries a bulky checklist that could have been trimmed before it ever landed in the docs. None of that feels dramatic at first, but eventually the docs feel slower and messier than they should.
Why lighter PDFs usually fit better
- Cleaner developer flow: smaller files are easier to reopen when someone only needs one table, one environment checklist, or one implementation note.
- Better page focus: the ReadMe page stays centered on the answer instead of feeling dragged down by a heavy attachment.
- Faster customer and partner handoffs: lighter PDFs are easier to share across onboarding, support, and success workflows.
- Less friction on mobile: smaller files are friendlier when someone opens a ReadMe page from a phone or tablet.
- Lower clutter over time: right-sized files are less likely to become stale documentation baggage nobody wants to touch later.
- Easier reuse outside the docs: if the same PDF later gets sent through email, chat, or a ticket, the lighter version is already the better handoff copy.
Compression is not just about storage. It helps the page stay usable. A right-sized PDF is easier to trust, easier to revisit, and less likely to become the slowest part of the documentation workflow.
What makes a good ReadMe PDF attachment
A good ReadMe attachment is not simply small. It is readable, scoped well, and easy to understand later when someone opens the page weeks or months after the launch, onboarding cycle, support issue, or integration project that created it.
- One clear purpose per file: an API export, implementation guide, setup checklist, onboarding PDF, compliance packet, or troubleshooting reference should each support a specific page.
- Readable details: endpoint tables, body text, screenshot labels, code snippets, version notes, and links should still hold up when reopened later.
- Only the useful pages: repeated covers, blank scans, outdated appendices, and irrelevant release notes are just dead weight.
- Searchable text when possible: if the PDF is scan-heavy, OCR PDF may help more than brute-force compression.
- Clear naming: a tidy filename makes the attachment easier to trust when developers, partners, or support teams are moving fast.
What file size should you aim for?
There is no single perfect number because a short setup note behaves very differently from a screenshot-heavy onboarding guide, an API walkthrough, a signed vendor packet, or a scan-based archive file. Still, practical ranges help. The right goal is not the smallest possible PDF. It is the smallest file that still feels trustworthy.
| ReadMe PDF type | Comfortable target | What to check before keeping it |
|---|---|---|
| Text-heavy API references, setup notes, implementation guides, and short support docs | Under 4MB | Paragraph sharpness, table labels, code examples, and footnotes |
| Screenshot-rich quickstarts, onboarding PDFs, and integration walkthroughs | 4MB to 10MB | Screenshot text, endpoint tables, code examples inside images, and narrow columns |
| Scan-heavy compliance forms, approvals, and vendor docs | As small as practical without hurting readability | Faint text, pen marks, crop quality, and OCR usefulness |
| Large mixed-topic bundles | Often split first | Whether the file should really become several smaller PDFs |
If the lighter copy saves a few megabytes but makes endpoint labels, setup tables, screenshot callouts, or version details harder to trust, the compression was too aggressive. A dependable reference file is usually worth more than a prettier file-size number.
Which compression level should you choose?
Most ReadMe users do not need a complicated decision tree. Start with Medium and only go more aggressive if the file is still clearly too heavy for the role it plays on the page.
Low compression
Use Low when the PDF already looks clean and you only want a modest size drop without risking tiny labels, fine print, or detail in screenshots and signatures.
Medium compression
Medium is the best default for most ReadMe workflows. It usually trims enough size to matter while keeping ordinary reading, implementation checks, and support handoffs comfortable.
High compression
Use High only when the PDF is still annoyingly bulky after smarter cleanup or when the attachment is more of a convenience copy than a close-reading source. If the file matters, test it before you trust it.
Step-by-step: shrink a ReadMe PDF with LifetimePDF
- Start with the final file. Use the exact API export, implementation guide, onboarding packet, setup checklist, scan, compliance document, or support reference you actually want to keep.
- Open Compress PDF.
- Choose Medium compression first. This is usually the safest balance for developer docs and support knowledge workflows.
- Download the smaller copy. Compare the new size with the original so you know the reduction was worth it.
- Put it in the real workflow. Reopen the lighter copy from the actual ReadMe page where it will live.
- Check one difficult page. Review a page with tiny labels, dense tables, screenshot text, code examples, signatures, or version notes.
- Run one trust test. Scroll the document once and confirm the parts people actually depend on still hold up.
- Fix structure only if needed. If the file is still too heavy, split it, crop wasted margins, remove junk pages, or OCR the scan before trying harsher compression.
Best strategy for common ReadMe PDF types
Not every attachment deserves the same treatment. The best workflow depends on what the PDF is doing inside the page.
API references and endpoint collection PDFs
These need the most careful review. Dense tables, small method labels, and code examples can become frustrating long before the whole page looks obviously damaged. Medium is usually the safest stopping point.
Quickstarts and setup guides
These usually compress well. Protect screenshot text, environment steps, terminal captures, and callout boxes because those are the details people most often rely on when they are already stuck.
Implementation packets and partner onboarding checklists
These often benefit from one clean Medium pass. Keep table layouts, due dates, approval notes, and checklist items easy to read because those details matter more than chasing the smallest possible file.
Changelog, migration, and release PDFs
These usually compress well, but they still deserve a careful review. Check version references, dates, dependency notes, and any fine print before you replace the original.
Scanned forms, vendor docs, and compliance material
These are often the troublemakers. Compression helps, but the bigger win usually comes from cropping scanner waste and using OCR PDF so the file is easier to search and reuse later.
What if the PDF is still too large?
If one compression pass did not get you where you want, do not assume the next answer is maximum compression. Very often the real answer is better cleanup.
- Use Extract Pages when you only need one chapter, one appendix, one setup segment, or one signed portion.
- Use Delete Pages to remove covers, blanks, repeated inserts, or irrelevant appendices.
- Use Split PDF when one giant file would work better as smaller topic-specific attachments.
- Use Crop PDF if empty margins and scanner waste are inflating the file.
- Use OCR PDF if the real problem is that the scan is hard to search, not just large.
- Use PDF Metadata Editor when the page needs a cleaner, more reusable final handoff file.
In many documentation workflows, a cleaner PDF beats a more aggressively compressed PDF. Better structure is usually worth more than one more round of quality loss.
How to keep ReadMe docs cleaner over time
Compression only counts as a win if the page feels easier to use afterward. A few habits make that much more likely.
- Compress before linking or attaching when possible: it is cleaner to start with a right-sized PDF than to repair a bloated one later.
- Keep the original until the new copy proves itself: do not delete the source immediately if the file matters.
- Attach one purpose per file: a ReadMe page usually works better with a focused supporting PDF than with a giant mixed bundle.
- Check the pages people actually depend on: endpoint tables, code examples, screenshot labels, signatures, and small notes matter more than the cover page.
- Let the page carry the answer: if the PDF supports a setup or implementation explanation, put the key takeaway in the page instead of making the attachment do all the work.
- Trim before archiving: older docs stay calmer when their supporting files are already right-sized.
The goal is not to win a file-size contest. The goal is to keep the docs readable, useful, and light enough that people still want to work inside them.
Related LifetimePDF tools and useful internal links
If you want a smoother ReadMe workflow, these are the most useful companion tools and guides:
- Compress PDF for the main size-reduction step.
- Extract Pages when only part of a document belongs on the page.
- Split PDF for large mixed-topic bundles.
- OCR PDF for scan-heavy files you still want to search.
- Crop PDF to trim wasted margins before compressing.
- PDF Metadata Editor when you want a cleaner final handoff file.
If your workflow overlaps with other documentation and team-knowledge platforms, these companion guides may help too: Compress PDF for GitBook, Compress PDF for Archbee, Compress PDF for Document360, and Compress PDF for Helpjuice.
Bottom line: shrink the PDF just enough that the ReadMe page feels lighter, then stop. If the file is still awkward, improve the structure of the attachment instead of endlessly squeezing it.
FAQ: Compress PDF for ReadMe
How do I compress a PDF for ReadMe?
Upload the final PDF to a compressor, start with Medium compression, and keep the smaller copy only if endpoint tables, screenshots, code examples, and setup instructions still look clean when you reopen it from the ReadMe page where it belongs. Medium is usually the safest first step because it reduces file size without making the document frustrating to trust later.
What file size should I aim for in ReadMe?
Under 4MB is a strong target for ordinary text-heavy API references, setup notes, implementation guides, and short support files. Screenshot-rich quickstarts, onboarding PDFs, and integration walkthroughs often land in the 4MB to 10MB range and can still be practical if the important details remain readable.
Will compression hurt tables, screenshots, or code examples?
Usually not if you begin with Medium compression and the source file is already clean. Problems usually show up first in small endpoint labels, screenshot text, dense tables, and code examples inside images, so those are the places worth checking before you replace the original.
Should I keep the whole PDF in ReadMe or only the useful pages?
If only one section supports the page, keeping just the useful pages is usually better than linking a giant packet. Extracting or splitting the PDF often helps more than pushing compression harder.
Which LifetimePDF tools pair best with ReadMe?
Compress PDF is the main starting point. Extract Pages, Split PDF, Delete Pages, Crop PDF, OCR PDF, and PDF Metadata Editor are the most useful companion workflows when you want smaller, cleaner PDFs inside a documentation workflow.
Published by LifetimePDF - Pay once. Use forever.