Compress PDF for Outseta: Speed Up Client Docs, Member Resources, and Onboarding Files
To compress a PDF for Outseta, upload the final file to LifetimePDF's Compress PDF tool, start with Medium compression, and replace the client-facing or member-facing copy only after it opens cleanly from your welcome flow, customer portal, or resource area.
For most Outseta PDFs, under 3MB is a comfortable target for welcome guides, checklists, and short downloads, while onboarding packets, client docs, and screenshot-heavy resource packs usually work best around 3MB to 6MB after light cleanup.
Outseta is meant to make access feel organized. Somebody logs in, joins a membership, opens a client portal, or starts onboarding and expects the next file to feel fast and tidy. If the attached PDF opens slowly, feels heavier than the page around it, or makes mobile users wait through a bloated download, the workflow suddenly feels less polished than it actually is. The goal is not the tiniest file possible. The goal is a lighter PDF that still feels trustworthy the moment somebody needs it.
Fastest path: run the Outseta PDF through LifetimePDF's Compress PDF tool on Medium, then test the smaller file from the exact portal or onboarding path people actually use.
In a hurry? Jump to Quick start: compress an Outseta PDF in about 2 minutes.
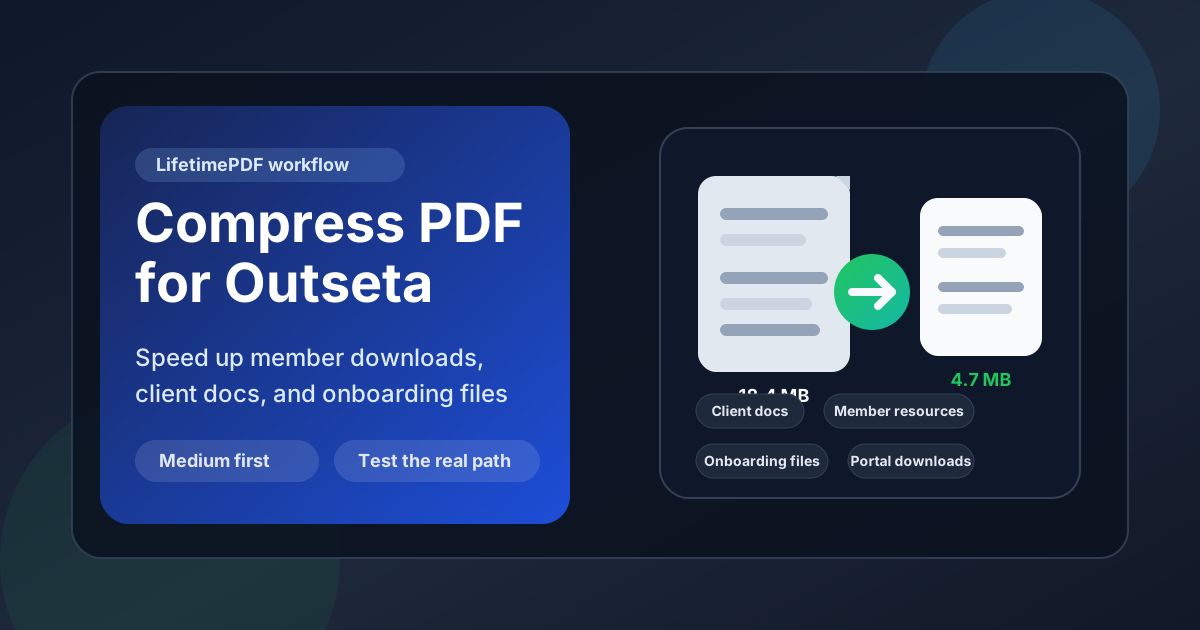
Table of contents
- Quick start: compress an Outseta PDF in about 2 minutes
- Why Outseta PDFs get heavy so quickly
- Where large PDFs create friction inside Outseta flows
- What file size should you aim for?
- Which compression level should you choose?
- Step-by-step: shrink an Outseta PDF with LifetimePDF
- Best strategy for common Outseta PDF types
- What if the file is still too big?
- How to keep portal downloads trustworthy
- Workflow habits that keep Outseta PDFs lighter
- Related LifetimePDF tools and useful internal reading
- FAQ (People Also Ask)
Quick start: compress an Outseta PDF in about 2 minutes
If your real goal is simply make this Outseta PDF lighter without making it worse for members or clients, this workflow is usually enough:
- Start with the final Outseta file, not a draft export full of extras.
- Open Compress PDF.
- Choose Medium compression first.
- Download the smaller copy.
- Open it from the exact Outseta portal page, welcome flow, or resource library people actually use.
- Keep the compressed version only if the smallest useful text, screenshots, and printable details still feel easy to trust.
That last step matters more than the size reduction by itself. Saving another megabyte is not a win if the onboarding checklist, process screenshot, worksheet lines, or tiny portal labels now feel harder to use.
Why Outseta PDFs get heavy so quickly
Most Outseta PDFs do not become oversized because the writing is too long. They get heavy because one file starts doing too many jobs at once. A single PDF becomes the welcome packet, onboarding checklist, member guide, client handoff, support reference, and archive copy all in the same export.
Another common issue is publishing the internal master instead of the live portal copy. The team keeps repeated covers, oversized screenshots, outdated appendix pages, or reference sections because they still help internally. The person opening the file in Outseta usually does not need all of that. Compression helps, but cleaner structure helps first.
- Welcome guides often carry setup notes or historical context that belong on a page, not in the download itself.
- Client docs grow fast when proposals, handoff notes, reference pages, and archived versions stay bundled together.
- Member resources become bulky when one PDF combines the main guide, bonus pages, worksheets, and old updates.
- Onboarding files get heavy when screenshots are exported at much larger sizes than portal users actually need.
- Portal libraries feel cluttered when older sections remain inside the newest PDF instead of being split or retired.
If the next member or client does not need part of the PDF to get the promised result, trim it, split it, or move it instead of asking compression to rescue everything.
Where large PDFs create friction inside Outseta flows
A heavy PDF does not only affect storage or upload time. It changes the moment right after somebody gets access and expects progress.
| Outseta touchpoint | What the problem feels like | Most useful fix |
|---|---|---|
| Welcome flow or first-login page | The first download feels heavier than the clean onboarding experience around it | Keep the starter PDF lean and move deep reference material elsewhere |
| Customer portal or member dashboard | The portal looks organized, but the file drags once somebody clicks download | Use Medium compression and remove archive-only or repeat pages |
| Client onboarding packet | The resource feels bulkier than the task it is supposed to simplify | Split long packets or trim duplicated covers and appendix sections |
| Resource library | One oversized PDF makes the whole library feel less curated | Publish smaller focused downloads instead of one giant bundle |
| Mobile portal access | The file opens slowly right when somebody wants quick access on the go | Compress carefully, then test the real mobile path before replacing the original |
People rarely describe this as a file-size problem. They just notice when a portal download opens fast, feels intentional, and is easy to save for later.
What file size should you aim for?
There is no universal perfect number, but practical ranges help you compress enough without damaging the resource itself.
- Under 3MB: a good target for welcome guides, checklists, short member downloads, and quick reference docs.
- 3MB to 5MB: often a comfortable range for onboarding packets, support guides, and member resources with some screenshots.
- 5MB to 6MB: still reasonable for image-heavy client docs, printable packets, or longer resource bundles if the smallest useful detail stays clear.
- Over 6MB: worth reviewing carefully to see whether the PDF should be trimmed or split instead of only compressed harder.
A better question than How tiny can I make this? is How small can I make this before a real member or client notices quality loss? That usually leads to better decisions.
Which compression level should you choose?
For Outseta, Medium compression is usually the safest starting point. It cuts file weight without being overly aggressive on body text, screenshots, worksheet lines, portal instructions, and printable pages.
- Low compression: useful when the PDF is already close to your target and only needs a gentle reduction.
- Medium compression: the best default for most Outseta PDFs.
- High compression: worth testing only after you trim extra pages, crop wasted margins, or split bundles that are doing too much.
The common mistake is reaching for the strongest setting before cleaning the structure. Usually, a cleaner file plus medium compression beats brute force.
Step-by-step: shrink an Outseta PDF with LifetimePDF
- Start with the final portal-ready PDF. Use the exact file members or clients should receive, not a master export full of extras.
- Open Compress PDF.
- Upload the file and choose Medium. That is usually the cleanest first pass for onboarding guides, member resources, and client docs.
- Download the smaller copy.
- Replace the real live file. Update the exact Outseta page, portal area, or resource link people actually reach.
- Test the real portal path. Open it once on desktop and once on a phone.
- Review the hardest page to preserve. Check the smallest text, busiest screenshot, faintest worksheet lines, QR codes, and any page with fine print or printable layouts.
- Only then keep or revise it. If the file still feels trustworthy, publish the smaller version. If not, clean up the PDF and try again.
Best practical sequence: compress first, test the live portal path second, trim or split third, and only then consider stronger compression.
Best strategy for common Outseta PDF types
Welcome guides and first-step packets
These should feel fast and low-friction. If the guide explains first actions, keep only the pages a new member or client needs immediately and move deep reference material into a separate resource.
Client docs and handoff PDFs
These can stay a little heavier if detail matters, but they still need to open quickly. Medium compression plus light cleanup is usually safer than aggressive shrinking.
Member resources and portal downloads
Reusable assets should open fast because people come back to them repeatedly. If one PDF mixes multiple formats, bonus pages, and archived versions, splitting it usually creates a better portal experience than forcing harder compression.
Onboarding files with screenshots
Screenshot-heavy documents grow quickly. Keep only the steps people still need, remove stale interface captures, and test the smallest labels after compression before replacing the original.
Printable worksheets and checklists
Be careful here. People need lines, boxes, contrast, and small labels to stay crisp enough for real use. Compress carefully and review the pages with the narrowest layout details before publishing the smaller copy.
What if the file is still too big?
If Medium compression helps but the PDF is still heavier than it should be, the file probably has a structure problem rather than just a compression problem.
- Remove repeated covers, stale appendix pages, and archive-only sections with Delete Pages.
- Split giant bundles with Split PDF.
- Pull only the portal-facing section with Extract Pages.
- Trim wasted margins or oversized layouts with Crop PDF.
Very often, the fastest way to make an Outseta PDF feel lighter is not to compress harder. It is to stop making one file carry too many jobs.
How to keep portal downloads trustworthy
Before you replace the original file, review the details most likely to break trust:
- small body text, captions, and callout notes
- screenshots with tiny interface labels or setup callouts
- worksheet lines, checklist boxes, and printable areas
- tables, charts, and any narrow multi-column layout
- QR codes, links, and action pages that move people to the next step
- the busiest page in the whole PDF, not only the cleanest one
- the real mobile portal path, not only a desktop preview
If the smallest useful detail still feels easy to trust, the PDF is probably compressed enough. If not, back up, clean the structure, and try again.
Workflow habits that keep Outseta PDFs lighter
- Export a live copy and a master copy when the same PDF does not need to do both jobs.
- Compress after the final export so you optimize the exact file people will open.
- Test the real portal path after replacing the file instead of judging quality only from your local folder.
- Keep resource bundles modular if bonus sections make the main file feel bloated.
- Name versions clearly so older PDFs do not linger in the portal and get linked by mistake.
- Clean metadata before publishing with PDF Metadata Editor if you want the download title and file properties to look polished.
- Use page copy intentionally when quick instructions, links, or summaries belong on the Outseta page itself instead of inside the PDF.
Compression works best as final polish, not as a rescue plan for a PDF that was oversized long before it reached your members or clients.
Related LifetimePDF tools and useful internal reading
If Outseta is part of your normal membership or client workflow, these tools and articles pair well with this guide:
- Compress PDF for the first size-reduction pass.
- Split PDF for long onboarding packets or resource bundles that should become smaller downloads.
- Extract Pages when only the member-facing section should be published.
- Delete Pages to remove stale covers, archive sections, or repeated resource pages.
- Crop PDF to trim wasted margins from printable layouts.
- PDF Metadata Editor for cleaner download properties.
- Compress PDF for Memberstack.
- Compress PDF for Circle.
- Compress PDF for Mighty Networks.
- Compress PDF for Skool.
- Compress PDF for Kajabi.
- Lifetime access if PDF cleanup is a recurring part of your portal workflow.
Bottom line: for most Outseta PDFs, start with Medium compression, test the real portal path, and trim page weight before you use stronger compression.
FAQ (People Also Ask)
How do I compress a PDF for Outseta?
Upload the final PDF to a compressor, start with Medium compression, download the smaller copy, and test the exact Outseta portal, onboarding page, or member area before replacing the original. Medium is usually the safest first pass because it lowers file size without making text, screenshots, worksheet lines, or printable pages feel unreliable.
What file size should I aim for in Outseta?
For many Outseta welcome guides, checklists, and short member downloads, under 3MB is a comfortable target. Longer onboarding packets, client docs, and screenshot-heavy resource libraries often work best around 3MB to 6MB as long as the smallest useful text still reads clearly.
Should I compress the PDF before uploading it to Outseta?
Yes. It is usually cleaner to compress the final member-facing or client-facing copy before you upload or link it inside Outseta. That way you test the same file people will actually open from the live portal or onboarding flow.
Will PDF compression hurt onboarding guides or client docs in Outseta?
It can if you compress too aggressively. That is why Medium compression is the best place to start. Always check small body text, screenshot labels, worksheet lines, QR codes, and any printable page before you replace the original.
Should I split a long Outseta PDF instead of compressing it harder?
Often, yes. If one PDF combines the core guide, bonus pages, client reference material, templates, and archive sections for different moments, splitting it usually creates a cleaner portal download than forcing the whole pack through aggressive compression.
Published by LifetimePDF - Pay once. Use forever.